

This document describes how to manage Cloud Source Repositories from within Visual Studio.
Before you begin
-
Enable access to Cloud Source Repositories for your project.
- If you have more than 1 project, select the correct project from the drop-down menu in the title bar.
-
Install Git for Windows if you have not done so already.
-
Verify that you have Git Credential Manager for Windows installed by running the following command in your local terminal:
git credential-manager version
Access Cloud Source Repositories
To access Cloud Source Repositories, select Team> Manage Connections.
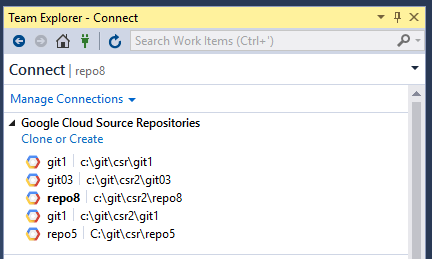
A list of your repositories displays in the Team Explorer.
For first-time users, this list will be empty until you clone a repository.
Create or clone a repository
In Team Explorer, you can click the Clone or Createlink to open the Clone Google Cloud Source repositorydialog and create a new repository or clone an existing one to your local machine.
To create a new repository:
-
Click the Clone or Createlink.
-
Select a Google Cloud project in the Projectdrop-down menu.
-
Click Add new.
The Add a new repositorydialog displays.
-
Enter a Repository Name.
-
Click OK.
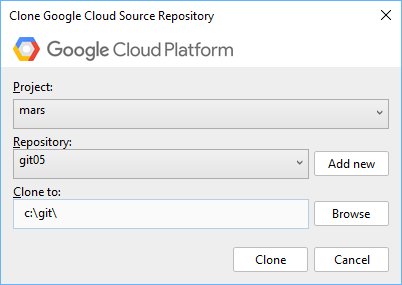
To clone an existing repository:
-
Click the Clone or Createlink.
-
Select a Google Cloud project in the Projectdrop-down menu.
-
Select a repository in the Repositorydrop-down menu.
-
Enter the location where you want to clone the source code to in the Clone tofield.
- Or, you can click Browseto open the file explorer and navigate to the location.
-
Click Clone.
Your source code is now in the specified location, and the cloned repository displays in Team Explorer.
Performing Git tasks
-
You can perform all git tasks from within Visual Studio. For more information on these tasks, refer to the Git reference guide .
-
You can also execute these git commands from a shell.