
This article applies to the following Google Nest thermostats models:
Nest Thermostat E

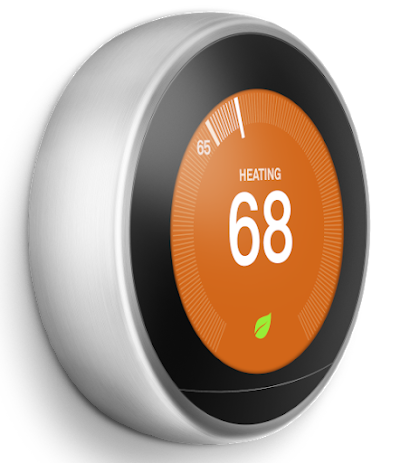
Nest Learning Thermostat (3rd gen or earlier)
Important: This article only applies to Nest thermostat E and Nest Learning Thermostat (3rd gen and earlier). For Nest Learning Thermostat (4th gen), continue to Get started with your Nest Thermostat and Nest Learning Thermostat (4th gen) .


If you’ve just installed your Google Nest thermostat or if you’ve reset it to defaults, you’ll need to go through setup with the Nest app. Your thermostat will ask a few basic questions about your home and your heating and cooling system.
Before you get started using your thermostat, you’ll need to complete all the steps below.
- Install your thermostat on the wall .
- Set up your thermostat. - You are here.
- Learn how to use your thermostat .
Your Nest thermostat will guide you through
a series of simple questions about your home,
what temperatures you like, and your heating
and cooling system. It will use this information
to help keep you comfortable and help save you energy.
Turn your thermostat like a dial to highlightdifferent options, and press it like a button to choose one.
Below are the things your thermostat will askyou about during setup. Select one to learn more.

Language
Select the language your Nest thermostat will use to display text. Your thermostat will also choose a time format based on the language you'll pick. For example, if you select English (US), it will be a 12-hour time. If you select English (UK), it'll be a 24-hour time.
You can change your language at any time by going to Settings Language menu.
Equipment
Homeowner or Pro
- If you installed your Nest thermostat yourself, select Homeownerto answer a few questions about your heating and cooling system.
- Nest Prohas options that only trained professional installers should use for complex systems.
Warning: Incorrect settings in Pro Setup can cause your HVAC system to malfunction and may damage it.
Dual fuel
If your system has a heat pump with an auxiliary heat source, you’ll be asked if your system is dual fuel or single fuel.
If you have a dual fuel system, you will need to have a trained professional set up your thermostat. You can find a trained Nest Pro installer in your area with our online Pro finder .
Equipment detected
Your thermostat will show you the wires it detectsin its connectors.
- If there’s a wire missing, pull off the thermostat
display and check that each wire is fully inserted
into their connector, and that the connector
button stays down. - If there's a wiring error on your thermostat, you’ll
need to fix it before continuing. For specific
troubleshooting steps, follow the link below
and enter the code.
Troubleshooting wiring errors on the Nest thermostat
Once you’ve confirmed that the wiring is correct, your
thermostat will ask some questions about yoursystem, such as what kind of fuel it uses and
what type of heating you have.

Fuel Source
If you have a conventional system installed, your thermostat will ask about the fuel source for your heat and how that heat is delivered. The Nest thermostat uses this information to determine how to control your heating and cooling system.
If you know your fuel source, select it from the list.
Choose I don’t know if you’re not sure. You can always go back later to change your fuel source in the Settings Equipment menu.
Type of heating
How to tell what kind of heating you have
Heat pump
- Choose O or B
- The only way to tell for sure if the wire is O or B is to check your heat pump’s manual. Look it up online or contact the manufacturer.
- Most systems have an O wire, so O is a good choice if you can’t tell. Note: If you choose I don’t know, your thermostat will automatically select O.
- Test your system
Don’t worry if you made the wrong selection. Your Nest thermostat will ask you to run a system test at the end of setup. Don’t skip this important step and follow the instructions closely.- You’ll know that you’ve chosen the right O or B wire if your system behaves normally during the test.
- You’ve chosen the wrong wire if your system heats during the cooling test, or cools during the heating test. If you have only heat or only cooling, and you’ve chosen the wrong wire, then your system won’t heat or cool during the test.
- Change the setting if needed
- If you need to change the O/B wire setting, go back and change the O/B wire setting with your thermostat in Settings
Equipment
- If you need to change the O/B wire setting, go back and change the O/B wire setting with your thermostat in Settings
Your Account
Important things to know
- Add your thermostat to your account so you can finish setup with the app. When you’re done, you can control it with your phone, change settings remotely, get important notifications, and more.
- You’ll need to be at home near your thermostat to add it to your account. You can’t add it remotely.
- You’ll also need the latest version of the Nest app. The app will walk you through each step.
Get an entry key from your thermostat or scan the QR code
Simply follow the Nest app’s instructions to add your thermostat to your account. If the app asks you to scan the QR code, use your phone’s camera.
If you have other issues, go to the following article:
Troubleshoot adding a thermostat to your account
How to add your thermostat after installation
Follow these instructions if:
- You want to connect your thermostat to your account after you’ve completed installation and setup.
- You needed to remove your thermostat from your account for some reason and want to add it back.
- On the Nest app home screen, tap Settings.
- Tap Add product. The app will switch to a camera view to scan the thermostat’s QR code.
- To get the QR code, go to your thermostat and press it to open the Quick Viewmenu.
- Choose Settings .
- Turn the ring to select Nest appand press to open it.
- Select QR code. Your thermostat will show you a unique QR code to scan with the app.
Finish setup with the app
Install using your Nest Thermostat
Complete all the steps below to get started using your thermostat:
- Install your thermostat .
- Set up your thermostat . - You’ve just completed.
- Learn how to use your thermostat .