Managed Airflow (Gen 3) | Managed Airflow (Gen 2) | Managed Airflow (Legacy Gen 1)
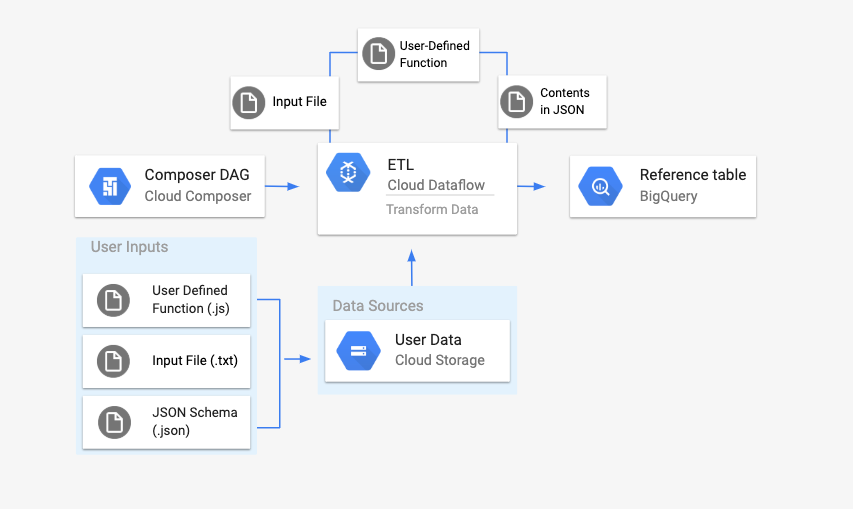
This page describes how to use the DataflowTemplateOperator
to launch Dataflow
pipelines from
Managed Airflow. The Cloud Storage Text to BigQuery pipeline
is a batch pipeline that allows you to upload text files stored in
Cloud Storage, transform them using a JavaScript User Defined
Function (UDF) that you provide, and output the results to
BigQuery.
Overview
-
Before kicking off the workflow, you will create the following entities:
-
An empty BigQuery table from an empty dataset that will hold the following columns of information:
location,average_temperature,monthand, optionally,inches_of_rain,is_current, andlatest_measurement. -
A JSON file that will normalize the data from the
.txtfile into the correct format for the BigQuery table's schema. The JSON object will have an array ofBigQuery Schema, where each object will contain a column name, type of input, and whether or not it is a required field. -
An input
.txtfile that will hold the data that will be batch uploaded to the BigQuery table. -
A User Defined Function written in JavaScript that will transform each line of the
.txtfile into the relevant variables for our table. -
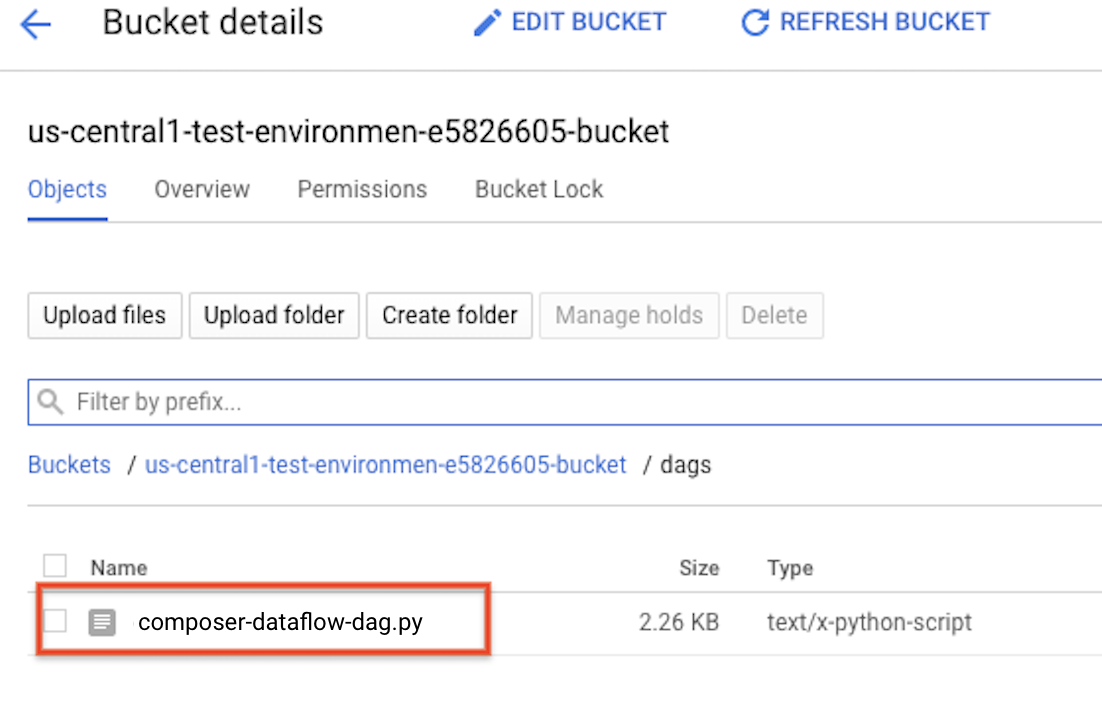
An Airflow DAG file that will point to the location of these files.
-
-
Next, you will upload the
.txtfile,.jsUDF file, and.jsonschema file to a Cloud Storage bucket. You'll also upload the DAG to your Managed Airflow environment. -
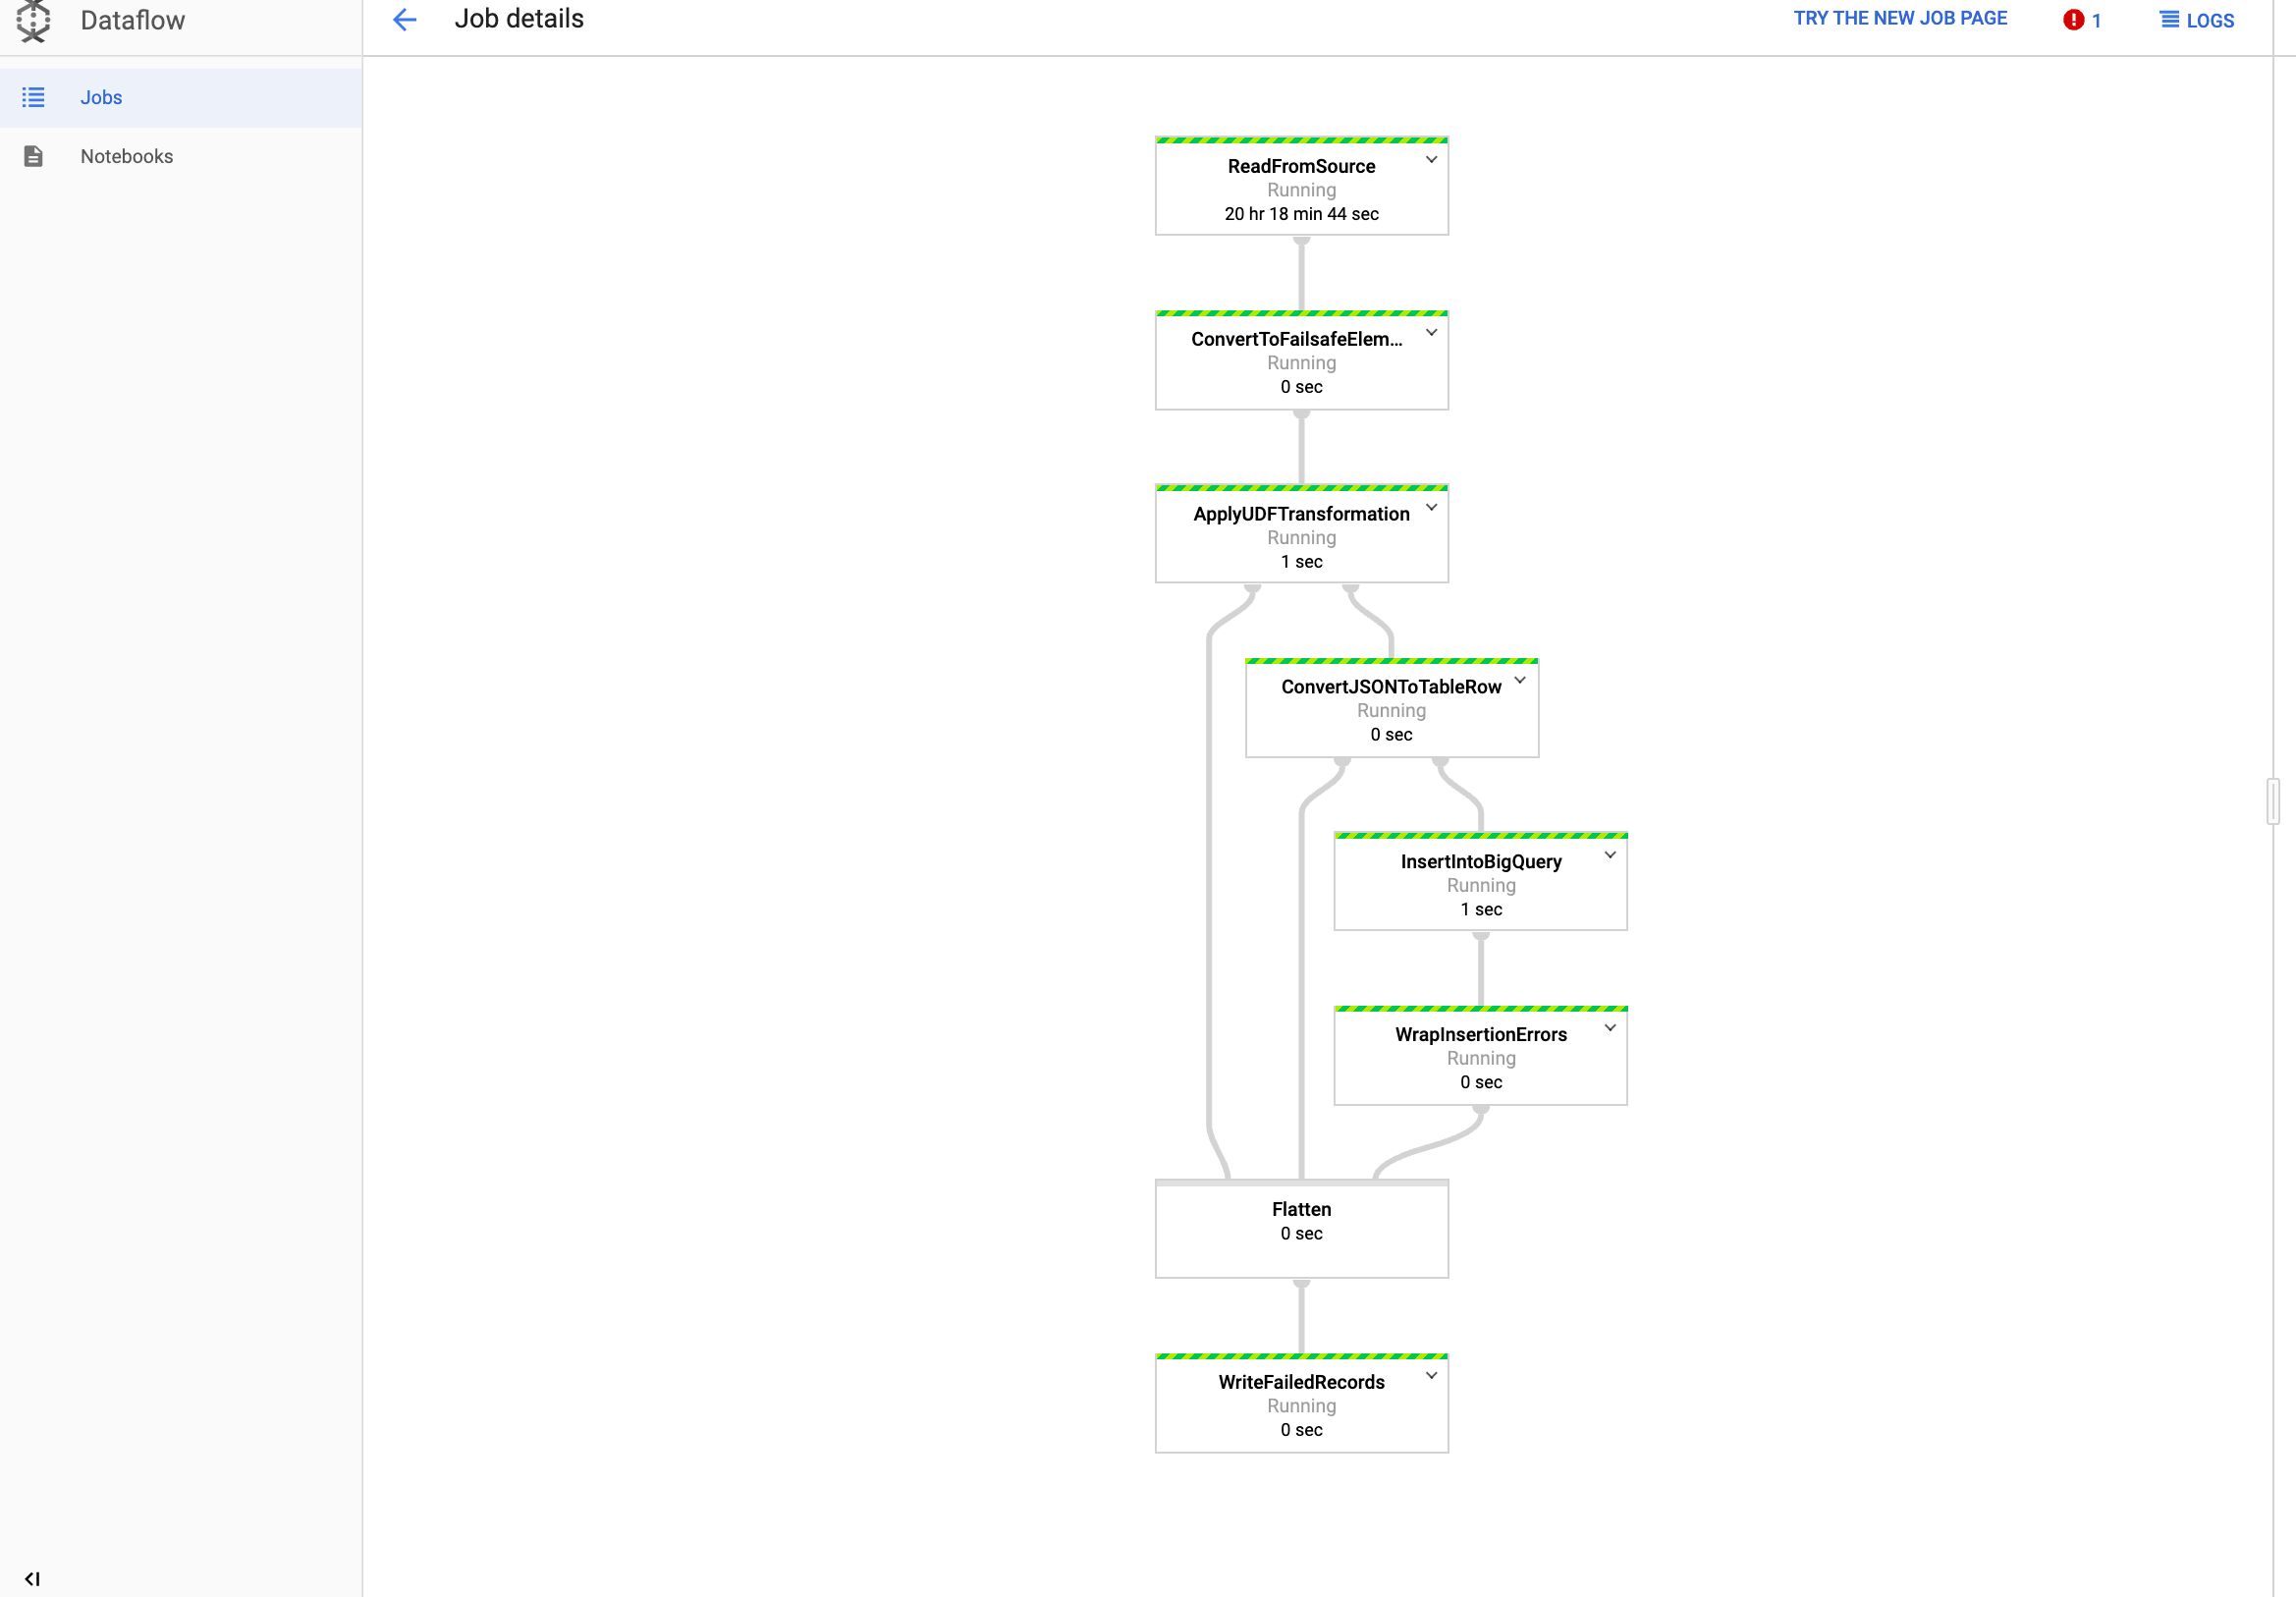
After the DAG is uploaded, Airflow will run a task from it. This task will launch a Dataflow pipeline that will apply the User-Defined Function to the
.txtfile and format it according to the JSON schema. -
Finally, the data will get uploaded to the BigQuery table that you created earlier.
Before you begin
- This guide requires familiarity with JavaScript to write the User Defined Function.
- This guide assumes that you already have a Managed Airflow environment. See Create environment to create one. You can use any version of Managed Airflow with this guide.
-
Enable the Managed Service for Apache Airflow, Dataflow, Cloud Storage, BigQuery APIs.
Roles required to enable APIs
To enable APIs, you need the Service Usage Admin IAM role (
roles/serviceusage.serviceUsageAdmin), which contains theserviceusage.services.enablepermission. Learn how to grant roles . -
Make sure that you have the following permissions:
- Managed Airflow roles : create an environment (if you don't have one), manage objects in the environment's bucket, Run DAGs and access the Airflow UI.
- Cloud Storage roles : Create a bucket and manage objects in it.
- BigQuery roles : Create a dataset and a table, modify data in the table, modify table schema and metadata.
- Dataflow roles : View Dataflow jobs.
-
Make sure that the service account of your environment has permissions to create Dataflow jobs, access the Cloud Storage bucket, and read and update data for the table in BigQuery.
Create an empty BigQuery table with a schema definition
Create a BigQuery table with a schema definition. You will use this schema definition later in this guide. This BigQuery table will hold the results of the batch upload.
To create an empty table with a schema definition:
Console
-
In the Google Cloud console, go to the BigQuery page:
-
In the navigation panel, in the Resourcessection, expand your project.
-
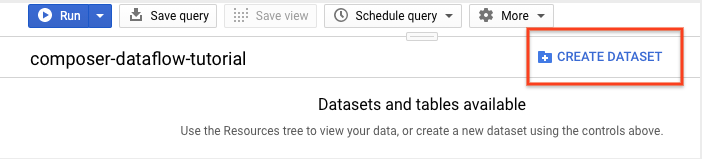
In the details panel, click Create dataset.
-
In the Create dataset page, in the Dataset IDsection, name your Dataset
average_weather. Leave all other fields in their default state.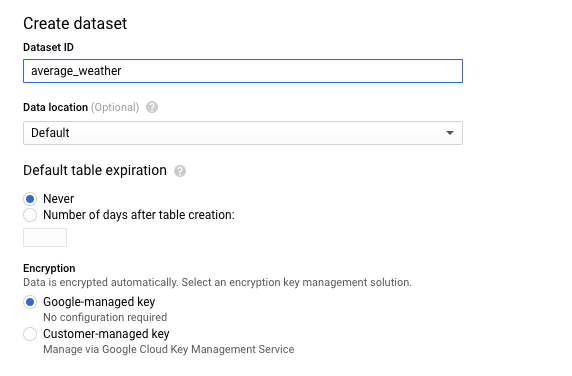
-
Click Create dataset.
-
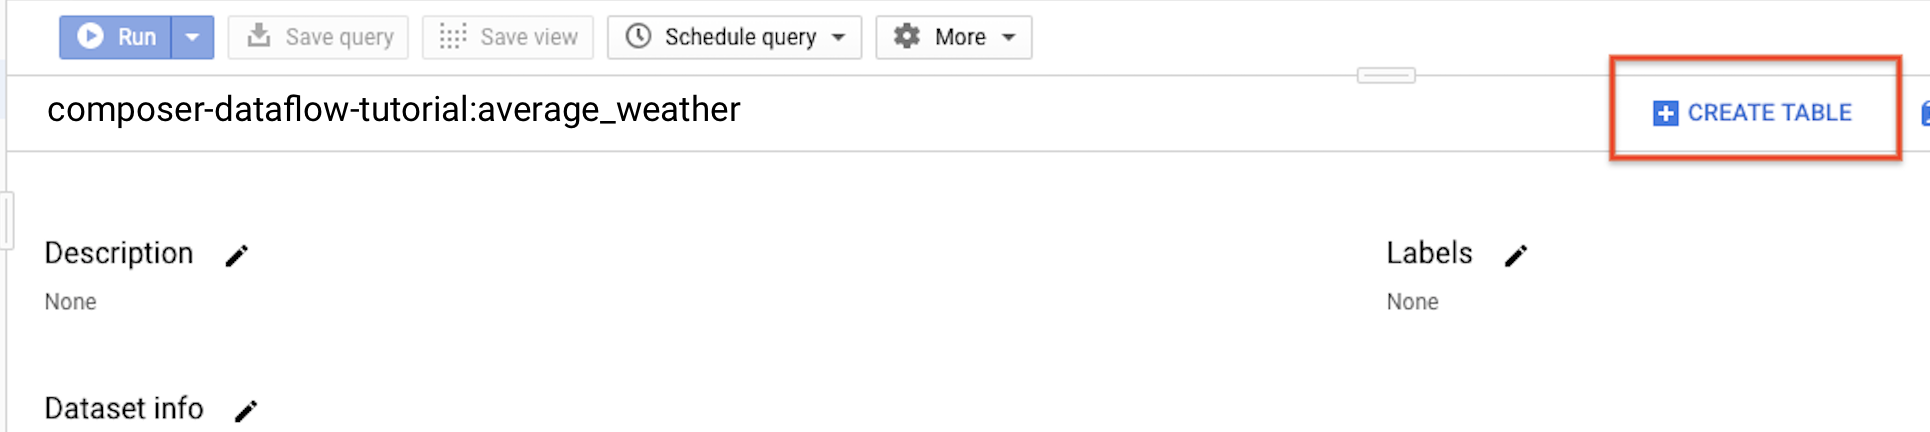
Go back to the navigation panel, in the Resourcessection, expand your project. Then, click on the
average_weatherdataset. -
In the details panel, click Create table.
-
On the Create tablepage, in the Sourcesection, select Empty table.
-
On the Create tablepage, in the Destinationsection:
-
For Dataset name, choose the
average_weatherdataset.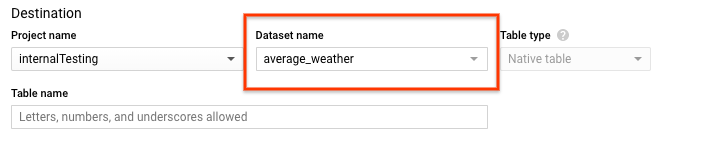
-
In the Table namefield, enter the name
average_weather. -
Verify that Table typeis set to Native table.
-
-
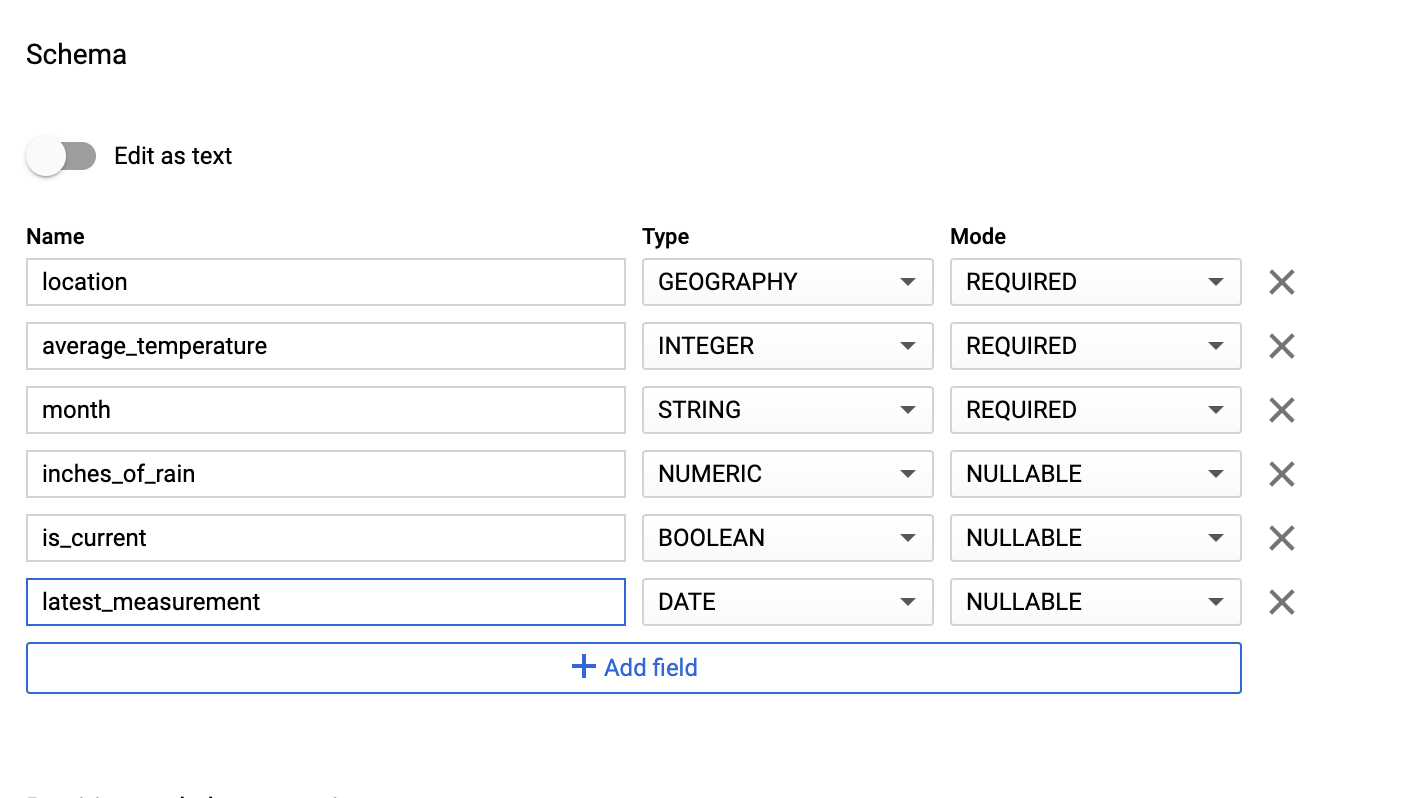
In the Schemasection, enter the schema definition. You can use one of the following approaches:
-
Enter schema information manually by enabling Edit as textand entering the table schema as a JSON array. Type in the following fields:
[ { "name" : "location" , "type" : "GEOGRAPHY" , "mode" : "REQUIRED" }, { "name" : "average_temperature" , "type" : "INTEGER" , "mode" : "REQUIRED" }, { "name" : "month" , "type" : "STRING" , "mode" : "REQUIRED" }, { "name" : "inches_of_rain" , "type" : "NUMERIC" }, { "name" : "is_current" , "type" : "BOOLEAN" }, { "name" : "latest_measurement" , "type" : "DATE" } ] -
Use Add fieldto manually input the schema:
-
-
For Partition and cluster settingsleave the default value,
No partitioning. -
In the Advanced optionssection, for Encryptionleave the default value,
Google-owned and managed key. -
Click Create table.
bq
Use the bq mk
command to create an empty dataset and a table in this
dataset.
Run the following command to create a dataset of average global weather:
 bq
--location =
 LOCATION

mk
 \

--dataset
 PROJECT_ID
:average_weather
Replace the following:
-
LOCATION: the region where the environment is located. -
PROJECT_ID: the Project ID .
Run the following command to create an empty table in this dataset with the schema definition:
 bq
mk
--table
 \
 PROJECT_ID
:average_weather.average_weather
 \
location:GEOGRAPHY,average_temperature:INTEGER,month:STRING,inches_of_rain:NUMERIC,is_current:BOOLEAN,latest_measurement:DATE
After the table is created, you can update the table's expiration, description, and labels. You can also modify the schema definition .
Python
Save this code as dataflowtemplateoperator_create_dataset_and_table_helper.py
and update the variables in it to reflect your project and location, then
run it with the following command:
 python
dataflowtemplateoperator_create_dataset_and_table_helper.py
Python
To authenticate to Managed Airflow, set up Application Default Credentials. For more information, see Set up authentication for a local development environment .
Create a Cloud Storage bucket
Create a bucket to hold all of the files needed for the workflow. The DAG you create later in this guide will reference the files that you upload to this storage bucket. To create a new storage bucket:
Console
-
Open the Cloud Storage in the Google Cloud console.
-
Click Create Bucketto open the bucket creation form.
-
Enter your bucket information and click Continueto complete each step:
-
Specify a globally unique Namefor your bucket. This guide uses
bucketNameas an example. -
Select Regionfor the location type. Next, select a Locationwhere the bucket data will be stored.
-
Select Standardas your default storage class for your data.
-
Select Uniformaccess control to access your objects.
-
-
Click Done.
-
gcloud
Use the gcloud storage buckets create
command:
 gcloud
storage
buckets
create
gs:// bucketName
/
Replace the following:
-
bucketName: the name of the bucket that you created earlier in this guide.
Code samples
C#
To authenticate to Managed Airflow, set up Application Default Credentials. For more information, see Set up authentication for a local development environment .
Go
To authenticate to Managed Airflow, set up Application Default Credentials. For more information, see Set up authentication for a local development environment .
Java
To authenticate to Managed Airflow, set up Application Default Credentials. For more information, see Set up authentication for a local development environment .
Python
To authenticate to Managed Airflow, set up Application Default Credentials. For more information, see Set up authentication for a local development environment .
Ruby
To authenticate to Managed Airflow, set up Application Default Credentials. For more information, see Set up authentication for a local development environment .
Create a JSON-formatted BigQuery schema for your output table
Create a JSON formatted BigQuery schema file that matches the
output table you created earlier. Note that the field names, types, and modes
must match the ones defined earlier in your BigQuery table
schema. This file will normalize the data from your .txt
file into a format
compatible with your BigQuery schema. Name this file jsonSchema.json
.
  {

 "BigQuery Schema"
:
 [

 {

 "name"
:
 "location"
,
 "type"
:
 "GEOGRAPHY"
,
 "mode"
:
 "REQUIRED"

 }
,
 {

 "name"
:
 "average_temperature"
,
 "type"
:
 "INTEGER"
,
 "mode"
:
 "REQUIRED"

 }
,
 {

 "name"
:
 "month"
,
 "type"
:
 "STRING"
,
 "mode"
:
 "REQUIRED"

 }
,
 {

 "name"
:
 "inches_of_rain"
,
 "type"
:
 "NUMERIC"

 }
,
 {

 "name"
:
 "is_current"
,
 "type"
:
 "BOOLEAN"

 }
,
 {

 "name"
:
 "latest_measurement"
,
 "type"
:
 "DATE"

 }]
 }
Create a JavaScript file to format your data
In this file, you will define your UDF (User Defined Function) that supplies
the logic to transform the lines of text in your input file. Note that this
function takes each line of text in your input file as its own argument, so
the function will run once for each line of your input file. Name this file transformCSVtoJSON.js
.
Create your input file
This file will hold the information you want to upload to your
BigQuery table. Copy this file locally and name it inputFile.txt
.
 POINT(40.7128 74.006),45,'July',null,true,2020-02-16
POINT(41.8781 87.6298),23,'October',13,false,2015-02-13
POINT(48.8566 2.3522),80,'December',null,true,null
POINT(6.5244 3.3792),15,'March',14,true,null
Upload your files to your bucket
Upload the following files to the Cloud Storage bucket that you created earlier:
- JSON-formatted BigQuery schema (
.json) - JavaScript User Defined Function (
transformCSVtoJSON.js) -
The input file of the text you'd like to process (
.txt)
Console
- In the Google Cloud console, go to the Cloud Storage Buckets
page.
-
In the list of buckets, click on your bucket.
-
In the Objects tabfor the bucket, do one of the following:
-
Drag and drop the desired files from your desktop or file manager to the main pane in the Google Cloud console.
-
Click the Upload Filesbutton, select the files you want to upload in the dialog that appears, and click Open.
-
gcloud
Run the gcloud storage cp
command:
 gcloud
storage
cp
 OBJECT_LOCATION

gs:// bucketName
Replace the following:
-
bucketName: the name of the bucket that you created earlier in this guide. -
OBJECT_LOCATION: the local path to your object. For example,Desktop/transformCSVtoJSON.js.
Code samples
Python
To authenticate to Managed Airflow, set up Application Default Credentials. For more information, see Set up authentication for a local development environment .
Ruby
To authenticate to Managed Airflow, set up Application Default Credentials. For more information, see Set up authentication for a local development environment .