
1. Overview
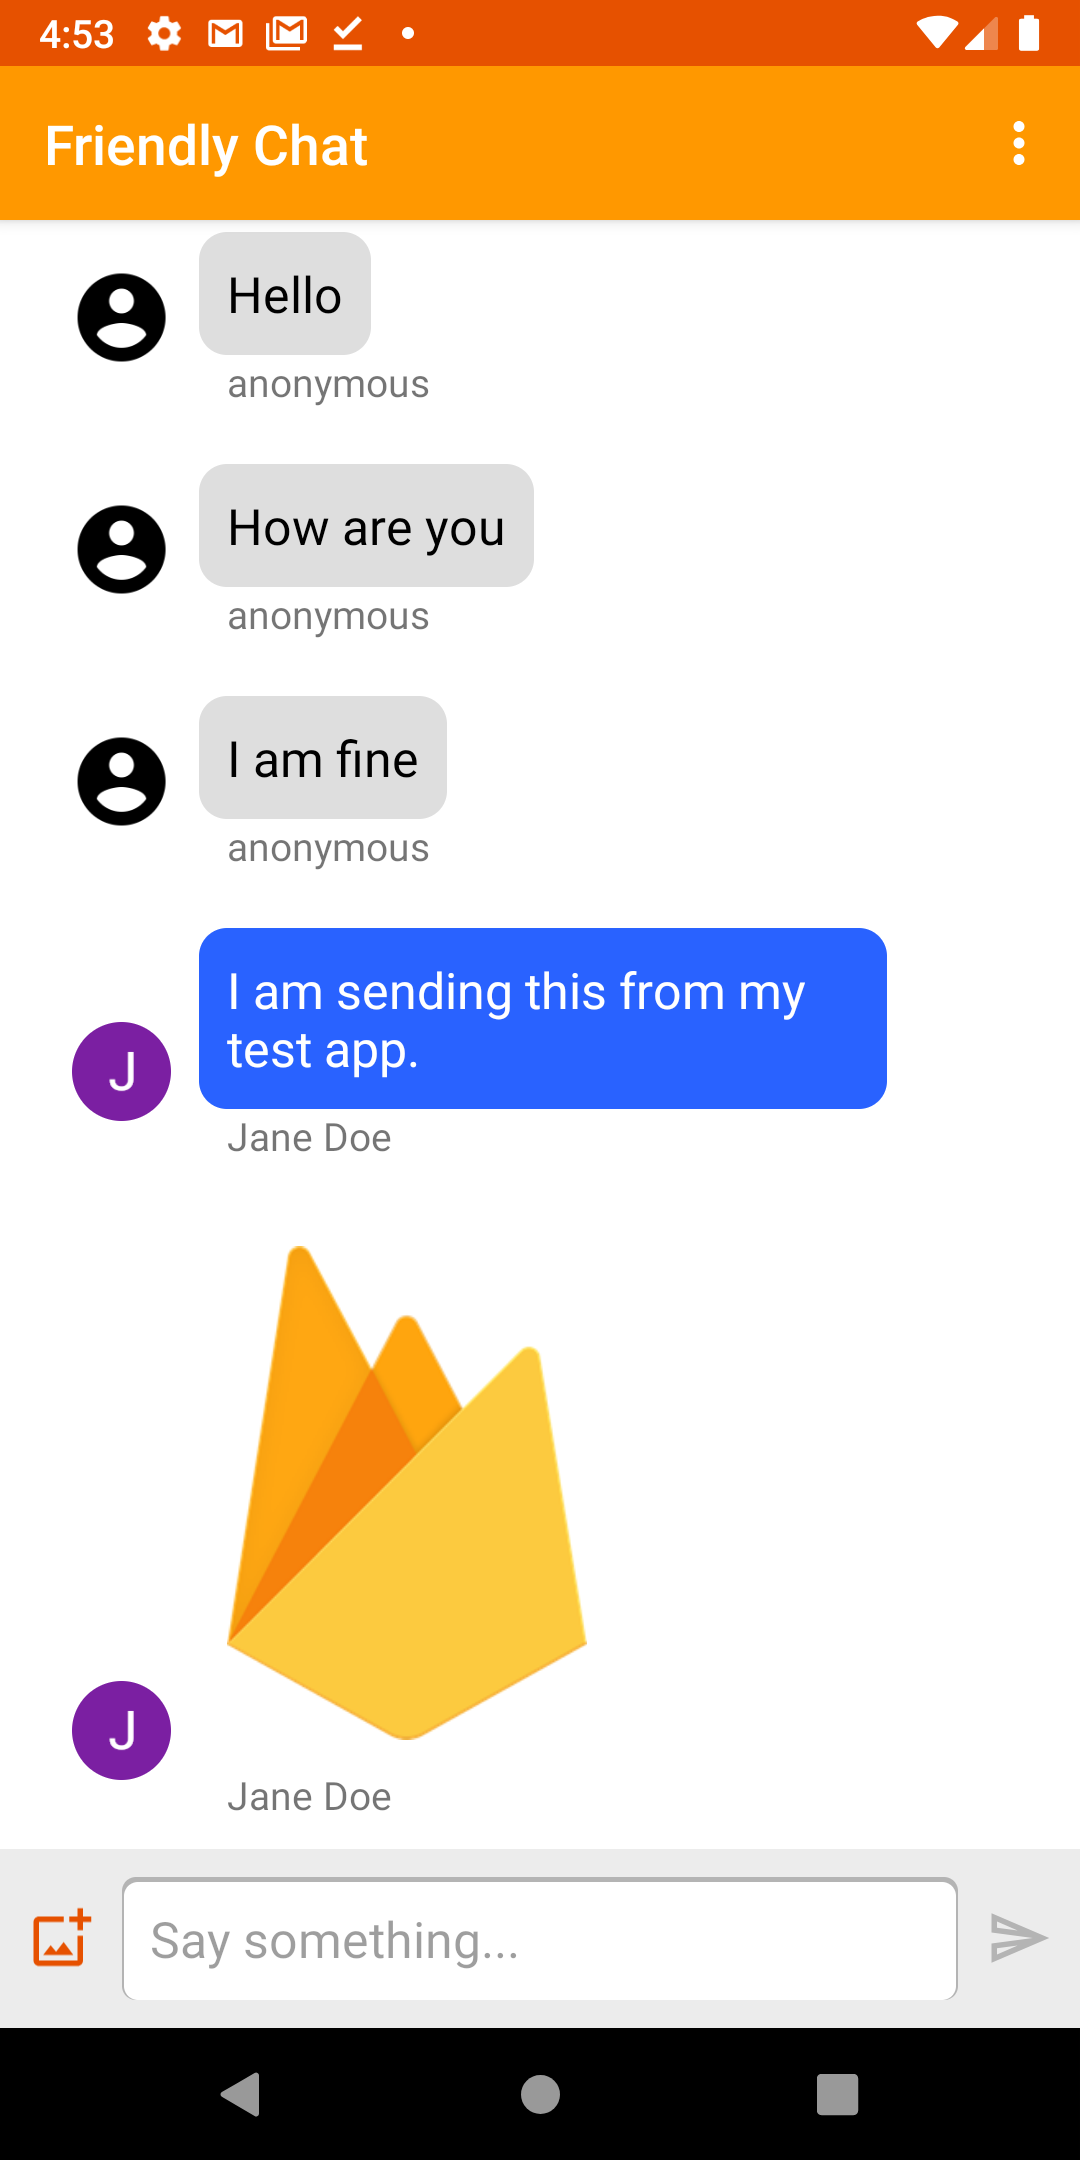
Image: Working Friendly Chat app.
Welcome to the Friendly Chat codelab. In this codelab, you'll learn how to use the Firebase platform to create a chat app on Android.
What you'll learn
- How to use Firebase Authentication to allow users to sign in.
- How to sync data using the Firebase Realtime Database.
- How to store binary files in Cloud Storage for Firebase.
- How to use the Firebase Local Emulator Suite to develop an Android app with Firebase.
What you'll need
- Latest Android Studio version.
- An Android Emulator with Android 5.0+.
- Node.js version 10 or higher (to use the Emulator Suite).
- Java 8 or higher. To install Java use these instructions
; to check your version, run
java -version. - Familiarity with the Kotlin programming language.
2. Get the sample code
Clone the repository
Clone the GitHub repository from the command line:
$ git clone https://github.com/firebase/codelab-friendlychat-android
Import into Android Studio
In Android Studio, select File> Open, then select the build-android-start
directory ( ) from the directory where you downloaded the sample code.
You should now have the build-android-start
project open in Android Studio. If you see a warning about a google-services.json
file missing, don't worry. It will be added in a later step.
Check dependencies
In this codelab all of the dependencies you will need have already been added for you, but it's important to understand how to add the Firebase SDK to your app:
build.gradle.kts
  plugins

 {

 id
 (
 "com.android.application"
 )

 version

 "8.0.0"

 apply

 false

 id
 (
 "com.android.library"
 )

 version

 "8.0.0"

 apply

 false

 id
 (
 "org.jetbrains.kotlin.android"
 )

 version

 "1.8.20"

 apply

 false

 // The google-services plugin is required to parse the google-services.json file

 id
 (
 "com.google.gms.google-services"
 )

 version

 "4.3.15"

 apply

 false
 }
app/build.gradle.kts
  plugins

 {

 id
 (
 "com.android.application"
 )

 id
 (
 "kotlin-android"
 )

 id
 (
 "com.google.gms.google-services"
 )
 }
 android

 {

 // ...
 }
 dependencies

 {

 // ...

 // Google Sign In SDK

 implementation
 (
 "com.google.android.gms:play-services-auth:20.5.0"
 )

 // Firebase SDK

 implementation
 (
 platform
 (
 "com.google.firebase:firebase-bom:32.0.0"
 ))

 implementation
 (
 "com.google.firebase:firebase-database-ktx"
 )

 implementation
 (
 "com.google.firebase:firebase-storage-ktx"
 )

 implementation
 (
 "com.google.firebase:firebase-auth-ktx"
 )

 // Firebase UI Library

 implementation
 (
 "com.firebaseui:firebase-ui-auth:8.0.2"
 )

 implementation
 (
 "com.firebaseui:firebase-ui-database:8.0.2"
 )
 }
3. Install the Firebase CLI
In this codelab you'll use the Firebase Emulator Suite to locally emulate Firebase Auth, the Realtime Database and Cloud Storage. This provides a safe, fast, and no-cost local development environment to build your app.
Install the Firebase CLI
First you will need to install the Firebase CLI . If you are using macOS or Linux, you can run the following cURL command:
curl -sL https://firebase.tools | bash
If you are using Windows, read the installation instructions
to get a standalone binary or to install via npm
.
Once you've installed the CLI, running firebase --version
should report a version of 9.0.0
or higher:
$ firebase --version
9.0.0
Log In
Run firebase login
to connect the CLI to your Google account. This will open a new browser window to complete the login process. Make sure to choose the same account you used when creating your Firebase project earlier.
4. Connect to the Firebase Emulator Suite
Start the emulators
In your terminal, run the following command from the root of your local codelab-friendlychat-android
directory:
firebase emulators:start --project=demo-friendlychat-android
You should see some logs like this. The port values were defined in the firebase.json
file, which was included in the cloned sample code.
 $
firebase
emulators:start
--project =
demo-friendlychat-android
i
emulators:
Starting
emulators:
auth,
database,
storage
i
emulators:
Detected
demo
project
ID
 "demo-friendlychat-android"
,
emulated
services
will
use
a
demo
configuration
and
attempts
to
access
non-emulated
services
 for

this
project
will
fail.
i
database:
Database
Emulator
logging
to
database-debug.log
i
ui:
Emulator
UI
logging
to
ui-debug.log

┌─────────────────────────────────────────────────────────────┐
│
✔
All
emulators
ready!
It
is
now
safe
to
connect
your
app.
│
│
i
View
Emulator
UI
at
http://localhost:4000
│
└─────────────────────────────────────────────────────────────┘

┌────────────────┬────────────────┬────────────────────────────────┐
│
Emulator
│
Host:Port
│
View
 in

Emulator
UI
│
├────────────────┼────────────────┼────────────────────────────────┤
│
Authentication
│
localhost:9099
│
http://localhost:4000/auth
│
├────────────────┼────────────────┼────────────────────────────────┤
│
Database
│
localhost:9000
│
http://localhost:4000/database
│
├────────────────┼────────────────┼────────────────────────────────┤
│
Storage
│
localhost:9199
│
http://localhost:4000/storage
│
└────────────────┴────────────────┴────────────────────────────────┘
Emulator
Hub
running
at
localhost:4400
Other
reserved
ports:
 4500
Issues?
Report
them
at
https://github.com/firebase/firebase-tools/issues
and
attach
the
*-debug.log
files.
Navigate to http://localhost:4000 in your web browser to view the Firebase Emulator Suite UI:

Leave the emulators:start
command running for the rest of the codelab.
Connect your app
In Android Studio, open MainActivity.kt
, then add the following code inside the onCreate
method:
  // When running in debug mode, connect to the Firebase Emulator Suite.
 // "10.0.2.2" is a special IP address which allows the Android Emulator
 // to connect to "localhost" on the host computer. The port values (9xxx)
 // must match the values defined in the firebase.json file.
 if

 (
 BuildConfig
 .
 DEBUG
 )

 {

 Firebase
 .
 database
 .
 useEmulator
 (
 "10.0.2.2"
 ,

 9000
 )

 Firebase
 .
 auth
 .
 useEmulator
 (
 "10.0.2.2"
 ,

 9099
 )

 Firebase
 .
 storage
 .
 useEmulator
 (
 "10.0.2.2"
 ,

 9199
 )
 }
5. Run the starter app
Add google-services.json
In order for your Android app to connect to Firebase, you must add a google-services.json
file inside the app
folder of your Android project. For the purposes of this codelab, we've provided a mock JSON file which will allow you to connect to the Firebase Emulator Suite.
Copy the mock-google-services.json
file into the build-android-start/app
folder as google-services.json
:
cp mock-google-services.json build-android-start/app/google-services.json
In the final step of this codelab, you'll learn how to create a real Firebase project and Firebase Android App so that you can replace this mock JSON file with your own configuration.
Run the app
Now that you've imported the project into Android Studio and added a Firebase configuration JSON file, you're ready to run the app for the first time.
- Start your Android Emulator.
- In Android Studio, click Run(
 ) in the toolbar.
The app should launch on your Android Emulator. At this point, you should see an empty message list, and sending and receiving messages will not work. In the next step of this codelab, you'll authenticate users so that they can use Friendly Chat.
6. Enable Authentication
This app will use Firebase Realtime Database to store all chat messages. Before we add data, though, we should make sure that the app is secure and that only authenticated users can post messages. In this step, we will enable Firebase Authentication and configure Realtime Database Security Rules.
Add basic sign-in functionality
Next we'll add some basic Firebase Authentication code to the app to detect users and implement a sign-in screen.
Check for current user
First add the following instance variable to the MainActivity.kt
class:
MainActivity.kt
  //

 Firebase

 instance

 variables
 private

 lateinit

 var

 auth
 :

 FirebaseAuth
Now let's modify MainActivity
to send the user to the sign-in screen whenever they open the app and are unauthenticated. Add the following to the onCreate()
method afterthe binding
is attached to the view:
MainActivity.kt
  // Initialize Firebase Auth and check if the user is signed in
 auth

 =

 Firebase
 .
 auth
 if

 (
 auth
 .
 currentUser

 ==

 null
 )

 {

 // Not signed in, launch the Sign In activity

 startActivity
 (
 Intent
 (
 this
 ,

 SignInActivity
 ::
 class
 .
 java
 ))

 finish
 ()

 return
 }
We also want to check if the user is signed in during onStart()
:
MainActivity.kt
 public override fun onStart() {
    super.onStart()
    // Check if user is signed in.
    if (auth.currentUser == null) {
        // Not signed in, launch the Sign In activity
        startActivity(Intent(this, SignInActivity::class.java))
        finish()
        return
    }
}
Then implement the getUserPhotoUrl()
and getUserName()
methods to return the appropriate information about the currently authenticated Firebase user:
MainActivity.kt
 private fun getPhotoUrl(): String? {
    val user = auth.currentUser
    return user?.photoUrl?.toString()
}

private fun getUserName(): String? {
    val user = auth.currentUser
    return if (user != null) {
        user.displayName
    } else ANONYMOUS
}
Then implement the signOut()
method to handle the sign out button:
MainActivity.kt
 private fun signOut() {
    AuthUI.getInstance().signOut()
    startActivity(Intent(this, SignInActivity::class.java))
    finish()
}
Now we have all of the logic in place to send the user to the sign-in screen when necessary. Next we need to implement the sign-in screen to properly authenticate users.
Implement the Sign-In screen
Open the file SignInActivity.kt
. Here a simple Sign-In button is used to initiate authentication. In this section, you will use FirebaseUI to implement the logic for sign in.
Add an Auth instance variable in the SignInActivity
class under the // Firebase instance variables
comment:
SignInActivity.kt
  //

 Firebase

 instance

 variables
 private

 lateinit

 var

 auth
 :

 FirebaseAuth
Then, edit the onCreate()
method to initialize Firebase in the same way you did in MainActivity
:
SignInActivity.kt
  // Initialize FirebaseAuth
 auth

 =

 Firebase
 .
 auth
Add an ActivityResultLauncher
field to SignInActivity
:
SignInActivity.kt
 //
ADD
THIS
private
val
signIn:
ActivityResultLauncher<Intent>
=
registerForActivityResult(FirebaseAuthUIActivityResultContract(),
this::onSignInResult)

override
fun
onCreate(savedInstanceState:
Bundle?)
{
//
...
}
Next, edit the onStart()
method to kick off the FirebaseUI sign in flow:
SignInActivity.kt
 public override fun onStart() {
    super.onStart()

    // If there is no signed in user, launch FirebaseUI
    // Otherwise head to MainActivity
    if (Firebase.auth.currentUser == null) {
        // Sign in with FirebaseUI, see docs for more details:
        // https://firebase.google.com/docs/auth/android/firebaseui
        val signInIntent = AuthUI.getInstance()
                .createSignInIntentBuilder()
                .setLogo(R.mipmap.ic_launcher)
                .setAvailableProviders(listOf(
                        AuthUI.IdpConfig.EmailBuilder().build(),
                        AuthUI.IdpConfig.GoogleBuilder().build(),
                ))
                .build()

        signIn.launch(signInIntent)
    } else {
        goToMainActivity()
    }
}
Next, implement the onSignInResult
method to handle the sign in result. If the result of the signin was successful, continue to MainActivity
:
SignInActivity.kt
 private fun onSignInResult(result: FirebaseAuthUIAuthenticationResult) {
    if (result.resultCode == RESULT_OK) {
        Log.d(TAG, "Sign in successful!")
        goToMainActivity()
    } else {
        Toast.makeText(
                this,
                "There was an error signing in",
                Toast.LENGTH_LONG).show()

        val response = result.idpResponse
        if (response == null) {
            Log.w(TAG, "Sign in canceled")
        } else {
            Log.w(TAG, "Sign in error", response.error)
        }
    }
}
That's it! You've implemented authentication with FirebaseUI in just a few method calls and without needing to manage any server-side configuration.
Test your work
Run the app on your Android Emulator. You should be immediately sent to the sign-in screen. Tap the Sign in with emailbutton, then create an account. If everything is implemented correctly, you should be sent to the messaging screen.
After signing in, open the Firebase Emulator Suite UI in your browser, then click the Authenticationtab to see this first signed-in user account.

7. Read messages
In this step, we will add functionality to read and display messages stored in Realtime Database.
Import sample messages
- In the Firebase Emulator Suite UI, select the Realtime Databasetab.
- Drag and drop the
initial_messages.jsonfile from your local copy of the codelab repository into the data viewer.

You should now have a few messages under the messages
node of the database.
Read data
Synchronize messages
In this section we add code that synchronizes newly added messages to the app UI by:
- Initializing the Firebase Realtime Database and adding a listener to handle changes made to the data.
- Updating the
RecyclerViewadapter so new messages will be shown. - Adding the Database instance variables with your other Firebase instance variables in the
MainActivityclass:
MainActivity.kt
  //

 Firebase

 instance

 variables
 //

 ...
 private

 lateinit

 var

 db
 :

 FirebaseDatabase
 private

 lateinit

 var

 adapter
 :

 FriendlyMessageAdapter
Modify your MainActivity's onCreate()
method under the comment // Initialize Realtime Database and FirebaseRecyclerAdapter
with the code defined below. This code adds all existing messages from Realtime Database and then listens for new child entries under the messages
path in your Firebase Realtime Database. It adds a new element to the UI for each message:
MainActivity.kt
  // Initialize Realtime Database
 db

 =

 Firebase
 .
 database
 val

 messagesRef

 =

 db
 .
 reference
 .
 child
 (
 MESSAGES_CHILD
 )
 // The FirebaseRecyclerAdapter class and options come from the FirebaseUI library
 // See: https://github.com/firebase/FirebaseUI-Android
 val

 options

 =

 FirebaseRecyclerOptions
 .
 Builder<FriendlyMessage>
 ()

 .
 setQuery
 (
 messagesRef
 ,

 FriendlyMessage
 ::
 class
 .
 java
 )

 .
 build
 ()
 adapter

 =

 FriendlyMessageAdapter
 (
 options
 ,

 getUserName
 ())
 binding
 .
 progressBar
 .
 visibility

 =

 ProgressBar
 .
 INVISIBLE
 manager

 =

 LinearLayoutManager
 (
 this
 )
 manager
 .
 stackFromEnd

 =

 true
 binding
 .
 messageRecyclerView
 .
 layoutManager

 =

 manager
 binding
 .
 messageRecyclerView
 .
 adapter

 =

 adapter
 // Scroll down when a new message arrives
 // See MyScrollToBottomObserver for details
 adapter
 .
 registerAdapterDataObserver
 (

 MyScrollToBottomObserver
 (
 binding
 .
 messageRecyclerView
 ,

 adapter
 ,

 manager
 )
 )
Next in the FriendlyMessageAdapter.kt
class implement the bind()
method within the inner class MessageViewHolder()
:
FriendlyMessageAdapter.kt
 inner
class
MessageViewHolder(private
val
binding:
MessageBinding)
:
ViewHolder(binding.root)
{
fun
bind(item:
FriendlyMessage)
{
binding.messageTextView.text
=
item.text
setTextColor(item.name,
binding.messageTextView)
binding.messengerTextView.text
=
if
(item.name
==
null)
ANONYMOUS
else
item.name
if
(item.photoUrl
!=
null)
{
loadImageIntoView(binding.messengerImageView,
item.photoUrl!!)
}
else
{
binding.messengerImageView.setImageResource(R.drawable.ic_account_circle_black_36dp)
}
}
...
}
We also need to display messages that are images, so also implement the bind()
method within the inner class ImageMessageViewHolder()
:
FriendlyMessageAdapter.kt
 inner
class
ImageMessageViewHolder(private
val
binding:
ImageMessageBinding)
:
ViewHolder(binding.root)
{
fun
bind(item:
FriendlyMessage)
{
loadImageIntoView(binding.messageImageView,
item.imageUrl!!)
binding.messengerTextView.text
=
if
(item.name
==
null)
ANONYMOUS
else
item.name
if
(item.photoUrl
!=
null)
{
loadImageIntoView(binding.messengerImageView,
item.photoUrl!!)
}
else
{
binding.messengerImageView.setImageResource(R.drawable.ic_account_circle_black_36dp)
}
}
}
Finally, back in MainActivity
, start and stop listening for updates from Firebase Realtime Database. Update the onPause()
and onResume()
methods in MainActivity
as shown below:
MainActivity.kt
 public override fun onPause() {
    adapter.stopListening()
    super.onPause()
}

public override fun onResume() {
    super.onResume()
    adapter.startListening()
}
Test syncing messages
- Click Run().
- In the Emulator Suite UI, return to the Realtime Databasetab, then manually add a new message. Confirm that the message shows up in your Android app:

Congratulations, you just added a realtime database to your app!
8. Send Messages
Implement text message sending
In this section, you will add the ability for app users to send text messages. The code snippet below listens for click events on the send button, creates a new FriendlyMessage
object with the contents of the message field, and pushes the message to the database. The push()
method adds an automatically generated ID to the pushed object's path. These IDs are sequential which ensures that the new messages will be added to the end of the list.
Update the click listener of the send button in the onCreate()
method in the MainActivity
class. This code is at the bottom of the onCreate()
method already. Update the onClick()
body to match the code below:
MainActivity.kt
  // Disable the send button when there's no text in the input field
 // See MyButtonObserver for details
 binding
 .
 messageEditText
 .
 addTextChangedListener
 (
 MyButtonObserver
 (
 binding
 .
 sendButton
 ))
 // When the send button is clicked, send a text message
 binding
 .
 sendButton
 .
 setOnClickListener

 {

 val

 friendlyMessage

 =

 FriendlyMessage
 (

 binding
 .
 messageEditText
 .
 text
 .
 toString
 (),

 getUserName
 (),

 getPhotoUrl
 (),

 null

 /*

 no

 image

 */

 )

 db
 .
 reference
 .
 child
 (
 MESSAGES_CHILD
 ).
 push
 ().
 setValue
 (
 friendlyMessage
 )

 binding
 .
 messageEditText
 .
 setText
 (
 ""
 )
 }
Implement image message sending
In this section, you will add the ability for app users to send image messages. Creating an image message is done with these steps:
- Select image
- Handle image selection
- Write temporary image message to the Realtime Database
- Begin to upload selected image
- Update image message URL to that of the uploaded image, once upload is complete
Select Image
To add images this codelab uses Cloud Storage for Firebase. Cloud Storage is a good place to store the binary data of your app.
Handle image selection and write temp message
Once the user has selected an image, the image selection Intent
is launched. This is already implemented in the code at the end of the onCreate()
method. When finished it calls the MainActivity
's onImageSelected()
method. Using the code snippet below, you will write a message with a temporary image url to the database indicating the image is being uploaded.
MainActivity.kt
  private

 fun

 onImageSelected
 (
 uri
 :

 Uri
 )

 {

 Log
 .
 d
 (
 TAG
 ,

 "Uri: $uri"
 )

 val

 user

 =

 auth
 .
 currentUser

 val

 tempMessage

 =

 FriendlyMessage
 (
 null
 ,

 getUserName
 (),

 getPhotoUrl
 (),

 LOADING_IMAGE_URL
 )

 db
 .
 reference

 .
 child
 (
 MESSAGES_CHILD
 )

 .
 push
 ()

 .
 setValue
 (

 tempMessage
 ,

 DatabaseReference
 .
 CompletionListener

 {

 databaseError
 ,

 databaseReference

 -
>
 if

 (
 databaseError

 !=

 null
 )

 {

 Log
 .
 w
 (

 TAG
 ,

 "Unable to write message to database."
 ,

 databaseError
 .
 toException
 ()

 )

 return
 @
 CompletionListener

 }

 //

 Build

 a

 StorageReference

 and

 then

 upload

 the

 file

 val

 key

 =

 databaseReference
 .
 key

 val

 storageReference

 =

 Firebase
 .
 storage

 .
 getReference
 (
 user
 !!.
 uid
 )

 .
 child
 (
 key
 !!
 )

 .
 child
 (
 uri
 .
 lastPathSegment
 !!
 )

 putImageInStorage
 (
 storageReference
 ,

 uri
 ,

 key
 )

 })
 }
Upload image and update message
Add the method putImageInStorage()
to MainActivity
. It is called in onImageSelected()
to initiate the upload of the selected image. Once the upload is complete you will update the message to use the appropriate image.
MainActivity.kt
  private

 fun

 putImageInStorage
 (
 storageReference
 :

 StorageReference
 ,

 uri
 :

 Uri
 ,

 key
 :

 String
 ?
 )

 {

 //

 First

 upload

 the

 image

 to

 Cloud

 Storage

 storageReference
 .
 putFile
 (
 uri
 )

 .
 addOnSuccessListener
 (

 this

 )

 {

 taskSnapshot

 -
>
 //

 After

 the

 image

 loads
 ,

 get

 a

 public

 downloadUrl

 for

 the

 image

 //

 and

 add

 it

 to

 the

 message
 .

 taskSnapshot
 .
 metadata
 !!.
 reference
 !!.
 downloadUrl

 .
 addOnSuccessListener

 {

 uri

 -
>
 val

 friendlyMessage

 =

 FriendlyMessage
 (
 null
 ,

 getUserName
 (),

 getPhotoUrl
 (),

 uri
 .
 toString
 ())

 db
 .
 reference

 .
 child
 (
 MESSAGES_CHILD
 )

 .
 child
 (
 key
 !!
 )

 .
 setValue
 (
 friendlyMessage
 )

 }

 }

 .
 addOnFailureListener
 (
 this
 )

 {

 e

 -
>
 Log
 .
 w
 (

 TAG
 ,

 "Image upload task was unsuccessful."
 ,

 e

 )

 }
 }
Test sending messages
- In Android Studio, click the Runbutton.
- In your Android Emulator, enter a message, then tap the send button. The new message should be visible in the app UI and in the Firebase Emulator Suite UI.
- In the Android Emulator, tap the "+" image to select an image from your device. The new message should be visible first with a placeholder image, and then with the selected image once the image upload is complete. The new message should also be visible in the Emulator Suite UI, specifically as an object in the Realtime Database tab and as a blob in the Storage tab.
9. Congratulations!
You just built a real-time chat application using Firebase!
What you learned
- Firebase Authentication
- Firebase Realtime Database
- Cloud Storage for Firebase
Next, try using what you learned in this codelab to add Firebase to your own Android app! To learn more about Firebase, visit firebase.google.com .
If you want to learn how to set up a real Firebase project and use real Firebase resources (instead of a demo project and only emulated resources), continue to the next step.
Note: Even after you set up a real Firebase project and especially when you get started building a real app, we recommend using the Firebase Local Emulator Suite for development and testing.
10. Optional: Create and set up a Firebase project
In this step, you'll create a real Firebase project and a Firebase Android App to use with this codelab. You'll also add your app-specific Firebase configuration to your app. And finally, you'll set up real Firebase resources to use with your app.
Create a Firebase project
- Sign into the Firebase console using your Google Account.
- Click the button to create a new project, and then enter a project name (for example,
FriendlyChat).
- Click Continue.
- If prompted, review and accept the Firebase terms , and then click Continue.
- (Optional) Enable AI assistance in the Firebase console (called "Gemini in Firebase").
- For this codelab, you do not need Google Analytics, so toggle off the Google Analytics option.
- Click Create project, wait for your project to provision, and then click Continue.
Upgrade your Firebase pricing plan
To use Cloud Storage for Firebase, your Firebase project needs to be on the pay-as-you go (Blaze) pricing plan , which means it's linked to a Cloud Billing account .
- A Cloud Billing account requires a payment method, like a credit card.
- If you're new to Firebase and Google Cloud, check if you're eligible for a $300 credit and a Free Trial Cloud Billing account .
- If you're doing this codelab as part of an event, ask your organizer if there are any Cloud credits available.
To upgrade your project to the Blaze plan, follow these steps:
- In the Firebase console, select to upgrade your plan .
- Select the Blaze plan. Follow the on-screen instructions to link a Cloud Billing account to your project.
If you needed to create a Cloud Billing account as part of this upgrade, you might need to navigate back to the upgrade flow in the Firebase console to complete the upgrade.
Add Firebase to your Android project
In the Firebase console, and follow these steps to register your Android project with your Firebase project:
- From the overview screen of your new project, click the Android icon to launch the setup workflow:

- On the next screen, enter
com.google.firebase.codelab.friendlychatas the package name for your app. - Click Register App, then click Download google-services.jsonto download your Firebase configuration file.
- Copy the
google-services.jsonfile into theappdirectory of your Android project. - Skipthe next steps shown in the console's setup workflow (they've already been done for you in the
build-android-startproject). - Make sure that all dependencies are available to your app by syncing your project with Gradle files. From the Android Studio toolbar, select File> Sync Project with Gradle Files. You may also need to run Build/Clean Projectand Build/Rebuild Projectfor the config changes to take place.
Configure Firebase Authentication
Before your app can access the Firebase Authentication APIs on behalf of your users, you need to enable Firebase Authentication and the sign-in providers you want to use in your app.
- In the Firebase console , select Authenticationfrom the left-side navigation panel.
- Select the Sign-in methodtab.
- Click Email/Password, then toggle the switch to enabled (blue).
- Click Google, then toggle the switch to enabled (blue) and set a project support email.
If you get errors later in this codelab with the message "CONFIGURATION_NOT_FOUND", come back to this step and double check your work.
You might need to specify your app's SHA fingerprint to use Sign in with Google. You can do this in the Settings page of the Firebase console. Refer to Authenticating Your Client for details on how to get your app's SHA fingerprint.
Set up Realtime Database
The app in this codelab stores chat messages in Firebase Realtime Database. In this section, we'll create a database and configure its security via a JSON configuration language called Firebase Security Rules.
- In the left-panel of the Firebase console, expand Buildand then select Realtime Database .
- Click Create database.
- Select a location for your database, then click Next
.
For a real app, you want to choose a location that's close to your users. - Click Start in test mode. Read the disclaimer about the security rules.
In the next steps of this codelab, you'll add Security Rules to secure your data. Do not distribute or expose an app publicly without adding Security Rules for your database. - Click Create.
- Once the database instance has been created, select the Rulestab, then update the rules configuration with the following:
 {
   "rules": {
     "messages": {
       ".read": "auth.uid != null",
       ".write": "auth.uid != null"
     }
   }
 }
For more information on how Security Rules work (including documentation on the "auth" variable), see the Realtime Database security documentation .
Set up Cloud Storage for Firebase
- In the left-panel of the Firebase console, expand Buildand then select Storage .
- Click Get started.
- Select a location for your default Storage bucket.
Buckets inUS-WEST1,US-CENTRAL1, andUS-EAST1can take advantage of the "Always Free" tier for Google Cloud Storage. Buckets in all other locations follow Google Cloud Storage pricing and usage . - Click Start in test mode. Read the disclaimer about the security rules.
Later in this codelab, you'll add security rules to secure your data. Do not distribute or expose an app publicly without adding Security Rules for your Storage bucket. - Click Create.
Connect to Firebase resources
In an earlier step of this codelab, you added the following to MainActivity.kt
. This conditional block connected your Android project to the Firebase Emulator Suite.
  // REMOVE OR DISABLE THIS
 if

 (
 BuildConfig
 .
 DEBUG
 )

 {

 Firebase
 .
 database
 .
 useEmulator
 (
 "10.0.2.2"
 ,

 9000
 )

 Firebase
 .
 auth
 .
 useEmulator
 (
 "10.0.2.2"
 ,

 9099
 )

 Firebase
 .
 storage
 .
 useEmulator
 (
 "10.0.2.2"
 ,

 9199
 )
 }
If you want to connect your app to your new real
Firebase project and its real
Firebase resources, you can either remove this block or run your app in release mode so that BuildConfig.DEBUG
is false
.