
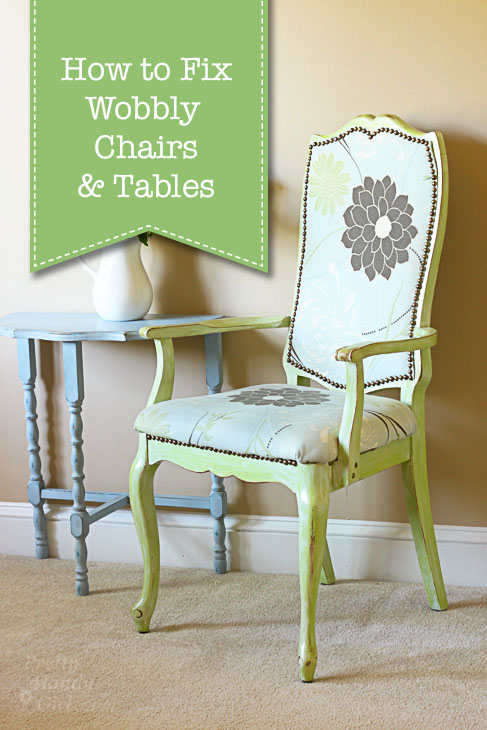
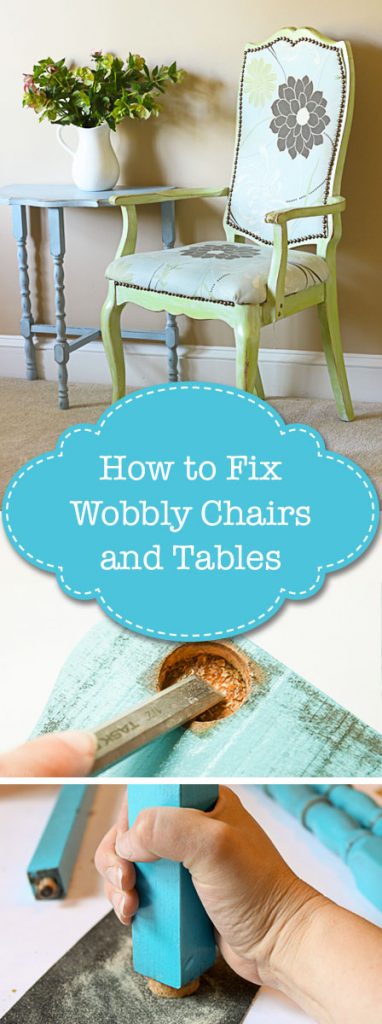
Do you have a wobbly chair or table? Don’t throw it away because today I’ll show you How to Fix that Wobbly Chair or Table!
You’ll only need a few supplies for this project and it won’t take you very long, so let’s get fixing!
Materials:
(I’ve included affiliate links for your convenience. I earn a small percentage from a purchase using these links. There is no additional cost to you. You can read more about affiliate links here .)
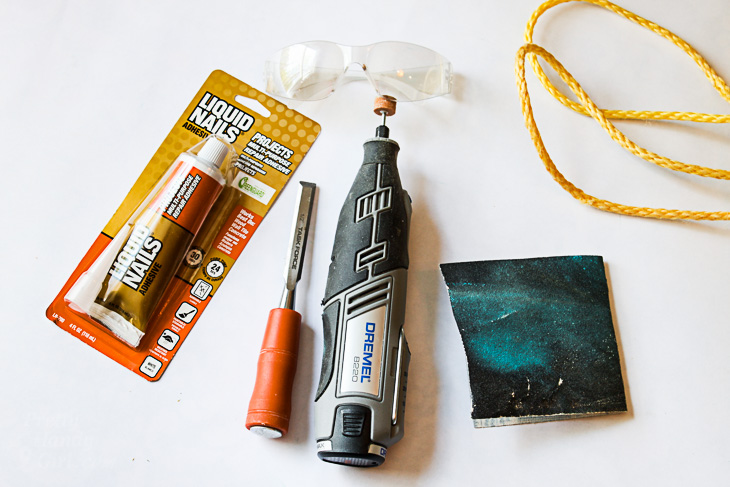
- Rope
- Eye protection
- Chisel
- Dremel with sanding bit (or sandpaper )
- Wood glue
- Pen
- Hammer
- Damp rag or wipes
Optional:
Instructions:
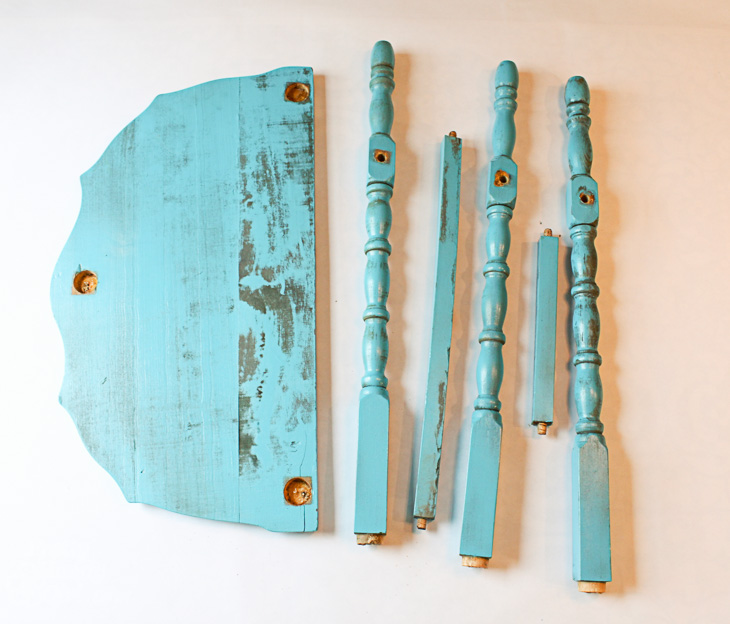
Take apart your chair or table. Twist the legs to break any remaining glue.
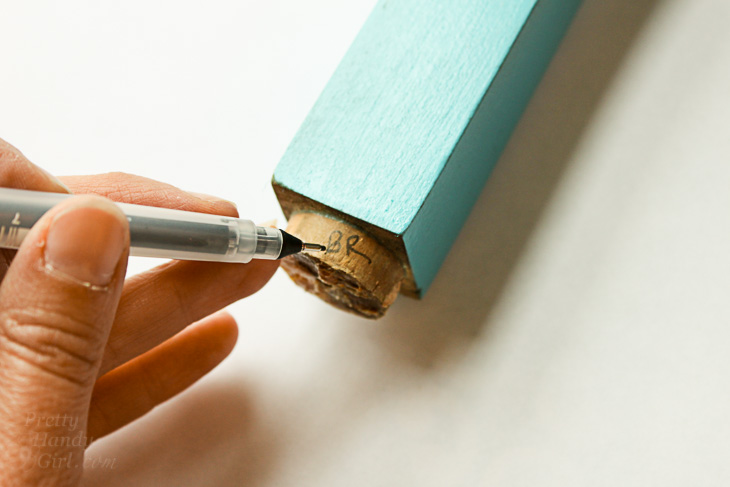
As you remove each piece, label where it came from (i.e. BR = Back Right, FR = Front Right, etc.)
Continue until all the legs and cross pieces have been removed.
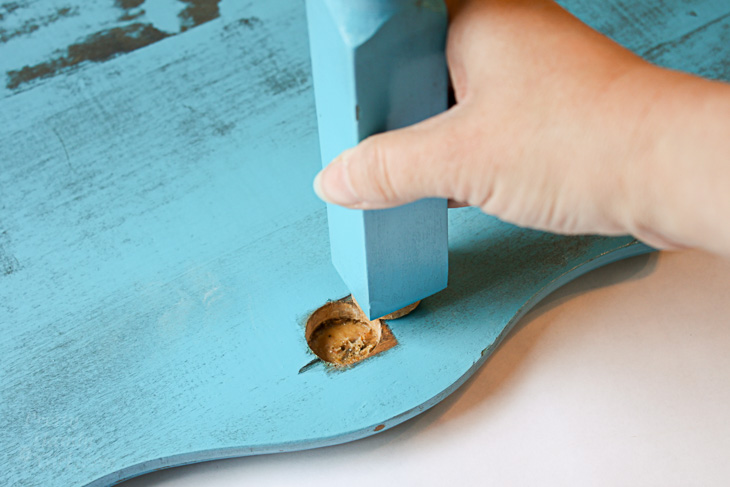
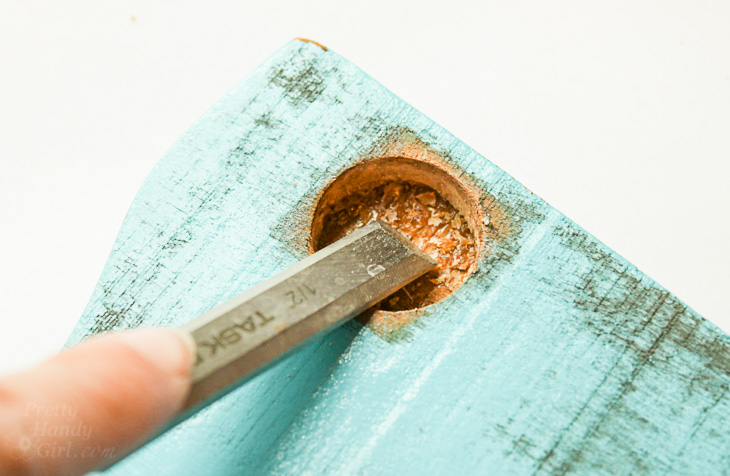
Use a small chisel to chip out any old glue.
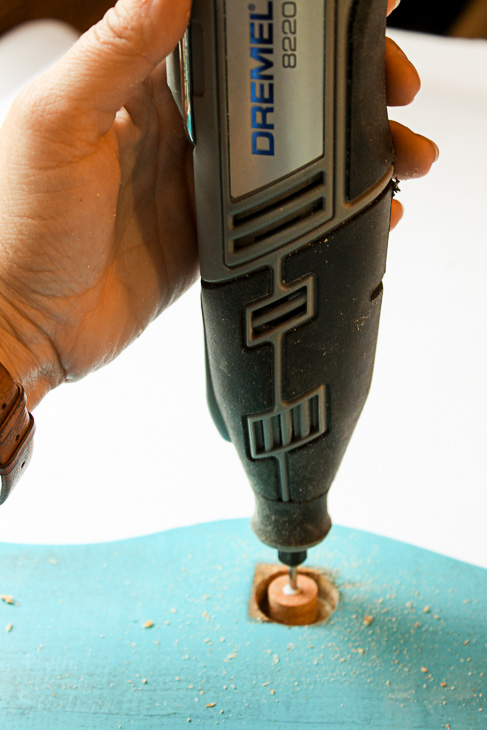
Use the Dremel to clean out all the holes and smooth the surface. (It’s important to expose the raw wood before re-gluing.)
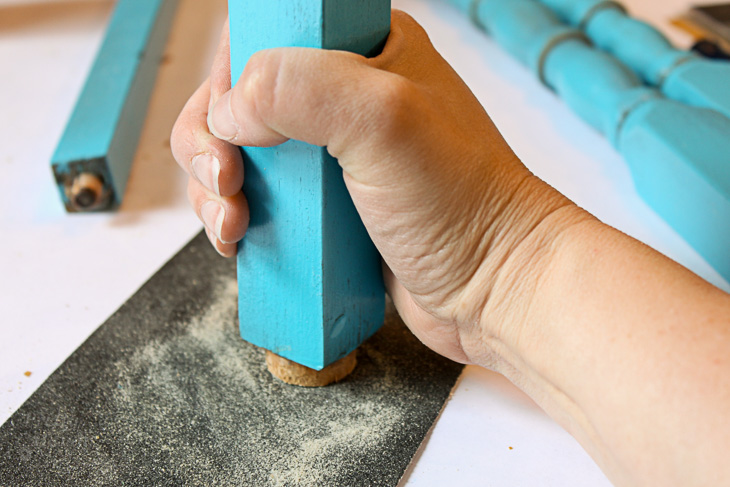
Sand the ends of the legs to remove any additional glue.
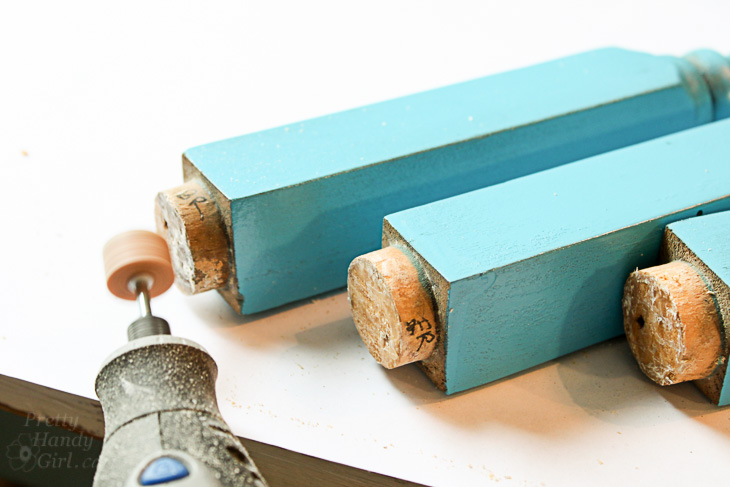
If you don’t have a Dremel, you can use sand paper.
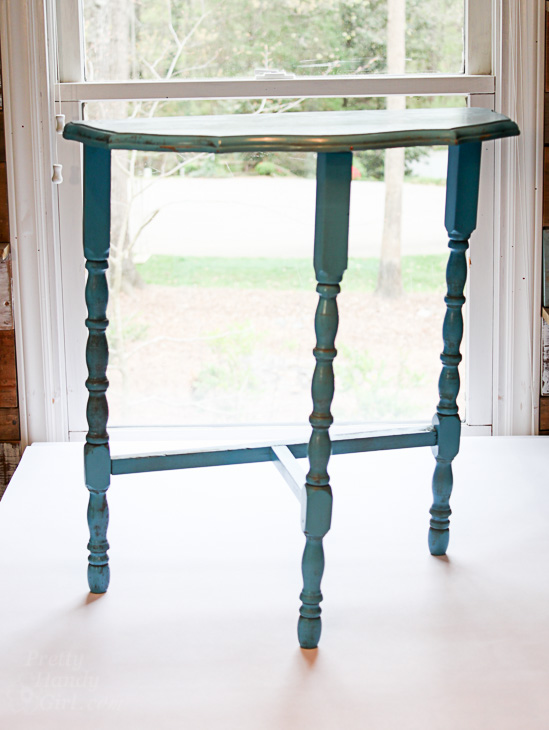
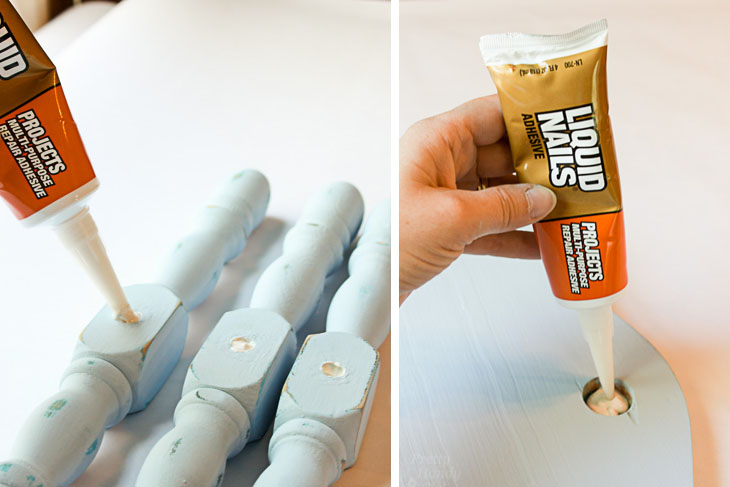
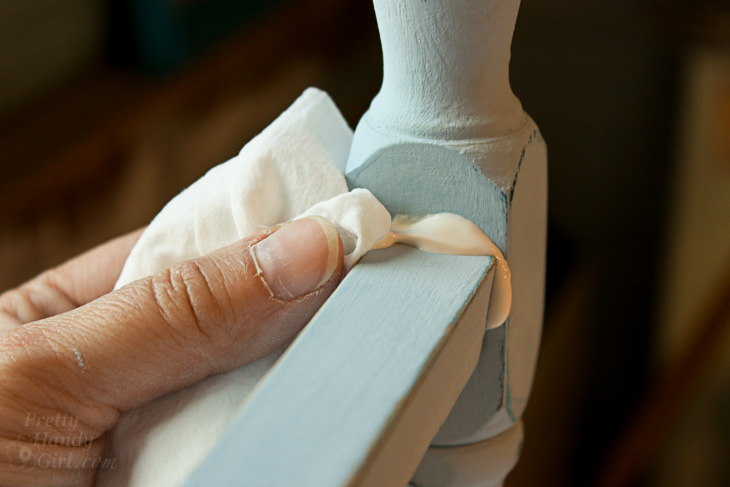
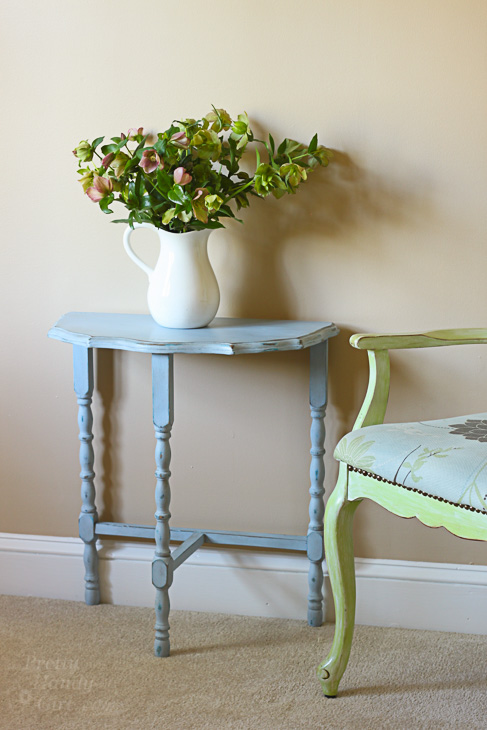
Wipe off any sanding dust. Add a generous amount of glue to all the holes. (You eagle eye, you! Yes, I painted the table before putting it back together. But, it’s the same table, honest!)
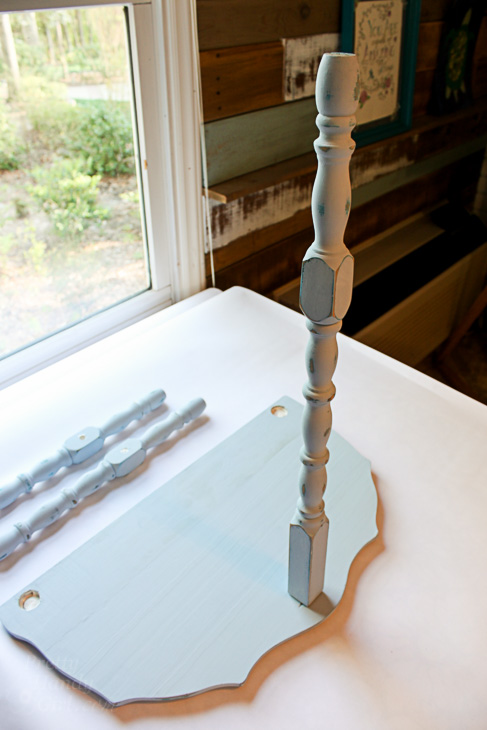
Press the legs and supports back into place.
You might need to gently tap any stubborn pieces in with a hammer.
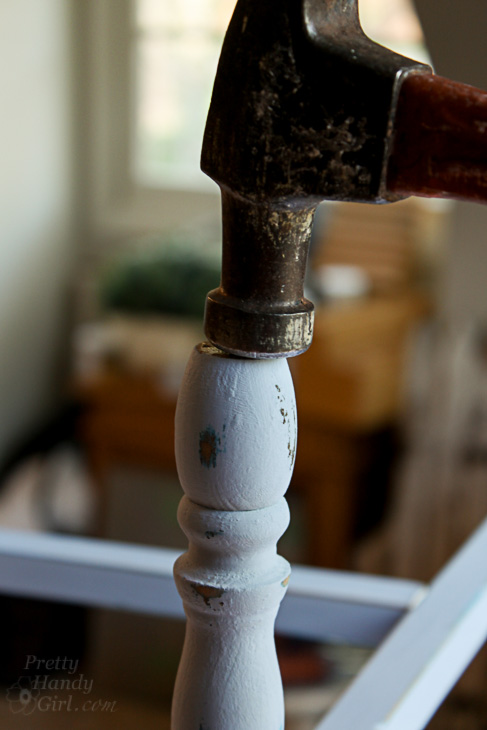
Wipe off any excess glue.
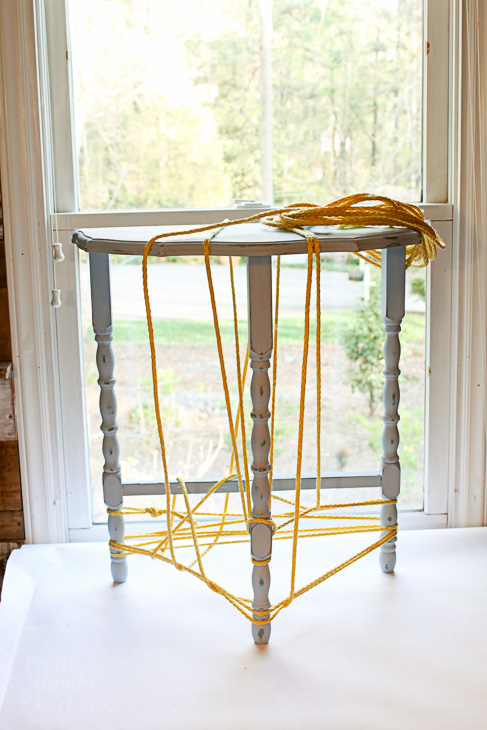
Make sure all the legs are perfectly plumb and all the pieces are where you want them. Use rope to “clamp” the table and hold it in place while the glue dries.
After the glue dries test to make sure it is sturdy. If there is any movement, you can drive screws into the joints to help secure the legs better. Position the screws underneath or on the inside so they won’t be as visible.

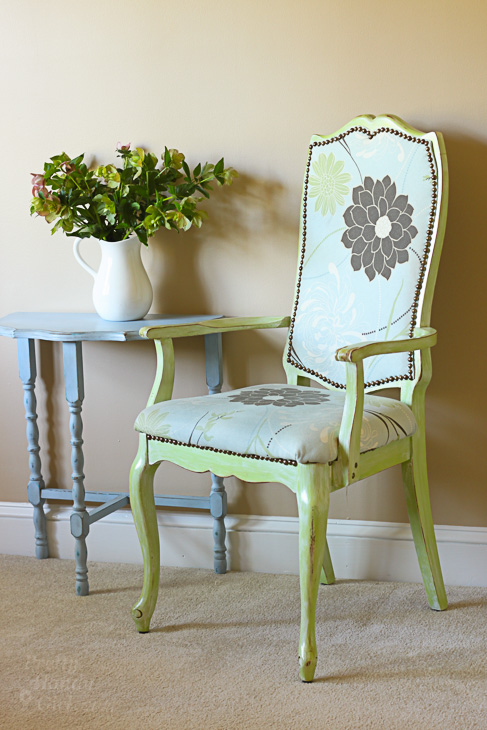
Enjoy your sturdy chair and/or table! It wasn’t that hard to fix that wobbly chair or table was it?
That’s what I thought! Enjoy.
Be sure to pin this post. All wobbly chairs and tables deserve a second chance!
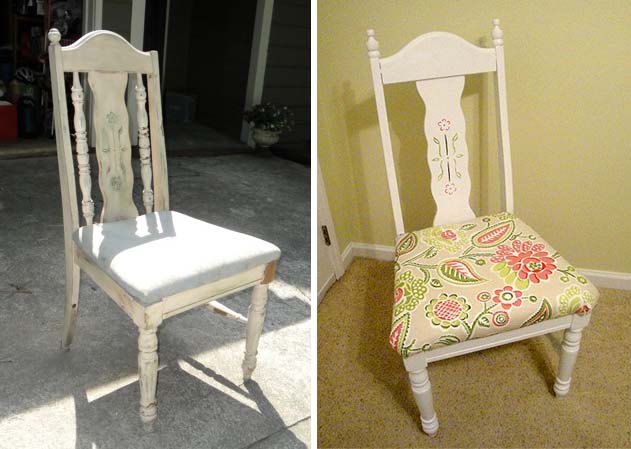
Like this tutorial? You’ll get a kick out of how I saved this broken chair that was rescued from the trash :
Have a great weekend.
![]()
[…] image via Pretty Handy Girl […]
In reply to Barb .
Barb, it’s a cute table, just not well built ;-).
In reply to Cathy Klose .
Cathy, oh kitchen chairs are definitely prone to getting wobbly! So much use.
In reply to Ivory .
Thank you Ivory.
As always, you did an excellent job. I also love the colors you choose
Happy 13th birthday to your son.
This is so very helpful! I plan on tackling our kitchen chairs this summer!
I had to chuckle since I have seen that exact table multiple times (even though we are so far apart) and each time it’s wobbly! Nice explanation. I like ‘No more nails’…
In reply to Nanci .
Nanci, thanks for your question. The liquid nails is what I had lying around. I like that it’s a little thicker than wood glue so stays put better.
Thanks for the tutorial. I’m wonder g why you used liquid nails rather than carpenter’s wood glue. That’s what my dad always used and he was a carpenter, cabinet maker.