
This guide shows you how to use Google Mobile Ads SDK to load and display ads from myTarget using mediation , covering waterfall integrations. It covers how to add myTarget to an ad unit's mediation configuration, and how to integrate the myTarget SDK and adapter into a Flutter app.
Supported integrations and ad formats
Requirements
- Latest Google Mobile Ads SDK
- Flutter 3.7.0 or higher
- To deploy on Android
- Android API level 23 or higher
- To deploy on iOS
- iOS deployment target of 12.0 or higher
- A working Flutter project configured with Google Mobile Ads SDK. See Get Started for details.
- Complete the mediation Get started guide
Step 1: Set up configurations in myTarget UI
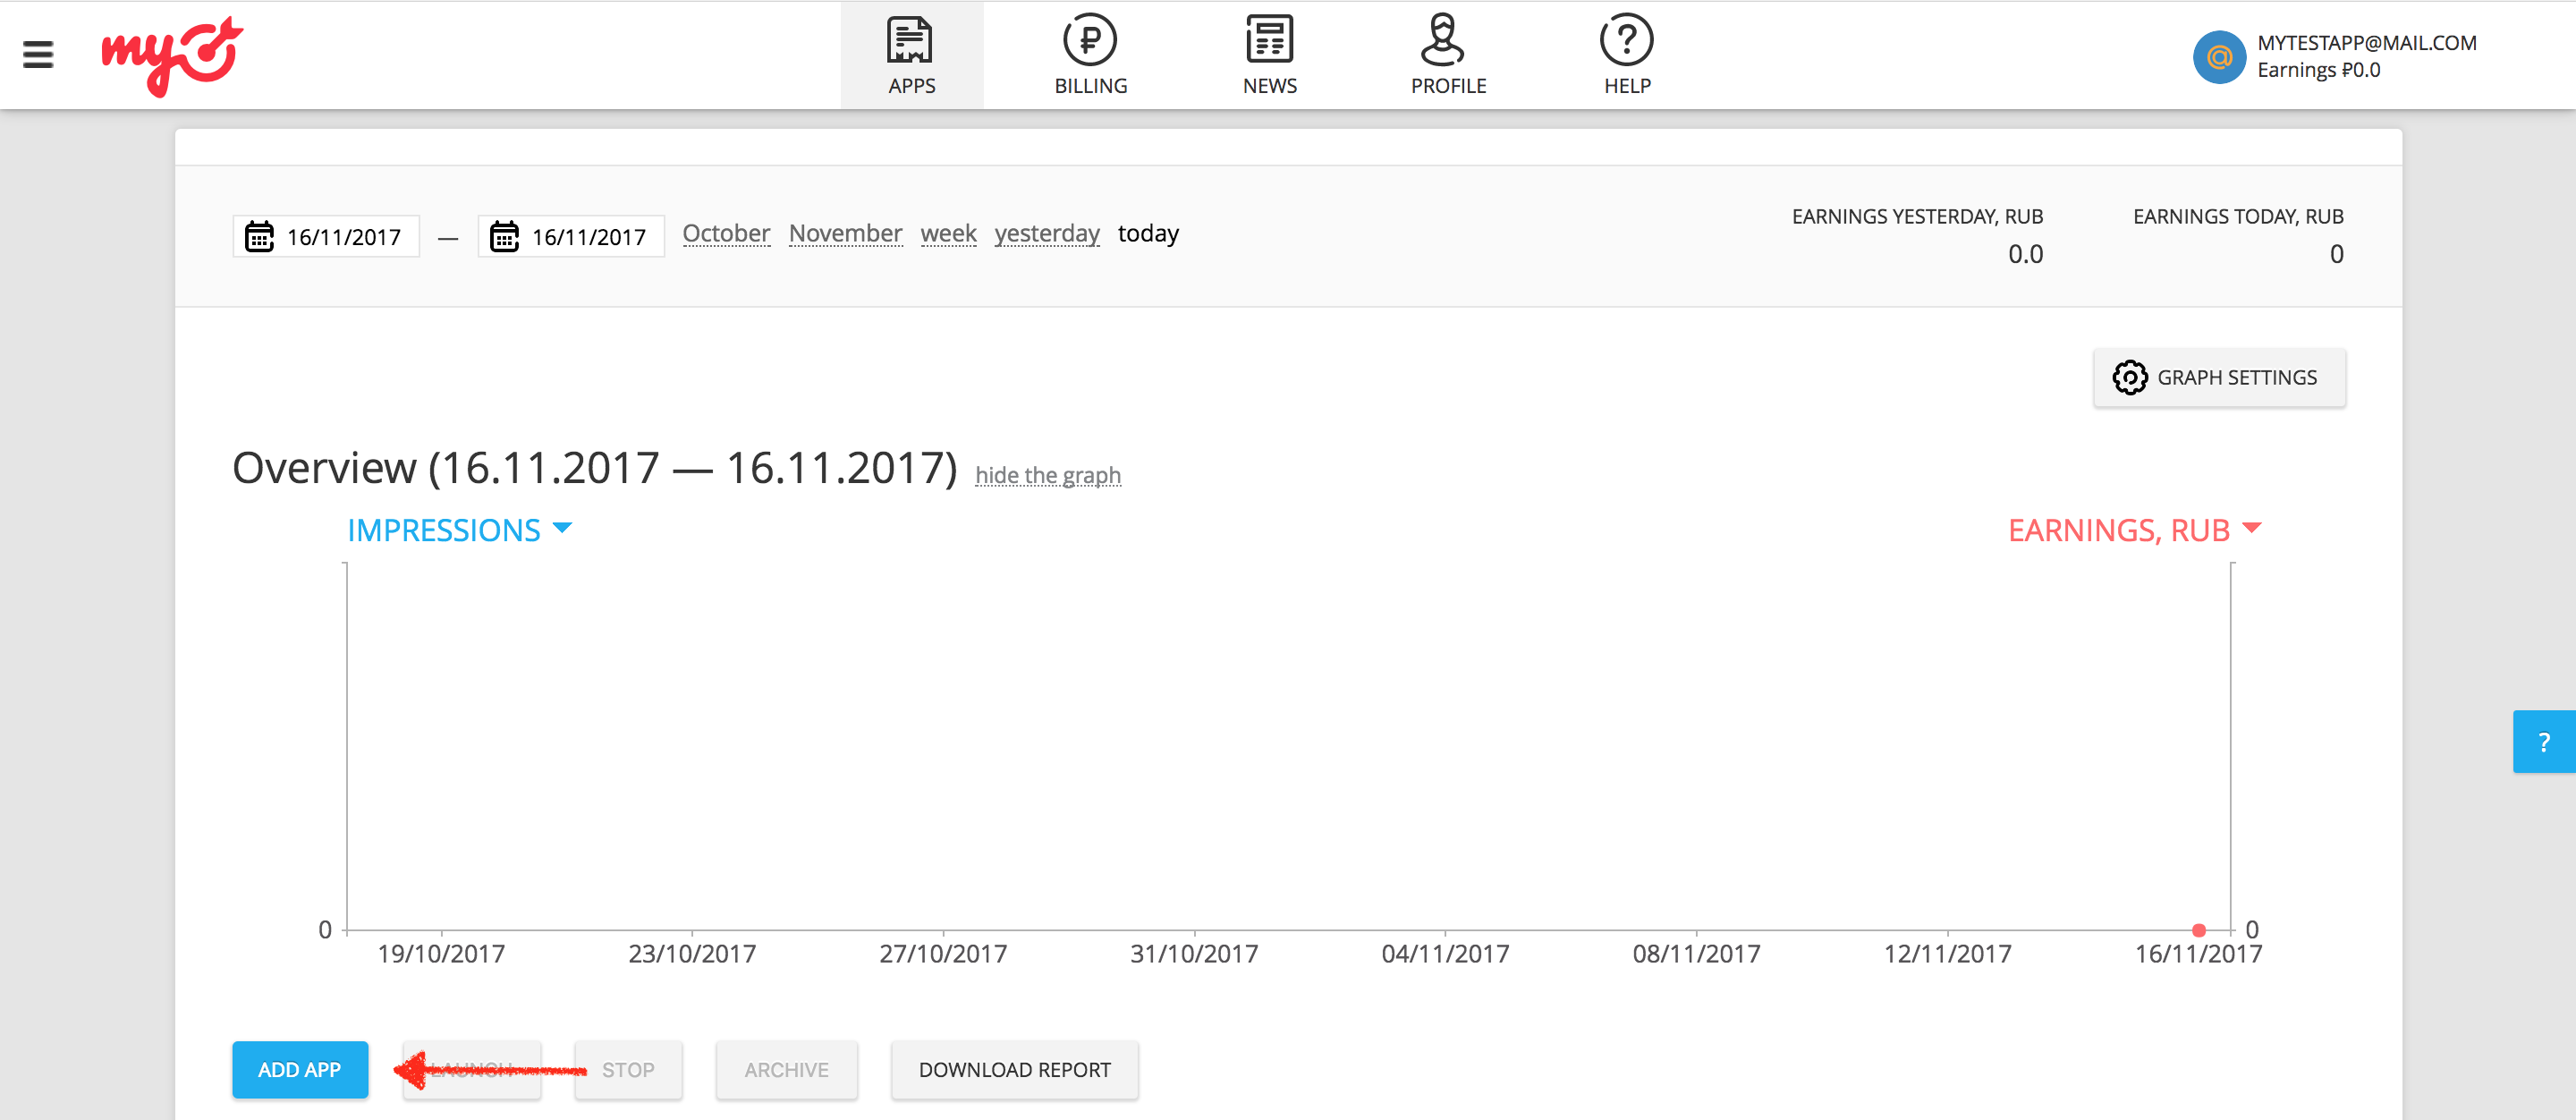
Log in to your myTarget account. Navigate to the Apps page by clicking on APPSon the header. Add your app by clicking ADD APP.
If your app supports both the Android and iOS platforms, you need to set up each one of them separately.
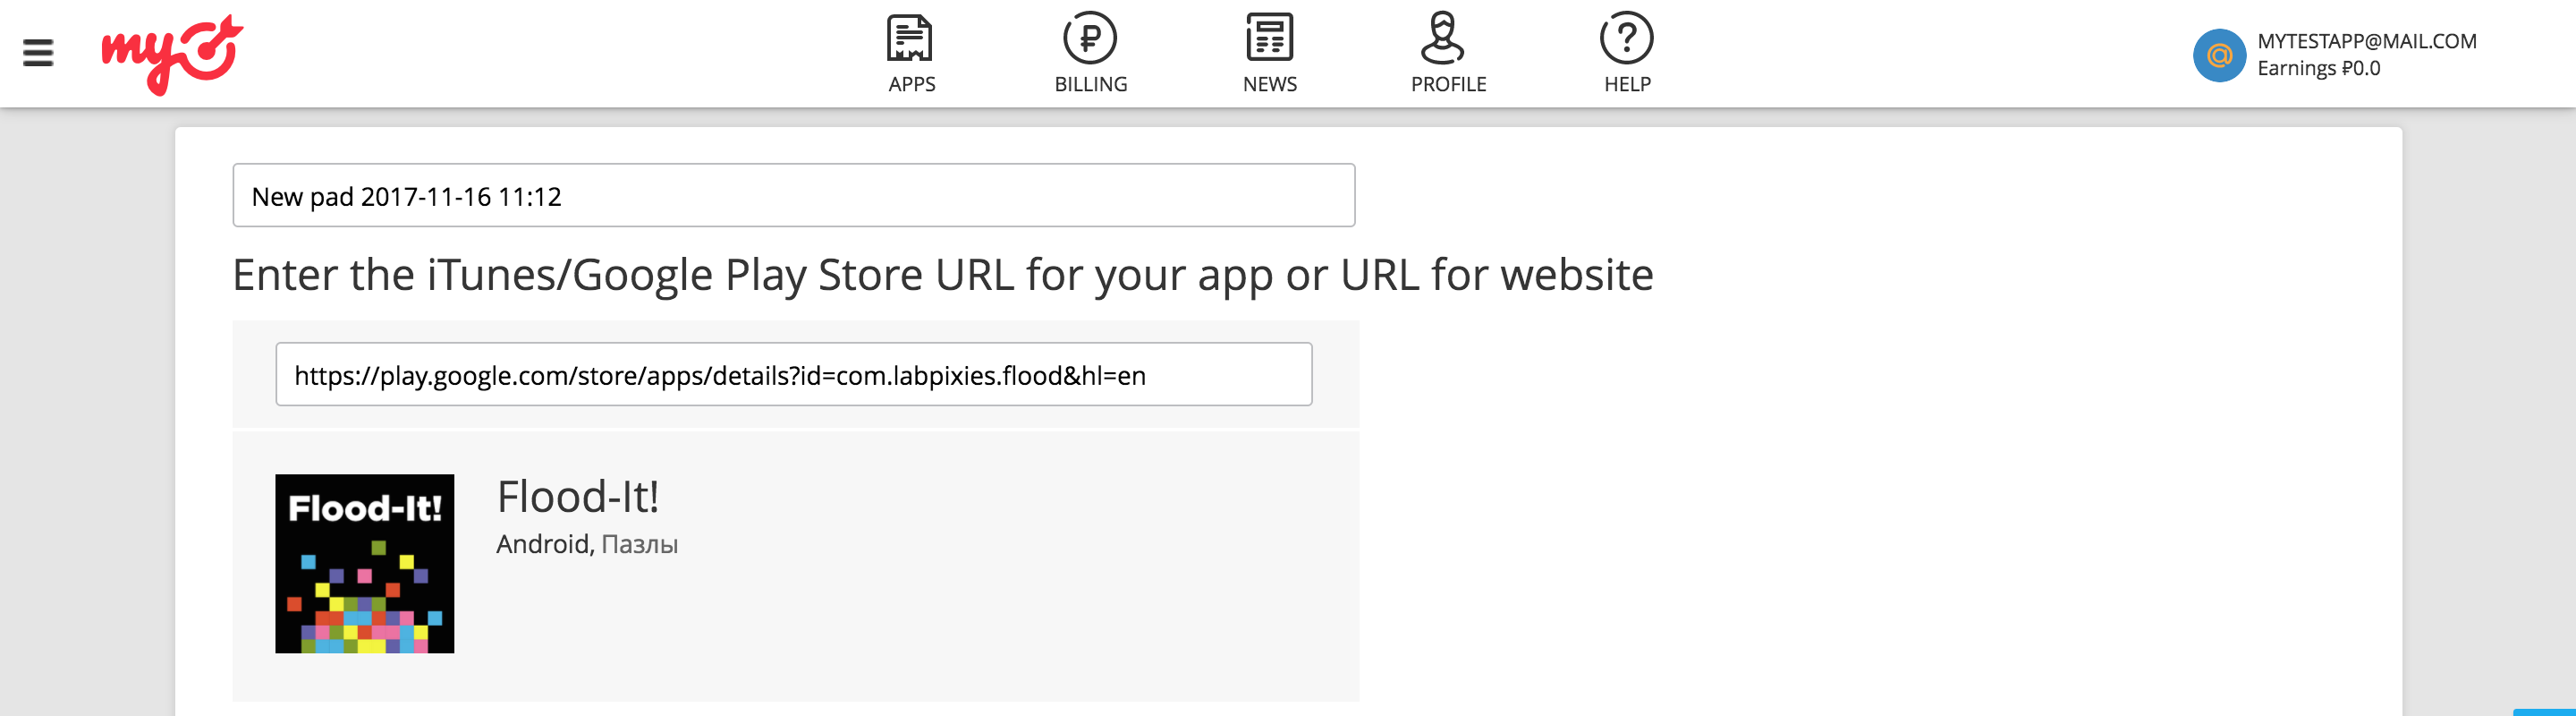
Android
Next, provide the Google Play URLfor your app.
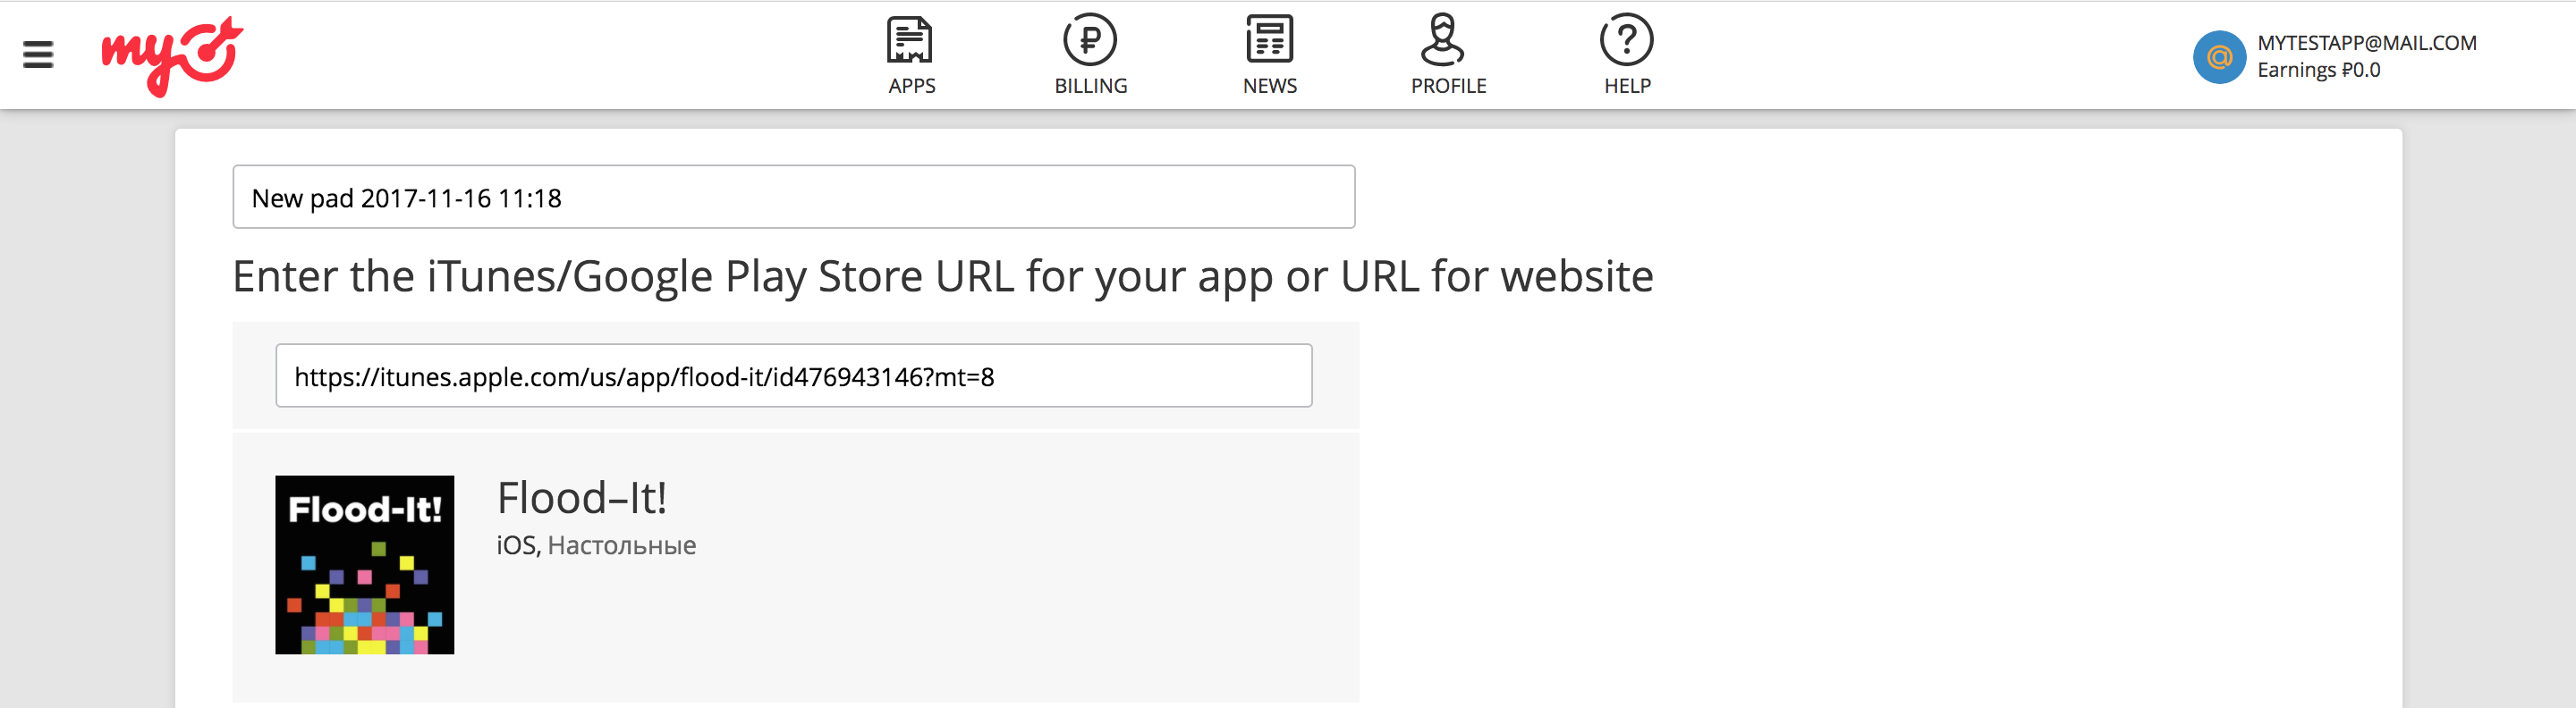
iOS
Next, provide the iTunes URL** for your app.
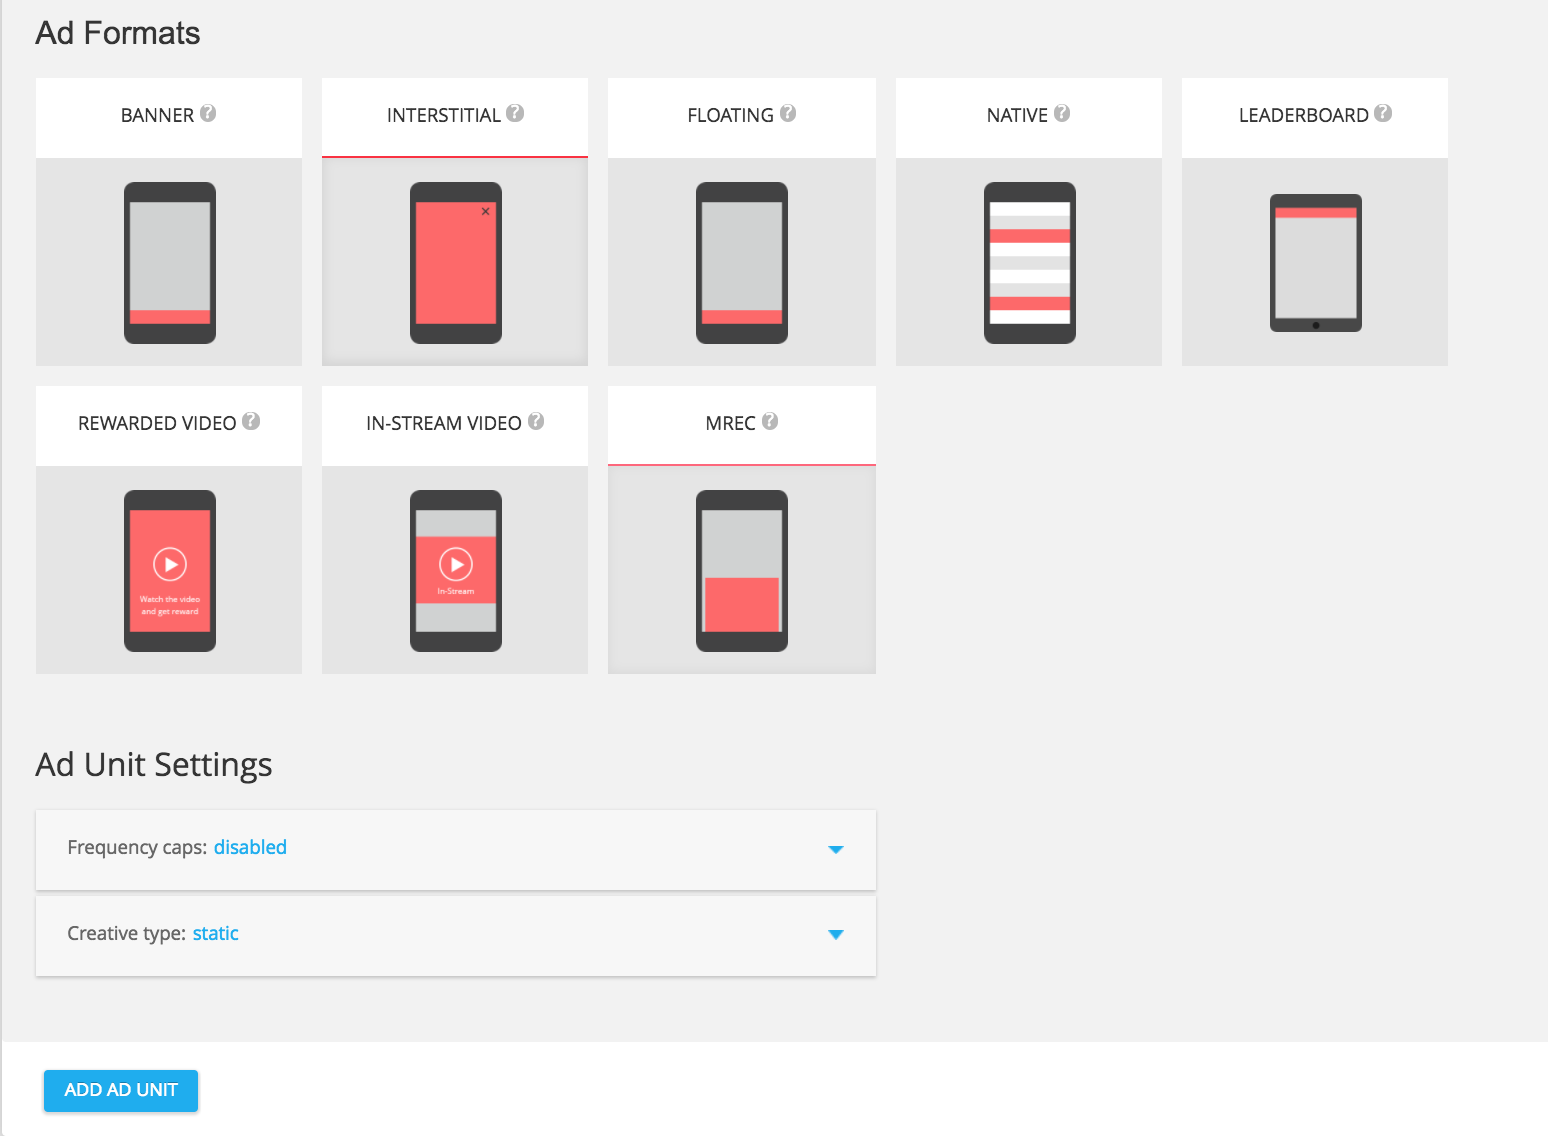
When adding an app, myTarget requires you to create an ad unit before you can complete the process.
Banner
Select BANNERfrom the available ad formats, and then click the ADD AD UNITbutton.
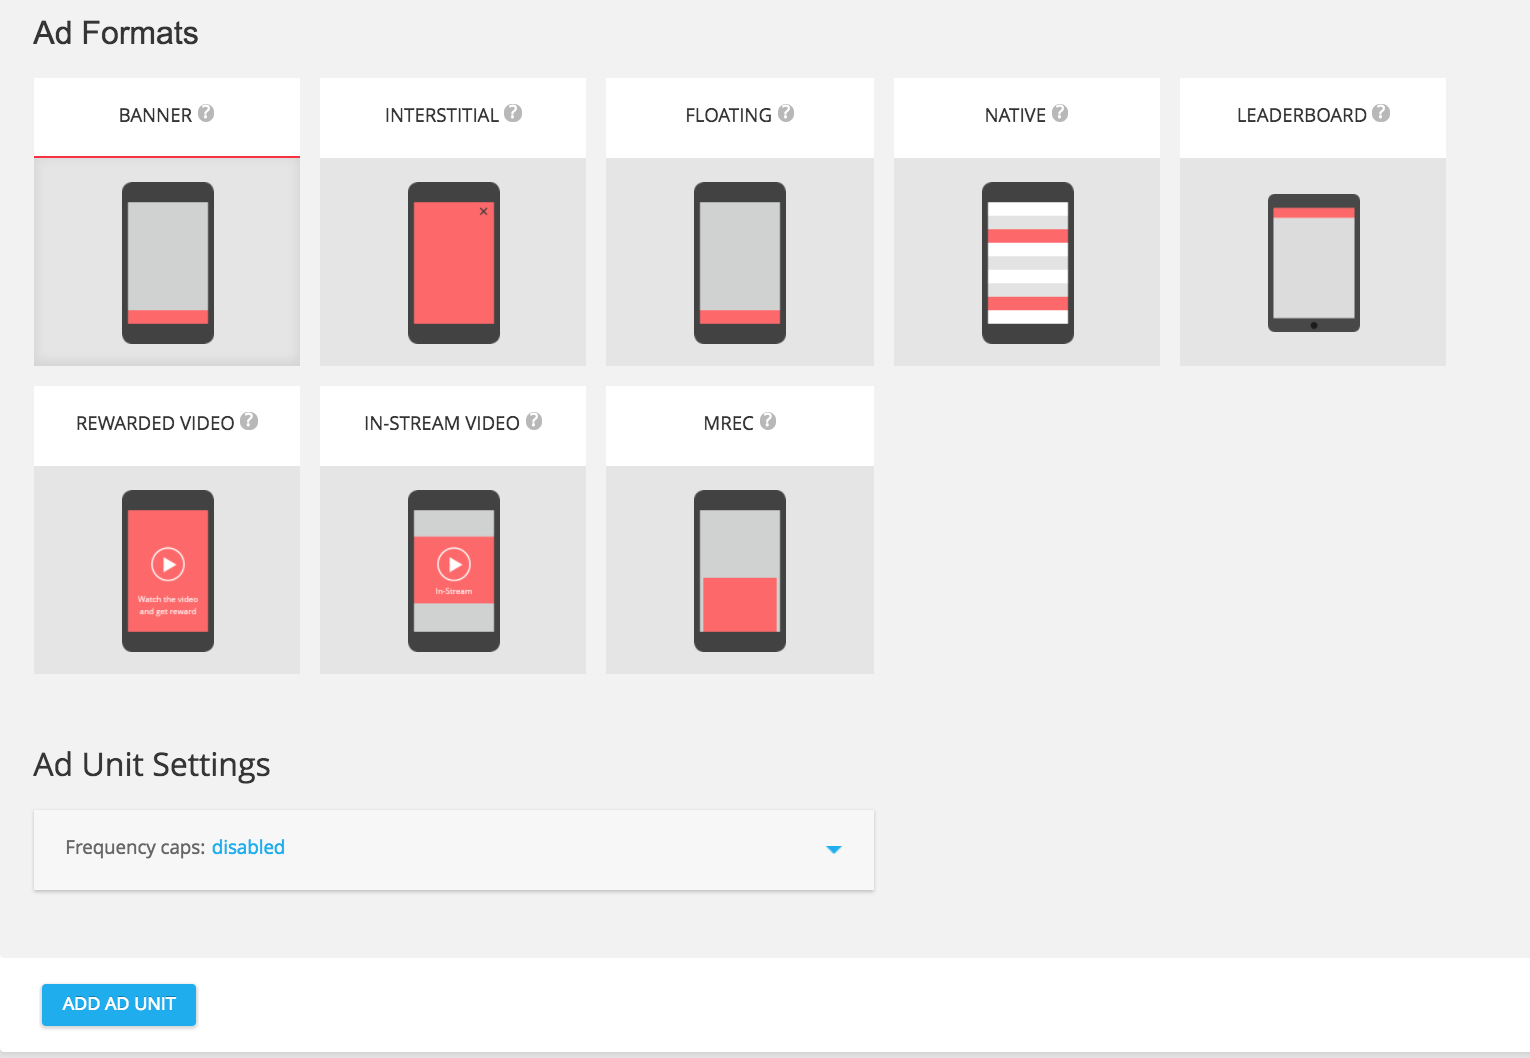
Interstitial
Select INTERSTITIALfrom the available ad formats, and then click the ADD AD UNITbutton.
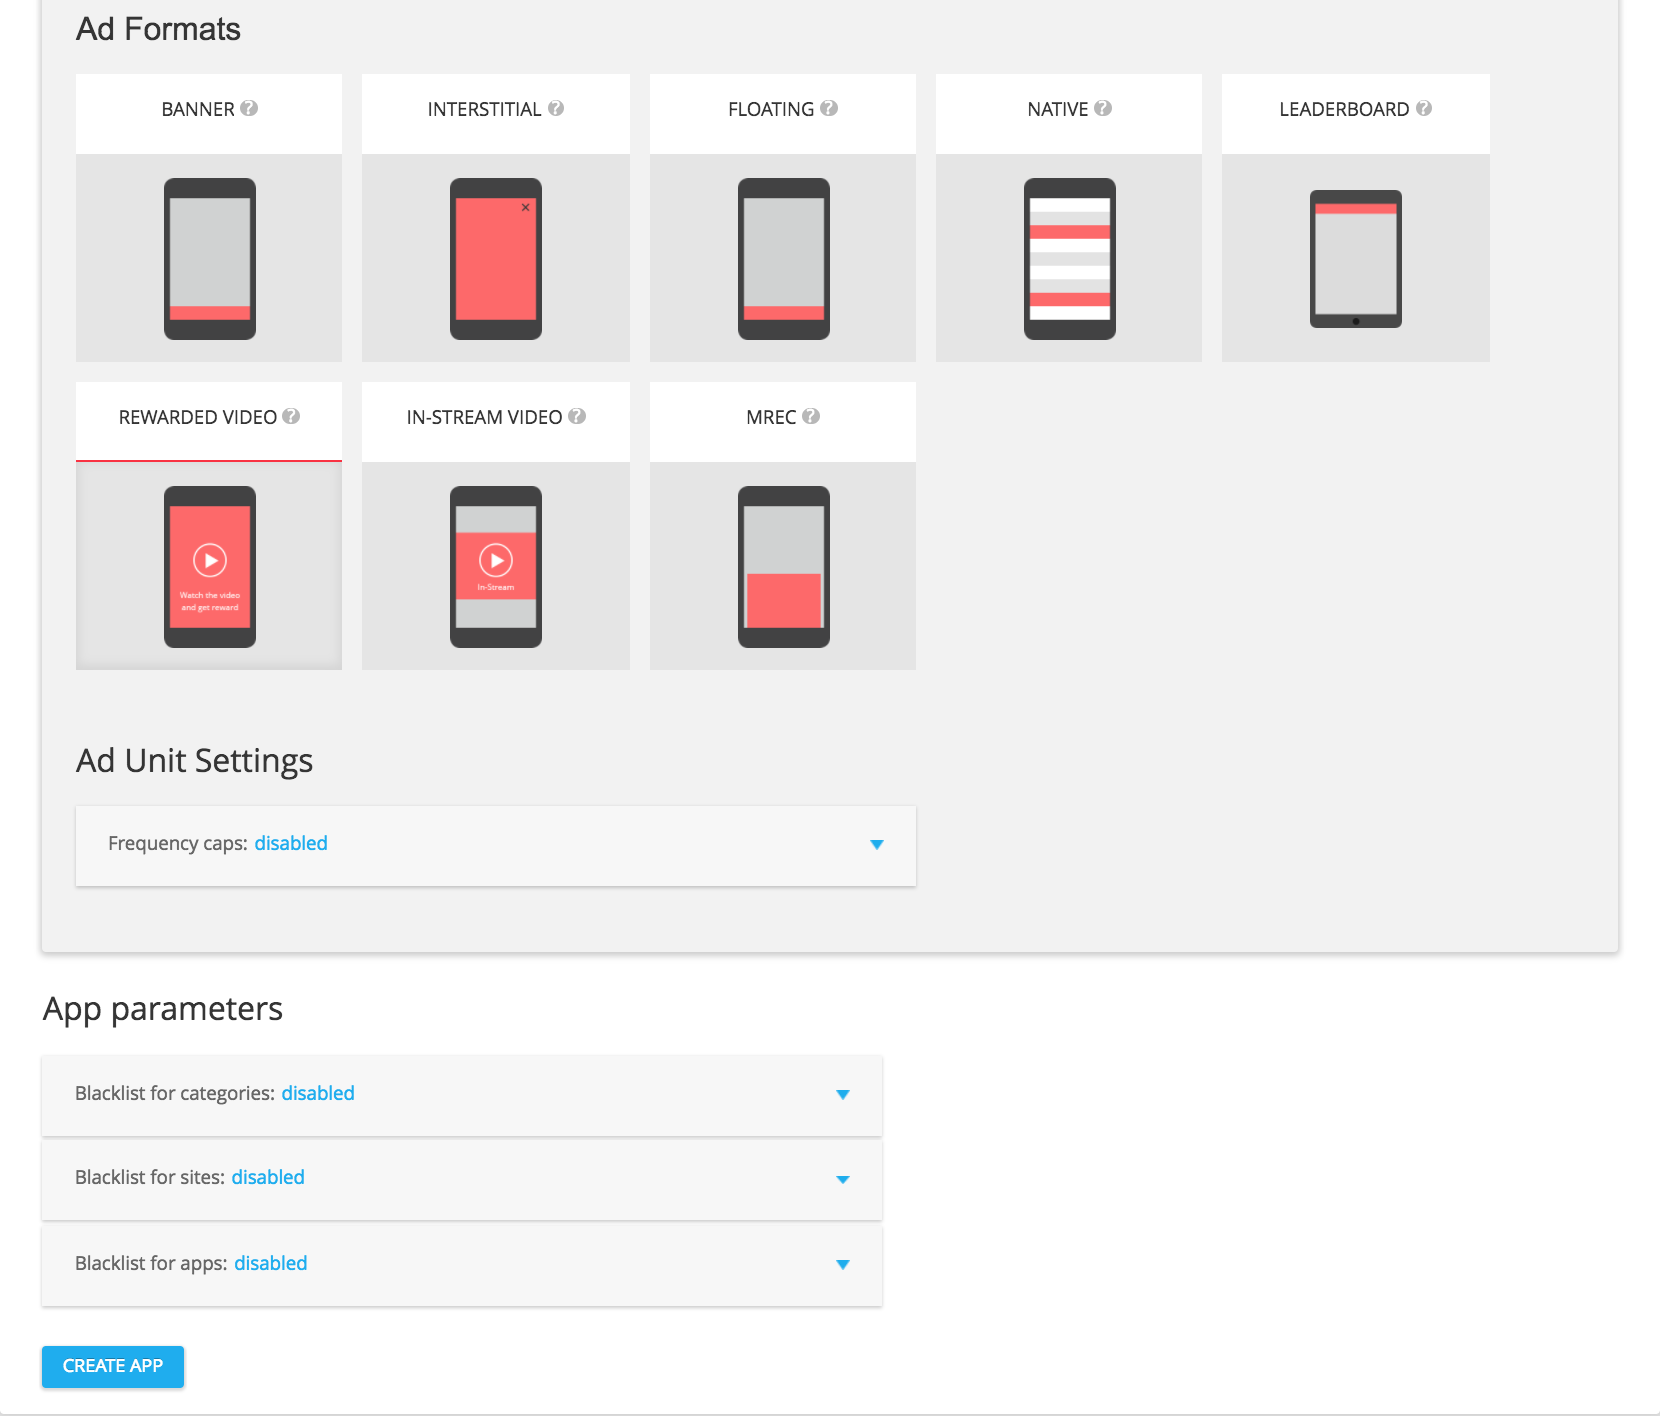
Rewarded
Select REWARDED VIDEOfrom the available ad formats, and then click the ADD AD UNITbutton.
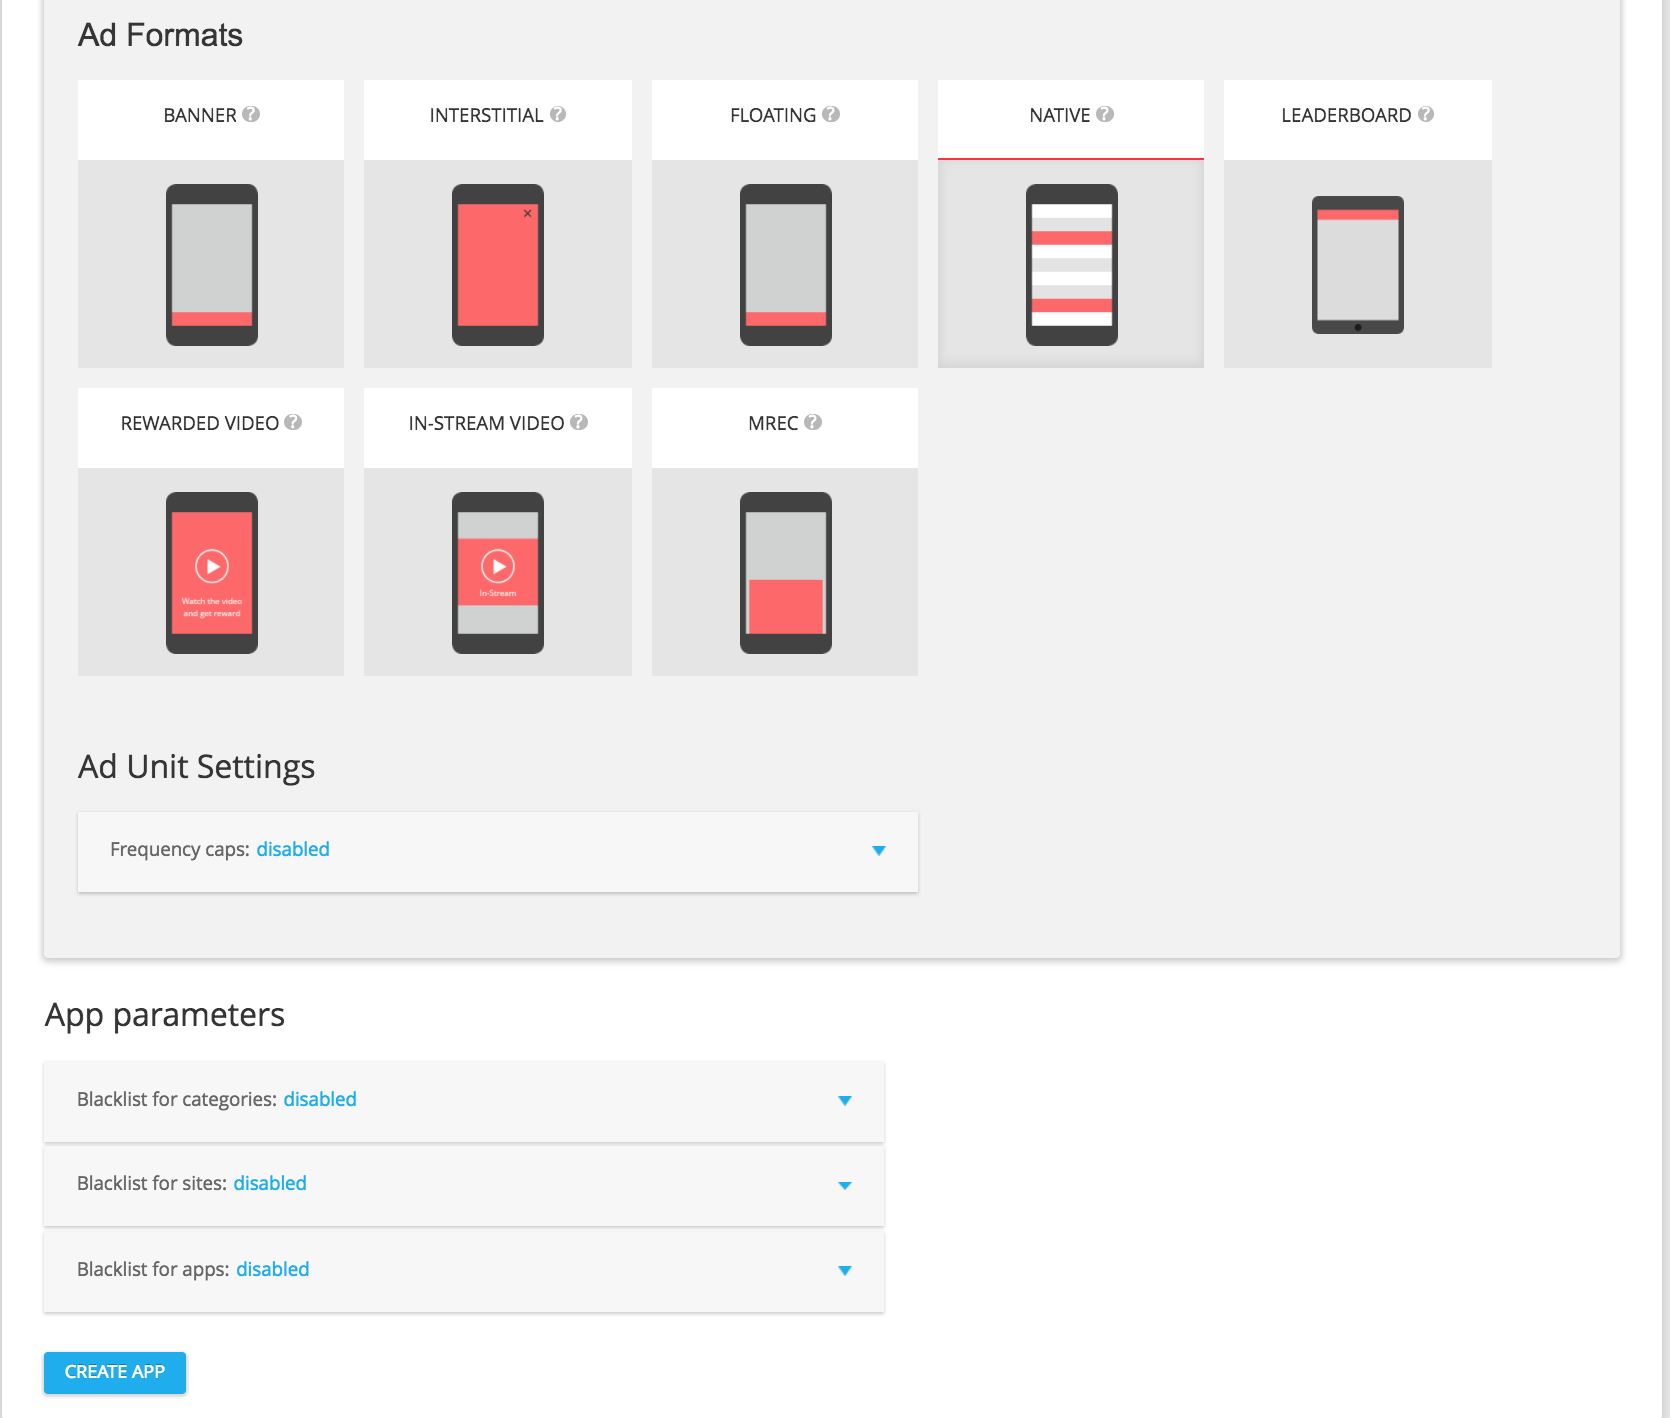
Native
Select NATIVEfrom the available ad formats, and then click on ADD AD UNIT.
In your ad unit's details page, make a note of your slot ID which can be found under the ad unit settings as slot_id. This slot ID will be used to set up your AdMob ad unit in the next section.
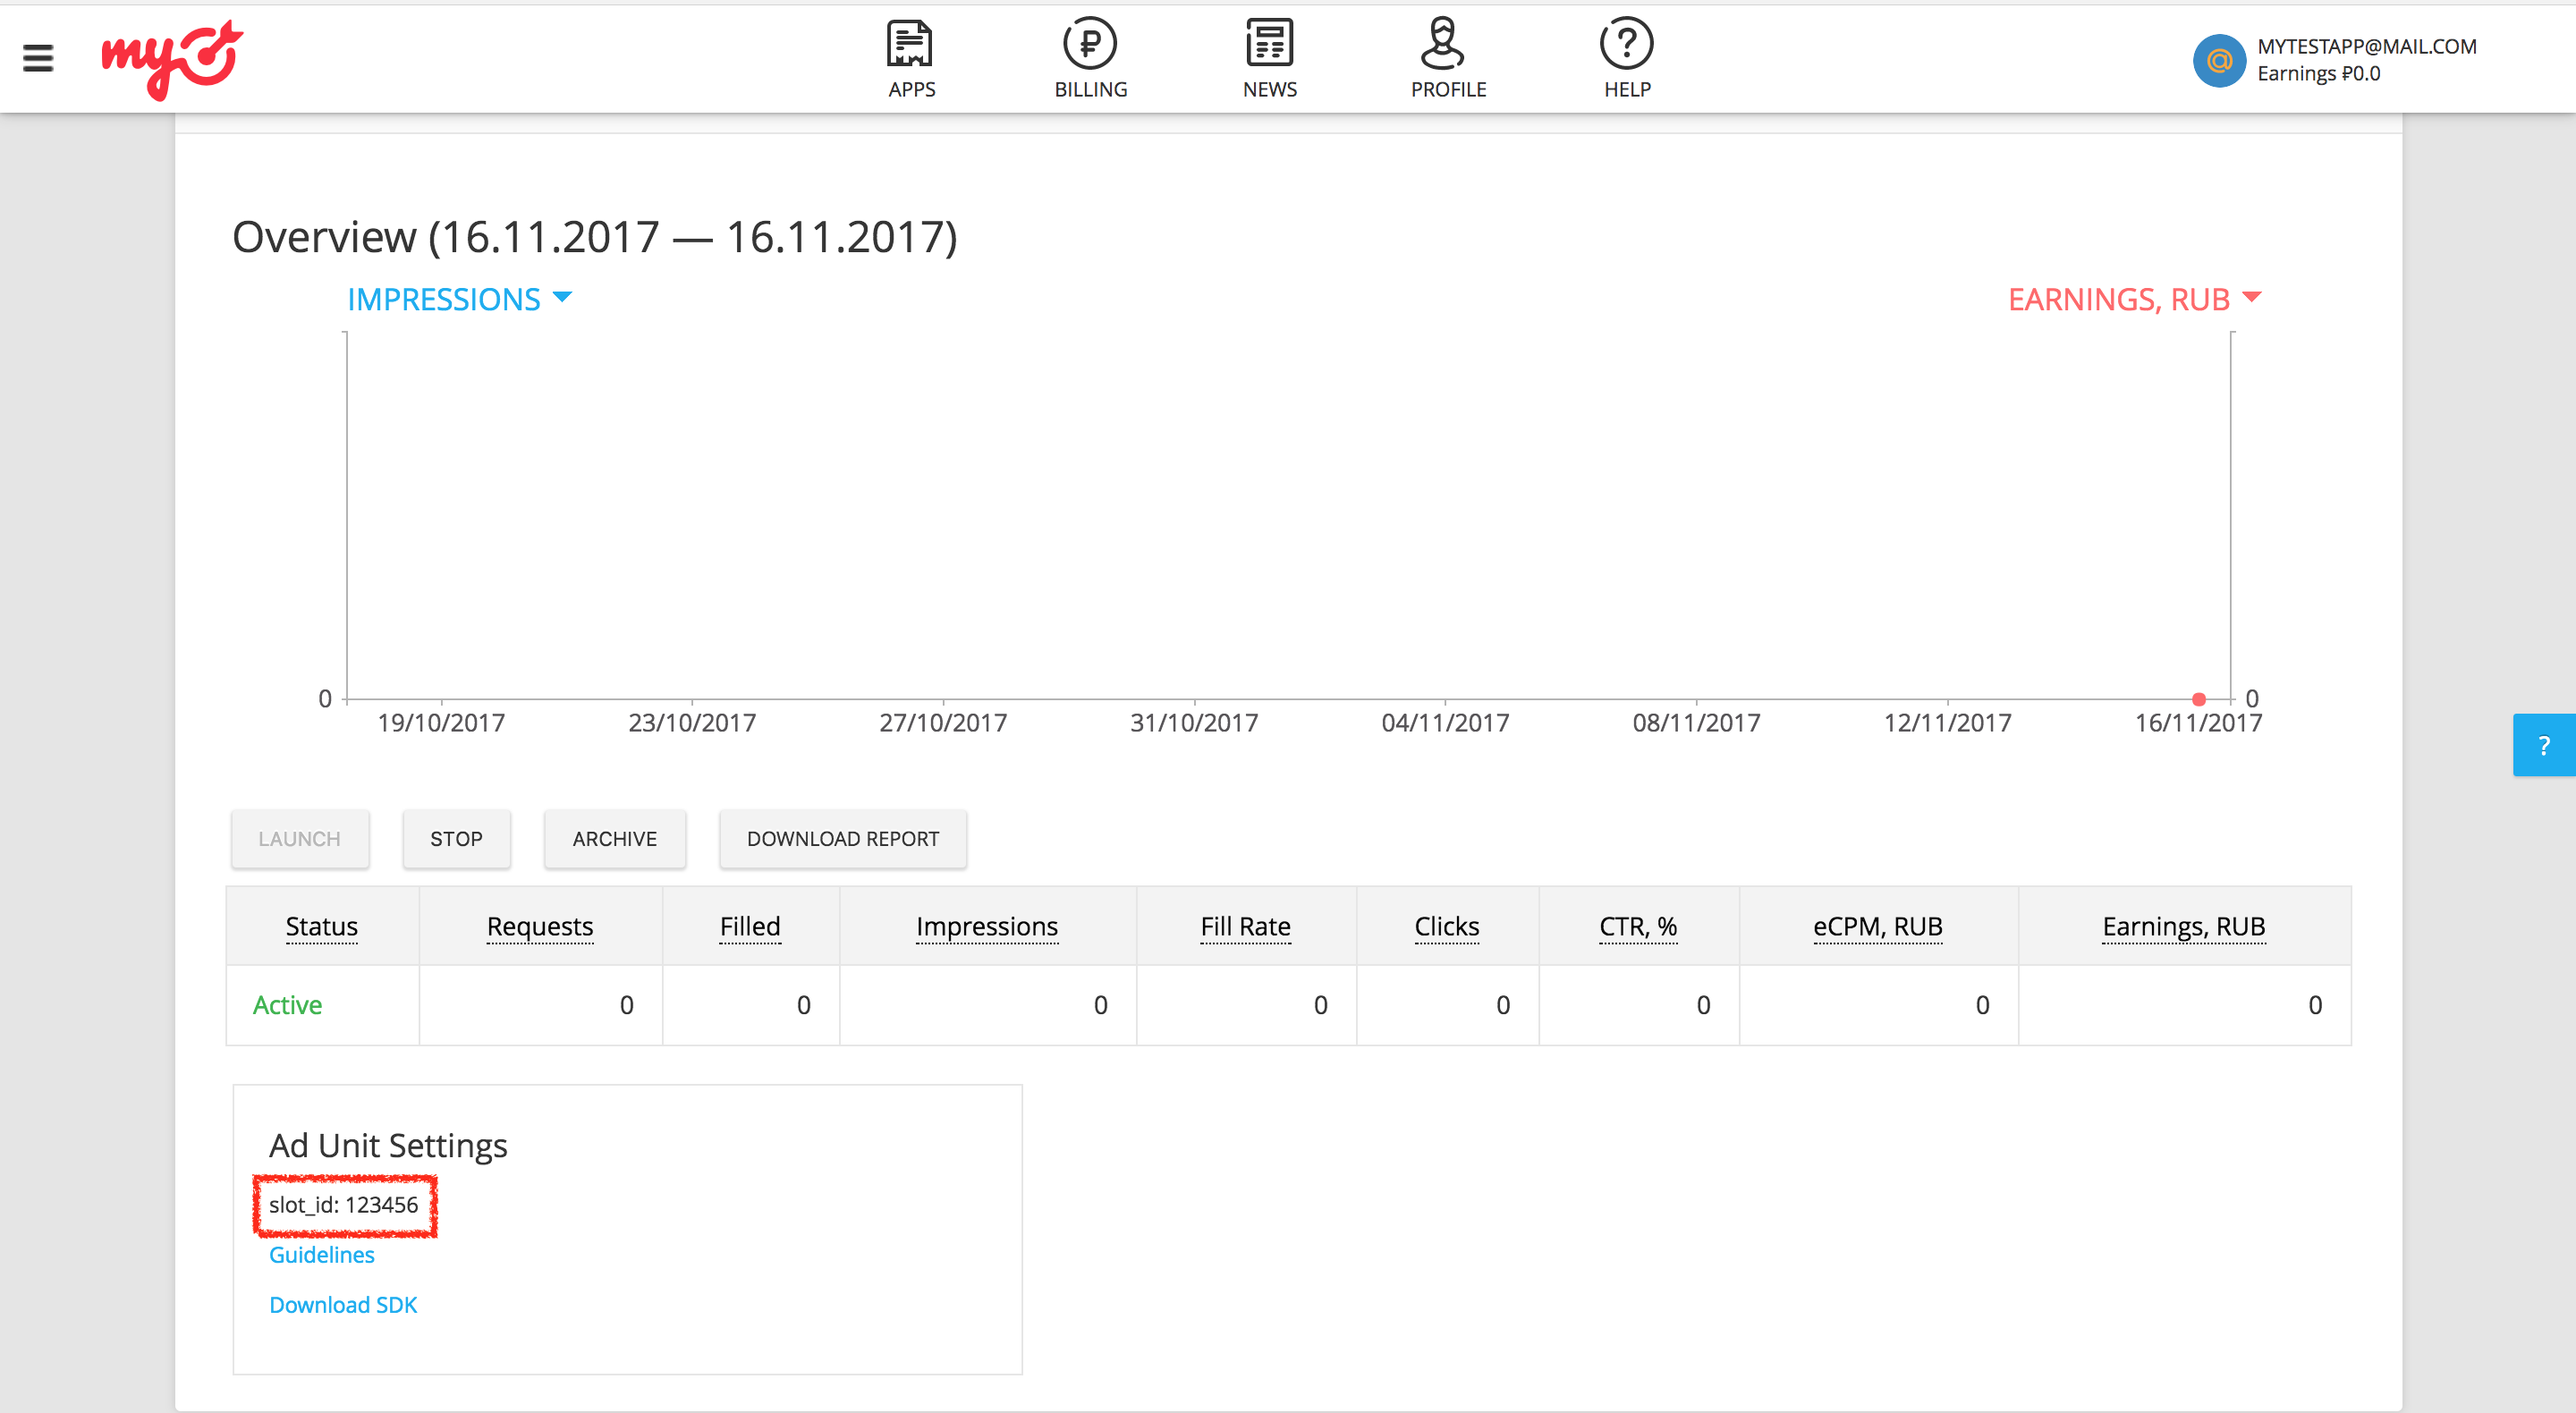
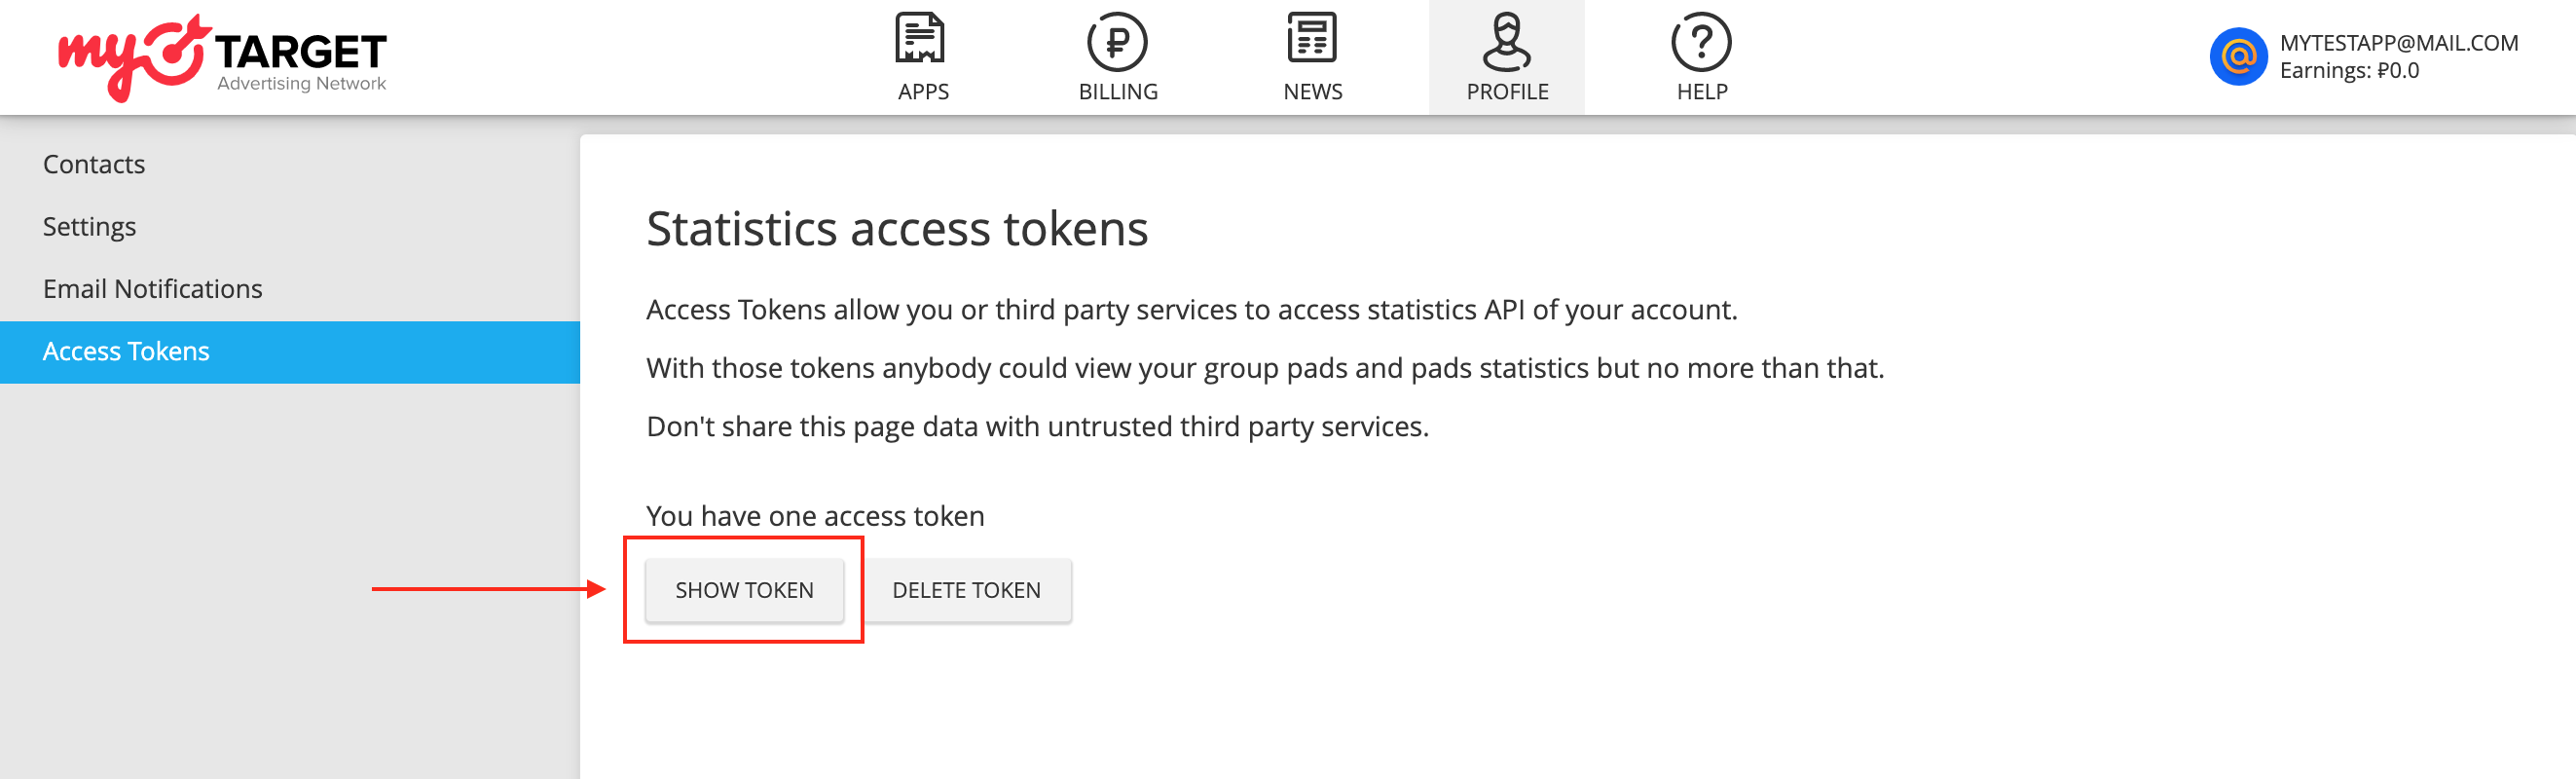
In addition to the slot_id, you'll also need your myTarget Permanent Access Tokento set up your AdMob ad unit ID. Navigate to the Profiletab and select Access Tokens. Click Create Tokenor Show Tokento view your myTarget Permanent Access Token.
Update your app-ads.txt
Authorized Sellers for Apps app-ads.txt
is an IAB Tech Lab initiative that helps ensure your
app ad inventory is only sold through channels you've identified as authorized. To prevent a
significant loss in ad revenue, you'll need to implement an app-ads.txt
file.
If you haven't done so already, set up an app-ads.txt file for your app
.
To implement app-ads.txt
for myTarget, see How to create and publish a file
.
Turn on test mode
Follow the instructions in myTarget's documentation to add and configure a test device in myTarget UI.
Step 2: Set up myTarget demand in AdMob UI
Configure mediation settings for your ad unit
Android
For instructions, see step 2 in the guide for Android .
iOS
For instructions, see step 2 in the guide for iOS .
Add Mail.ru to GDPR and US state regulations ad partners list
Follow the steps in European regulations settings and US state regulations settings to add Mail.ruto the European and US state regulations ad partners list in the AdMob UI.
Step 3: Import the myTarget SDK and adapter
Integration through pub.dev
Add the following dependency with the latest versions of the
myTarget SDK and adapter in your
package's pubspec.yaml
file:
  dependencies
 :

 gma_mediation_mytarget
 :

 ^
Manual Integration
Download the latest version of Google Mobile Ads mediation plugin for myTarget
,
extract the downloaded file, and add the extracted plugin folder
(and its contents) to your Flutter project. Then, reference the plugin in your pubspec.yaml
file by adding the following dependency:
  dependencies
 :

 gma_mediation_mytarget
 :

 path
 :

  path/to/local/package
Step 4: Implement privacy settings on myTarget SDK
For instructions, see step 4 in the guide for Android and iOS .
Step 5: Add required code
Android
No additional code is required for myTarget integration.
iOS
SKAdNetwork integration
Follow myTarget's documentation
to add the SKAdNetwork identifiers to your project's Info.plist
file.
Step 6: Test your implementation
Enable test ads
Make sure you register your test device for AdMob and enable test mode in myTarget UI.
Verify test ads
To verify that you are receiving test ads from myTarget, enable single ad source testing in ad inspector using the myTarget (Waterfall)ad source(s).
Error codes
If the adapter fails to receive an ad from myTarget, publishers can check the
underlying error from the ad response using ResponseInfo
under the
following classes:
Android
  com
 .
 google
 .
 ads
 .
 mediation
 .
 mytarget
 .
 MyTargetAdapter
 com
 .
 google
 .
 ads
 .
 mediation
 .
 mytarget
 .
 MyTargetNativeAdapter
 com
 .
 google
 .
 ads
 .
 mediation
 .
 mytarget
 .
 MyTargetRewardedAdapter
iOS
  GADMAdapterMyTarget
 GADMediationAdapterMyTargetNative
 GADMediationAdapterMyTargetRewarded
Here are the codes and accompanying messages thrown by the myTarget adapter when an ad fails to load:
Android
| Error code | Reason |
|---|---|
| 100 | myTarget SDK returned an error. |
| 101 | myTarget server parameters configured in the AdMob UI are missing/invalid. |
| 102 | The requested ad size does not match a myTarget supported banner size. |
| 103 | Ad request is not a Unified native ad request. |
| 104 | The loaded native ad from myTarget is different from the requested native ad. |
| 105 | The loaded native ad from myTarget is missing some required assets (e.g. image or icon). |
iOS
| Error code | Reason |
|---|---|
| 100 | myTarget SDK does not yet have an ad available. |
| 101 | myTarget server parameters configured in the AdMob UI are missing/invalid. |
| 102 | myTarget Adapter does not support the ad format being requested. |
| 103 | Tried to show a myTarget ad that is not loaded. |
| 104 | The requested ad size does not match a myTarget supported banner size. |
| 105 | Missing required native ad assets. |
myTarget Flutter Mediation Adapter Changelog
Version 1.4.0
- Supports myTarget Android adapter version 5.27.2.0 .
- Supports myTarget iOS adapter version 5.33.0.0 .
- Built and tested with the Google Mobile Ads Flutter Plugin version 6.0.0.
Version 1.3.0
- Supports myTarget Android adapter version 5.27.1.1 .
- Supports myTarget iOS adapter version 5.31.1.0 .
- Built and tested with the Google Mobile Ads Flutter Plugin version 6.0.0.
Version 1.2.0
- Supports myTarget Android adapter version 5.27.1.1 .
- Supports myTarget iOS adapter version 5.29.1.0 .
- Built and tested with the Google Mobile Ads Flutter Plugin version 6.0.0.
Version 1.1.0
- Supports myTarget Android adapter version 5.27.1.1 .
- Supports myTarget iOS adapter version 5.28.0.0 .
- Built and tested with the Google Mobile Ads Flutter Plugin version 6.0.0.
Version 1.0.0
- Initial release.
- Supports myTarget Android adapter version 5.27.1.0 .
- Supports myTarget iOS adapter version 5.24.1.0 .
- Built and tested with the Google Mobile Ads Flutter Plugin version 5.3.1.