
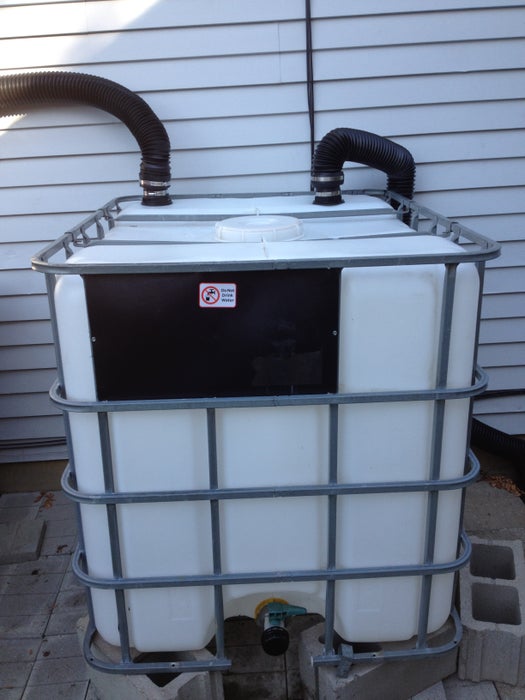
My wife asked for a rain barrel for her flowers. Our water bill has added up again and again, so I started checking craigslist for possibilities. As luck would have it, I found a polytank that was original used for similac baby food storage. That was great, since I didn’t want to worry about chemicals in the tank killing the plants and garden. The seller offered to deliver for the $35 purchase price. Great deal!!
Step 1:
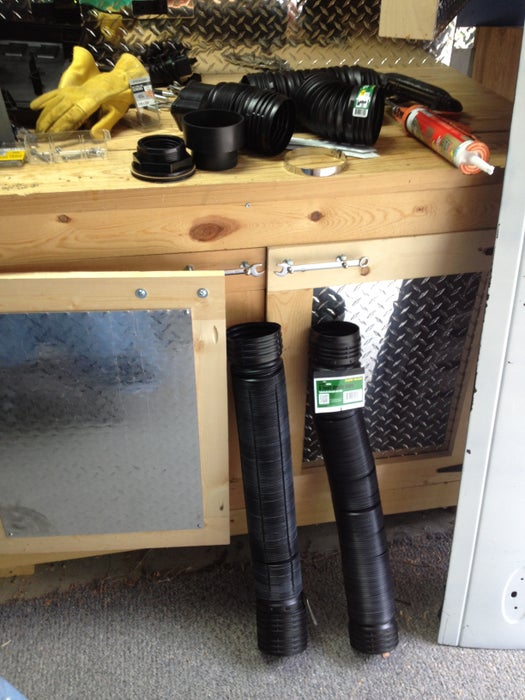
The first thing I did was to go to the hardware store and get connections so I could hook up my downspouts. I found black plastic tubing that was cheap and useful.
Step 2:
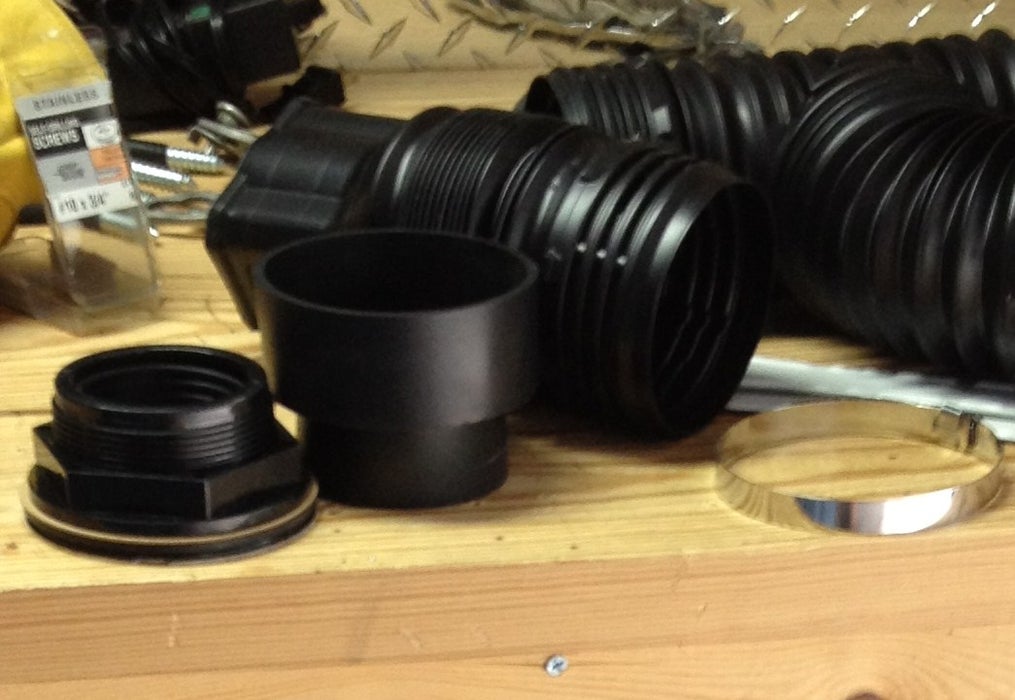
The shower drain is on the left along with the coupling to attach it to the black gutter pipe I got at the store. As you can see the pipe in the background has a square opening, meant to receive the end of a normal downspout from the house.
Step 3:
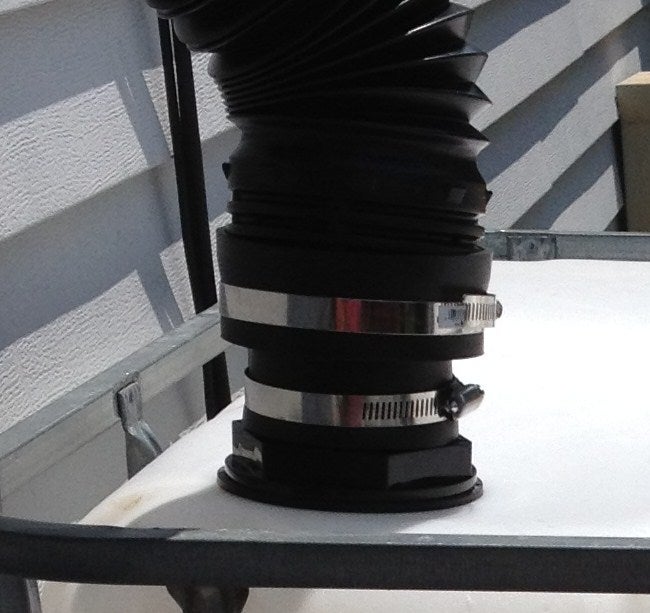
I couldn’t find a really good connection for the plastic. Most plumbing is meant to be screwed down and wouldn’t work. So, I used 3″ shower pan drain. It was a oversize screw type and I drilled a 3 1/8 hole, slipped the connection in and screwed on the retaining cap. Then I connected the downspout. The sizes were not the same, so I used a rubber connection meant for odd sized pipes. I used metal straps to hold both connections. And as a bonus, the shower drain cover acts as a large item filter for the tank.
Step 4:
I realized I needed a overflow for the water, just in case I filled the tank. (Which has happened twice in the last month!) So I added a second connection that simply goes to the other side and drains into the low ridge between my house and the neighbors, which leads to a sewer drain. So the final product is not the prettiest thing in the world, but it works great and helps to save me a little cash. All parts including the cinder blocks to support the tank were under $100. The tank is up a little to provide some water pressure for the hose. And actually, I may add two more blocks or a water pump soon, because the water pressure is still a little low.