
Last year as we were visiting family in a tiny Texas town, we happened upon the best street fair. One of the vendor booths was filled with old window screens that she had painted with different wildflowers. Be still my beating heart . I loved the look of the painted window screens and almost bought one to bring home. As I held up one screen with yellow daisies in one hand and a screen with white daisies in the other hand, I suddenly remembered how cheap I am and thought to myself, “I can do that”. So I put both frames back and came home to Houston, where finding old window screens is a lot harder than you would think.
Then earlier this summer, while I was doing my weekly 2-hour stroll of Hobby Lobby, I saw that they are now carrying screens for DIY screen art.
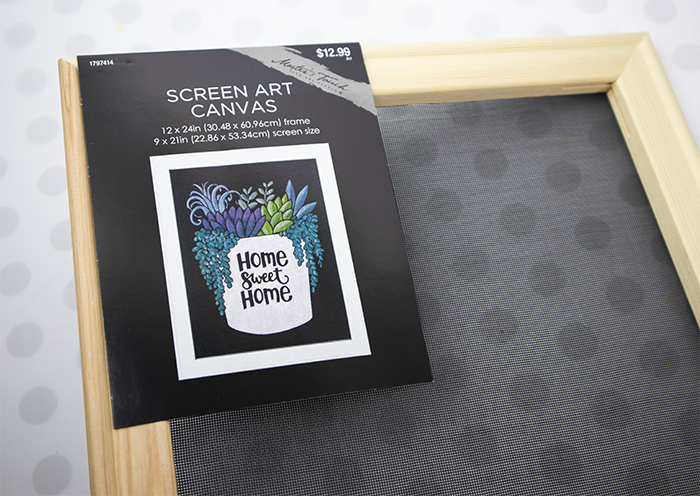
They sell a plain screen in a simple wooden frame. Here’s the best part – it’s Master’s Touch brand, which goes on sale for 50% off monthly. If you can’t wait a month, just grab one with the weekly 40% off coupon. This is a great deal even if you don’t want to paint the screen. I’m going to buy one (on sale) and tear the screen off to make a jewelry holder because I like the wood frame.
How to Paint a Screen

This was my first time painting a screen so I had a few home-runs and one mistake. The mistake isn’t horrible or undoable, just something that I need to find a better solution for. But come along as I show you how I painted this DIY screen art for an easy fall craft and we’ll talk about it.
To start, I printed out pictures that I used to make a collage that I wanted to paint. The great thing about painting screens is that you can use a template. Plus you do want paper or a slick (non-stick) surface behind your screen to catch paint drips.
I grabbed some pumpkin clip-art (It’s the same pumpkins I used for these easy fall signs ) and then printed out the word, “Thankful”.

Once I had all of my pieces printed out and arranged, I taped them lightly to the back of the frame. You’ll paint on top of the screen, with the paper being underneath it.
(Dear sisters… I do not need a nail intervention. I’ve been working on resealing and staining the grout in our kitchen and the only thing that gets it off is a hot shower. So I could either make this project and share it with you or get the grout off of my hands. Honestly, usually I give myself a Photoshop manicure but painting lines of grout for hours makes me sleepy. Please ignore the hands in the picture below.)

Now here’s where my mistake came into play:
From looking at different screen art pictures online, I knew that I wanted the pumpkins to be more solid. So I used a palette knife to spread texture medium onto the screen and then let it dry.
My thought is that this would seal off the screen and give me a more solid surface to paint on. And you know what? It worked wonderfully.

However… As I used the palette knife, I pressed down to push it into the holes on the screen. That made the texture medium press down onto the paper and I never thought to peel it off before it dried or to put down a non-stick surface. So… after I was done painting everything, I had to rip the paper off the back of the sign. It’s not a horrible mistake because it still turned out amazing but if I wanted to sell this sign, that would probably hamper that plan.
I love how it turned out though so I am going to come up with a better system and let you know.

Once the texture medium was dry, I just followed the colors on the clip art pumpkins and painted directly over the dried texture medium. If you are not a painter, you can still do this.
Tip: when you paint, use three shades of a color – one base color, one mixed with a small amount of white for highlights and a slightly darker shade for shadows or definitions.

Once I had the pumpkins finished, I simply painted on the details of the stems, leaves, vines and wording. Since there wasn’t texture medium on these parts of the screen, I had to do several layers of each color.
Just paint a layer, let it dry and work on another section while it dries.
I think I did three layers on most parts of the screen.

Can I just tell you that I am so madly in love with this project? I found that the screen makes painting a little more forgivable than painting on canvas. It’s easy and fun.
I mean…

I’m in love.
This would be a great project to make with friends or just by yourself one night.
What do you think? Are you going to give it a try?
If you want to share this idea with friends or for later, save it to Pinterest .

The post DIY Screen Art – Paint Those Screens! appeared first on Clumsy Crafter .