
UPDATE (5/20/26 @ 7:30am AZ time):
The GCU Library's updated version of LopeCat, the library’s online catalog, is live! For more details on what has changed, visit the What's New Guide .
Computer Skills: Microsoft Office Basics
PrepStep Internet Skills Tutorials
![]()
PrepSTEP is an online suite of resources to help you build basic skills with computers.
- Read prep books.
- Take tutorials for skills in using:
- Microsoft Office.
- Start and stop practice tests and tutorials and pick up where you left off.
You must create a personal account to use PrepSTEP.
- Access PrepSTEP using the link on this page. You will need to log in with your GCU username and password.
- Click "Sign In/Register" at the top.

- Click "Register".

- Fill out the form and register for a free account using an email and password of your choice. Please note that you do not need to include your Student ID# or Course Section #.

- Click Home or choose a center from the Centers menu on the navigation bar to begin using the resources.

To begin a practice test or tutorial:
- Click on the category you need.

- Choose the test or skill you need to work on.

- Choose the resource you need. You can begin a practice test or read a test book.

To continue a test or exam:
- Log in by clicking "Sign In/Register".
- If you are already logged in, click on your name and choose "My Center".
- Find the test or tutorial you wish to continue and click on the title.

- You can also delete your progress by clicking the trash can icon next to the title.
Word & Template Troubleshooting
How to Change Your Font to Times New Roman 12 in Word
First, copy and paste your citation into your Word document, or if you are not using a citation generator, type the information for the citation on your Word document.
Next, highlight the citation using your mouse so that the background of the text turns blue or gray as pictured.
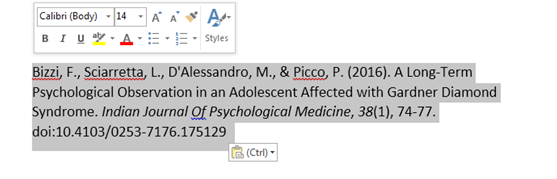
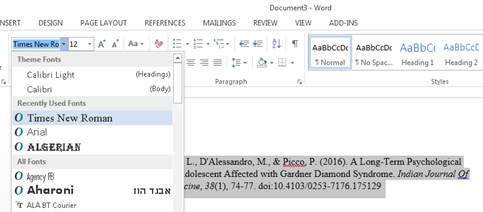
Once the citation is highlighted, move your mouse cursor to the Font Section of the Home Ribbon, and click on the Dropdown Menu listing the various font styles. You can scroll through this list until you see Times New Roman. Click on it to select that font style. Your changes will occur automatically.
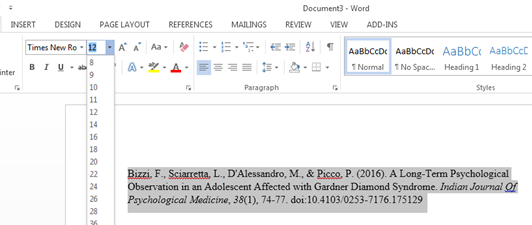
While the citation is highlighted, move your cursor back to the Font Section of the Home Ribbon once more and this time click on the Dropdown Menu listing the font sizes. Choose 12 by clicking on it. Your changes will occur automatically.
Change Case
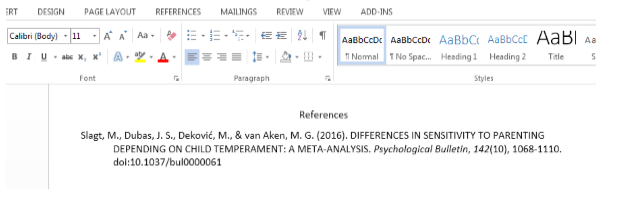
You can change the case of your text from uppercase to lowercase automatically in most Microsoft applications (Word, PowerPoint, etc.). This can be very helpful when you are creating your reference list, as some of the citation generators that are built into the library databases will place names or titles in all capital letters as seen below.
To change the case of your text, you will start by highlighting the part of the text you want to change.
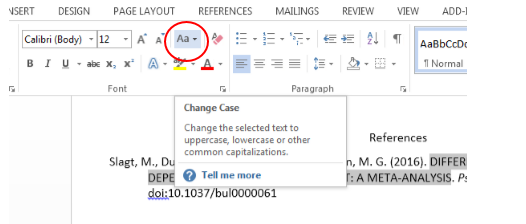
Once your text is highlighted, locate the Change Case option in the Font section of the Home Ribbon at the top of the page. When you hover your mouse over the icons on this area, a description of each will appear. When you find the Change Case icon, click on it using your Left Click Button on your mouse.
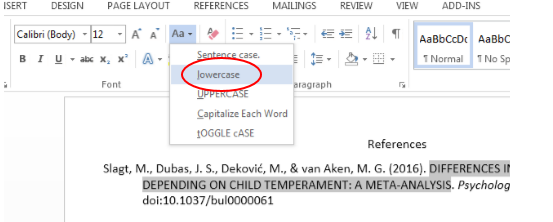
Once you click on Change Case, you will see a menu of options. To change text from uppercase letter to lowercase letters, just click on Lowercase in the menu.
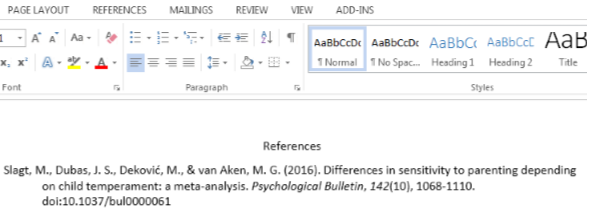
This will change any highlighted text to all lowercase letters. You will then need to go back and capitalize the first letter, and the first letter after a colon or em dash.
How to Organize a Reference List in Alphabetical Order
Create your Reference list, making sure to correct the citations for proper APA format.
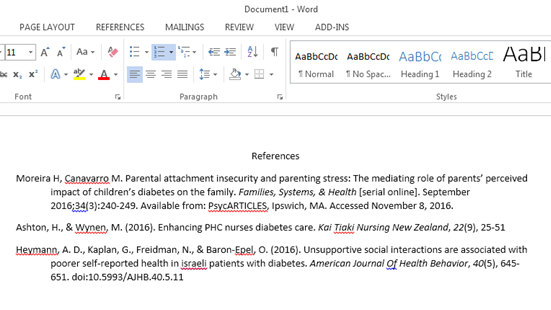
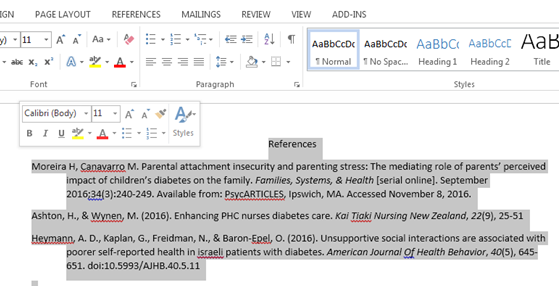
Use your mouse to highlight the entire Reference List so that the background text is blue or gray as shown below.
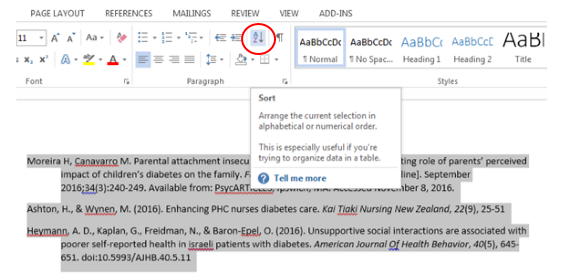
While your references are highlighted, move your mouse to the Paragraph section of the Home Ribbon and click on the AZ Sort icon.
Click on Sort. When you do this the Sort By menu appears. On this menu select Paragraph from the dropdown, choose Text as the Type, and place a mark in Ascending as shown. Then click OK.
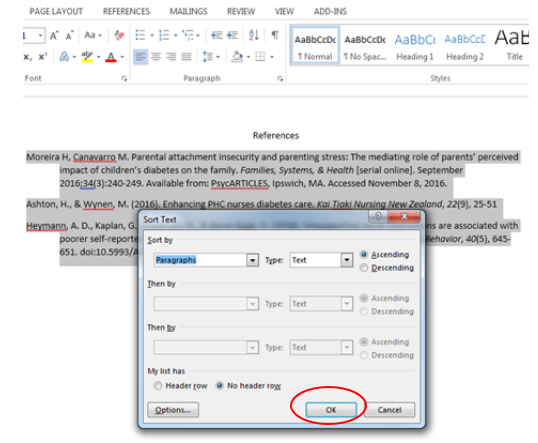
Your references will then be placed in alphabetical order by author’s last name.

Steps to Create a Hanging Indent in Word
First, start by copying and pasting your citation into your Word document. Or, if you are not using a citation generator, type the information for your reference citation by hand.
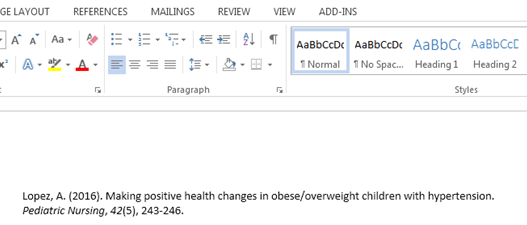
After this is done, highlight the citation using your mouse so that the background is either blue or gray as shown below. Then, go to the Paragraph Section of the Home Ribbon (located next to the Font options) and choose Line Paragraph Spacing, and then click on Line Spacing Options.
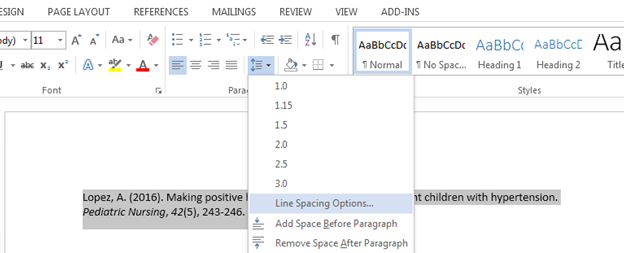
You will see the following menu. Locate the word “Special” in the indentation section. Click on the drop-down menu and select “Hanging” by clicking on it. After this, click on “OK.”

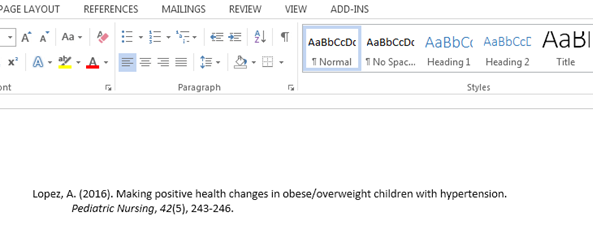
After you do this, it will place your citation in the proper hanging indent format for APA as seen below. You can do this with multiple citations so that they all come out uniformly.
Merge Formatting
Sometimes when copying and pasting from the databases into Word or PowerPoint you will see several black lines obscuring the text. This happens frequently when copying and pasting citations from EBSCOhost databases such as LopeSearch, CINAHL or Academic Search Complete.
This is due to a formatting error that can be easily corrected using the following steps:
Delete the blacked out text from your page. After you have removed the text you don’t want, place your mouse on the page and click the Right Click button on your mouse (please see the Using a Mouse section of this guide for further guidance).
After right clicking on the page, you will see the Copy/Paste menu. From here, simply click on the Merge Formatting option or the middle clipboard.


*Note, if you are creating a reference list for any citation style, make sure to review the text to make sure the copied citation is accurate. The Merge Formatting option will sometimes remove hanging indents or italics, please review carefully before submitting.
On a Mac/Apple device? Options not showing on right-click?
Use the Paste menu on the Home Tab. It is the first menu item on the left. Make certain your cursor is where you want to paste too. Click the down arrow below paste and choose Merge Formatting under Paste Options.

Table of Contents
The dissertation templates: Dissertation, Proposal, and Prospectus, use Word's automatic Table of Contents. Below are instructions for fixing the most common issue with this feature.
You will find the templates in the DC Network. GCU requires the use of these templates.
A common problem when updating the Table of Contents is blocks of text showing:

This issue is caused by the text having the wrong Style.
This must be fixed in the body of the paper.
Do NOT try and fix the table of contents by directly editing it. Doing so will break the coding that makes it automatic. If you do, you may have to start over with a new copy of the template.
To Fix it:
- Locate the section of text being pulled up in the body of the paper.
- Highlight the text.

- In the Styles section of the Home tab, choose Normal.

- Go back to the Table of Contents, click anywhere on it to make Update Table appear at the top.

- Click Update Table and choose Update Entire Table.

If the text seems to resist staying styled Normal, highlight it and choose Clear All Formatting on the Home Menu. Then highlight it again and choose Normal in the style section.
![]()
This can occur due to invisible formatting picked up when copying and pasting from other documents or the web.
Body text can also be Styled as List Bullet or List Number when needed. No other styles can be used in the body.
Headings must be set to Style Heading, and then 1,2, or 3 as appropriate for the automatic Table of Contents to read them. If you have a heading that is not showing in the TOC, check its style.
Recommended Resources
- GCU Technical Support Microsoft Office FAQ This link opens in a new windowHow to download and install Office. Office is provided to all GCU students.
- Getting Started With Excel This link opens in a new windowThe basics of Excel.
- Getting Started With PowerPoint This link opens in a new windowThe basics of PowerPoint.
- Getting Started With Word This link opens in a new windowThe basics of Word.
- Microsoft Office Training Center from Microsoft This link opens in a new windowA guide to different Office applications in one convenient location!
- PowerPoint Resources This link opens in a new windowAdditional resources for PowerPoint and presentations can be found on our guide.