
This page describes how to connect Microsoft Outlook to Gemini Enterprise using data ingestion.
Use the following procedure to sync data from Microsoft Outlook to Gemini Enterprise.After you set up your data source and import data the first time, the data store syncs data from that source at a frequency that you select during setup.
Before you begin
Before setting up your connection:
-
Set up access control for your data source. For information about setting up access control, see Use data source access control .
-
A Microsoft Outlook administrator must generate or obtain the following for integrating with Gemini Enterprise:
- Client ID
- Client secret
- Tenant ID
-
Configure the following Microsoft Graph permissions:
Permission Type Description Admin consent required Status Calendars.ReadApplication Read calendars in all mailboxes Yes Granted for Google Calendars.ReadBasic.AllApplication Read basic details of calendars in all mailboxes Yes Granted for Google Contacts.ReadApplication Read contacts in all mailboxes Yes Granted for Google Mail.ReadApplication Read mail in all mailboxes Yes Granted for Google Mail.ReadBasicApplication Read basic mail in all mailboxes Yes Granted for Google Mail.ReadBasic.AllApplication Read basic mail in all mailboxes Yes Granted for Google User.ReadDelegated Sign in and read user profile No Granted for Google User.Read.AllApplication Read all users' full profiles Yes Granted for Google User.ReadBasic.AllApplication Read all users' basic profiles Yes Granted for Google
Create a Microsoft Outlook connector
Console
To use the Google Cloud console to sync data from Microsoft Outlook to Gemini Enterprise, follow these steps:
-
In the Google Cloud console, go to the Gemini Enterprisepage.
-
In the navigation menu, click Data Stores.
-
Click Create Data Store.
-
On the Select a data sourcepage, scroll or search for Microsoft Outlookto connect your third-party source.
-
Enter your Microsoft Outlook authentication information and click Continue.
-
Select which entities to sync:
-
Mail
-
Calendar
-
Contact
-
Mail Attachment
-
-
To filter entities out of the index or ensure that they are included in the index, click Filter.

Specify filters to include or exclude entities. -
Click Save.
-
Click Continue.
-
Select the Sync frequencyfor Full syncand the Incremental sync frequencyfor Incremental data sync. For more information, see Sync schedules .
If you want to schedule separate full syncs of entity and identity data, expand the menu under Full sync and then select Custom options .
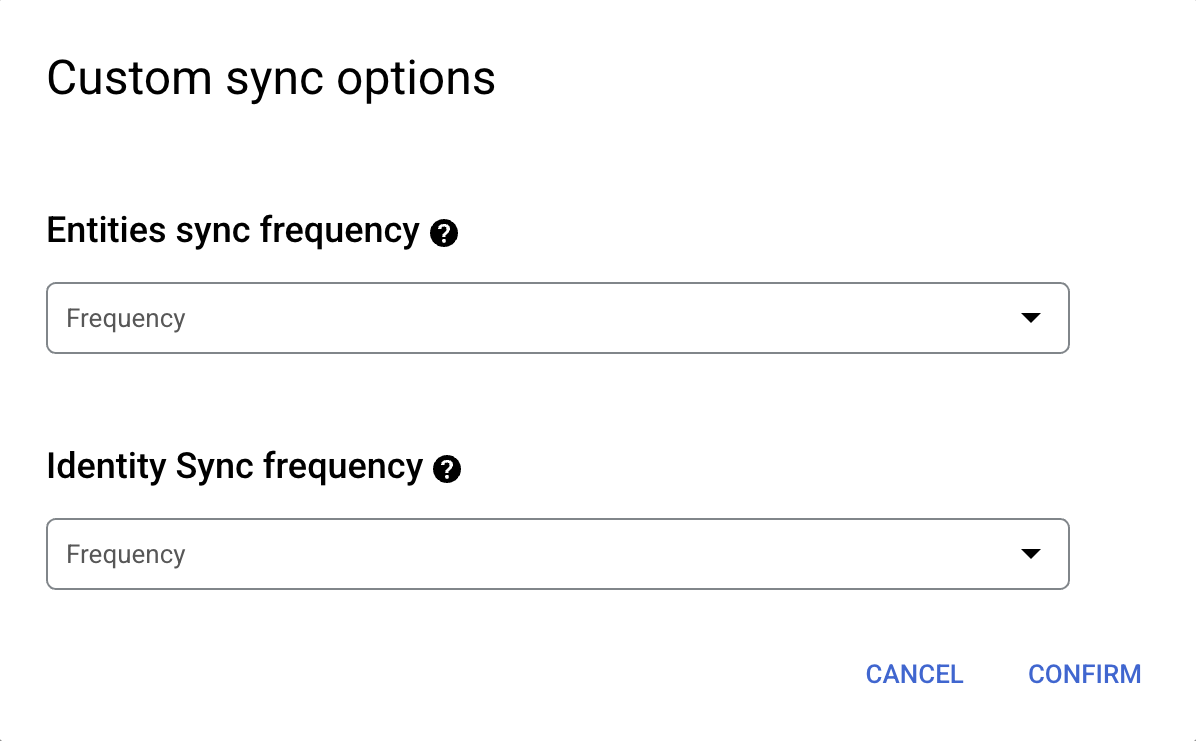
Setting separate schedules for full entity sync and full identity sync. -
Select a region for your data store.
-
Enter a name for your data connector.
-
Click Create. Gemini Enterprise creates your data store and displays your data stores on the Data Storespage.
-
To check the status of your ingestion, go to the Data Storespage and click your connector name to see details about it on its Datapage. The Connector statechanges from Creatingto Runningwhen it starts synchronizing data. When ingestion is complete, the state changes to Activeto indicate that the connection to your data source is set up and awaiting the next scheduled synchronization.
Depending on the size of your data, ingestion can take several minutes or several hours.
Enable real-time sync
Real-time sync only syncs document entities and doesn't sync data related to identity entities. The following table shows which document events are supported with real-time sync.
| Outlook entities | Create | Update | Delete | Permission change |
|---|---|---|---|---|
|
Email
|
||||
|
Email attachments
|
||||
|
Calendar
|
||||
|
Contacts
|
To enable real-time sync for your data store, follow these steps.
-
In the Google Cloud console, go to the Gemini Enterprisepage.
-
In the navigation menu, click Data Stores.
-
Click the name of the Microsoft Outlook data store for which you want to enable real-time sync.
-
On the data store Datapage, wait until the Connector statechanges to Active.
-
In the Real-time syncfield, click View/edit.

View and edit real-time sync settings. -
Click the Enable real-time synctoggle to the on position.
-
Provide a value for Client secret. This value is used to verify Microsoft Outlook webhook events. We recommend using a string of 20 characters.

Enable real-time sync and provide a client secret. -
Click Save.
Wait for the Real-time syncfield to change to Running.
Next steps
-
To attach your connector to an app, create an app and select your connector following the steps in Create a search app .
-
To preview how your search results appear after your app is set up, see Get search results .
-
To enable alerts for the data store, see Configure alerts for third-party data stores .