
Page Summary
-
Learn how to create, edit, star, and manage permissions for hotlists in Google Issue Tracker.
-
Find out how to add and remove issues from a hotlist.
-
Understand how to add or remove a hotlist from your left-hand navigation.
This page shows how to perform common tasks with hotlists in Google Issue Tracker.
Create a hotlist
When you create a hotlist, you are granted Adminpermission and it is private to you by default. You must change the permissions on the hotlist in order for it to be visible to or modifiable by other users.
To create a hotlist:
-
Open Issue Tracker in your web browser.
-
Click Create hotlist, located near the bottom of the left-hand navigation .
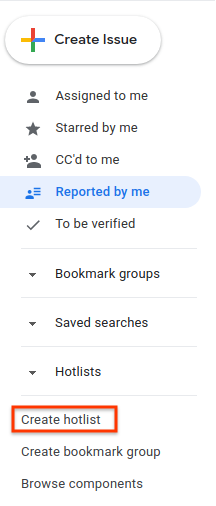
The Create a new hotlistwindow appears.
-
Enter a name for the hotlist.
-
(Optional) Enter a description for the hotlist.
-
Click Save.
The hotlist appears in the left-hand navigation in the Hotlistssection.
You can also create a hotlist with the hotlist picker found on an issue page or in a bulk edit, or from the Manage hotlists page.
Edit a hotlist
You must have Adminpermission for the hotlist in order to edit its properties. You have Adminpermission for hotlists you create.
To edit a hotlist:
-
Open Issue Tracker in your web browser.
-
In the left-hand navigation, find the hotlist you want to edit.
-
Hover over the hotlist and click the "more" button.
-
Select Settings.
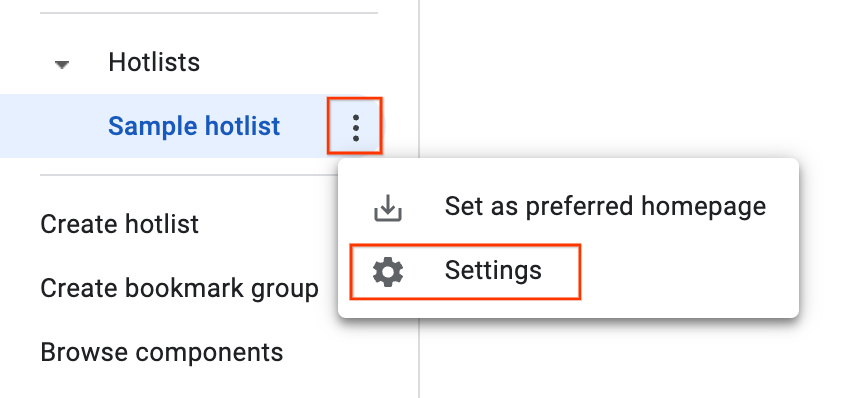
The hotlist details window appears.
-
On the settings page, you can rename the hotlist, add to or modify the description, or change the access control settings .
-
Click Save.
You can also edit a hotlist from its page of issues by clicking the edit (pencil) icon next to the hotlist name.
Star a hotlist
You can identify important hotlists by starring them. Starred hotlists will also appear in the hotlist picker when adding or removing hotlists from an issue.
To star a hotlist:
-
Open Issue Tracker in your web browser.
-
In the left-hand navigation, select the hotlist you want to star.
-
At the top of the page, click the "star" icon next to the hotlist name.
Add and remove issues
You must have Adminor View and appendpermissions on a hotlist to add or remove issues.
To add or remove issues in a hotlist:
-
Open Issue Tracker in your web browser.
-
Check the issue that you want to add or remove, or open the issue.
-
Click the Hotlistsbutton in the top bar to open the Hotlist picker .
-
To add the issue to a hotlist, check the box next to that hotlist and click Save. To remove the issue from a hotlist, clear the checkbox and click Remove. Multiple hotlists can be added or removed in the same action.
You can also use a hotlist picker to simultaneously add or remove multiple issues to or from a hotlist during a bulk edit .
Set hotlist permissions
You must have Adminpermission for the hotlist in order to set permissions for other users and groups.
To set permissions for a hotlist:
-
Open Issue Tracker in your web browser.
-
In the left-hand navigation, find the hotlist where you want to change permissions.
-
Hover over the hotlist and click the drop-down button.
-
Select Settings.
The hotlist details window appears.
-
Click the Access Controltab and grant permissions for the hotlist as required.
-
Click Update.
Any user or group granted permissions to the hotlist must have a Google Account. Otherwise, the user will be indicated with a red border and an error message will display Invalid user(s).
Add a hotlist to navigation
You must have Admin, View and appendor View onlypermission on the hotlist in order to add it to the left-hand navigation.
To add a hotlist:
-
Open Issue Tracker in your web browser.
-
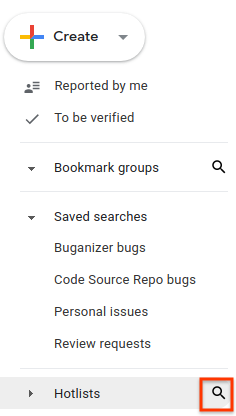
Click the magnifying glass icon next to Hotlistsin the left-hand navigation.
-
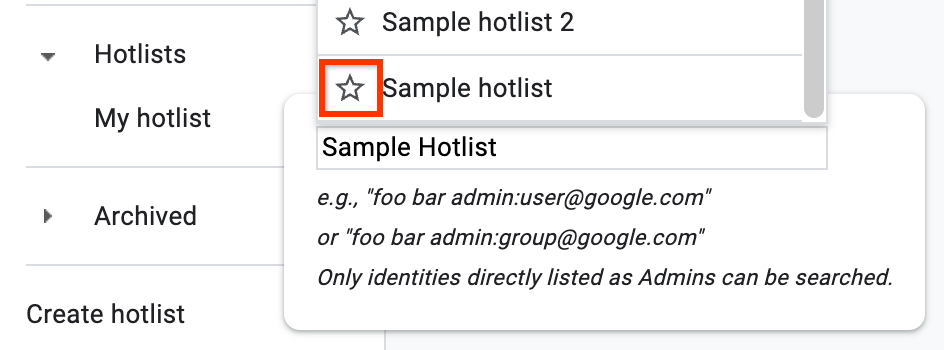
Where prompted, search for the hotlist by keywords in its name or description. You can only search for hotlists where you have Admin, View and append, or View onlypermission.
You can also use
owner:[NAME]to search by the name of a user who has Adminpermission on it. -
To add a hotlist to the Hotlistssection of the left-hand navigation, click the star next to the search result.
-
To view the list of issues in a hotlist, click the search result.
You can also add the hotlist from the issues page by clicking the star icon located to the left of the hotlist name.
Remove a hotlist from navigation
If you are not the owner of a hotlist, you can remove it from the navigation by unstarring it. If you are the owner, you can remove it by archiving it.
To remove a hotlist from the navigation.
-
Open Issue Tracker in your web browser.
-
Find the hotlist you want to remove in the left-hand navigation and open it.
-
To the left of the hotlist name, click Un-star this hotlist.
-
If you are the hotlist owner or if you have Adminpermission on the hotlist:
-
Hover over the hotlist and click the "more" icon.
-
Select Settings.
The hotlist details window appears.
-
Click the Archivebutton in the top bar.
-
Click Confirm. This archives the hotlist for all users who had access to it.
-
Archived hotlists no longer appear on the left-hand navigation and no longer appear as chips on issue pages.