[音楽・楽器] カテゴリの記事
全22件 (22件中 1-22件目)
1
-
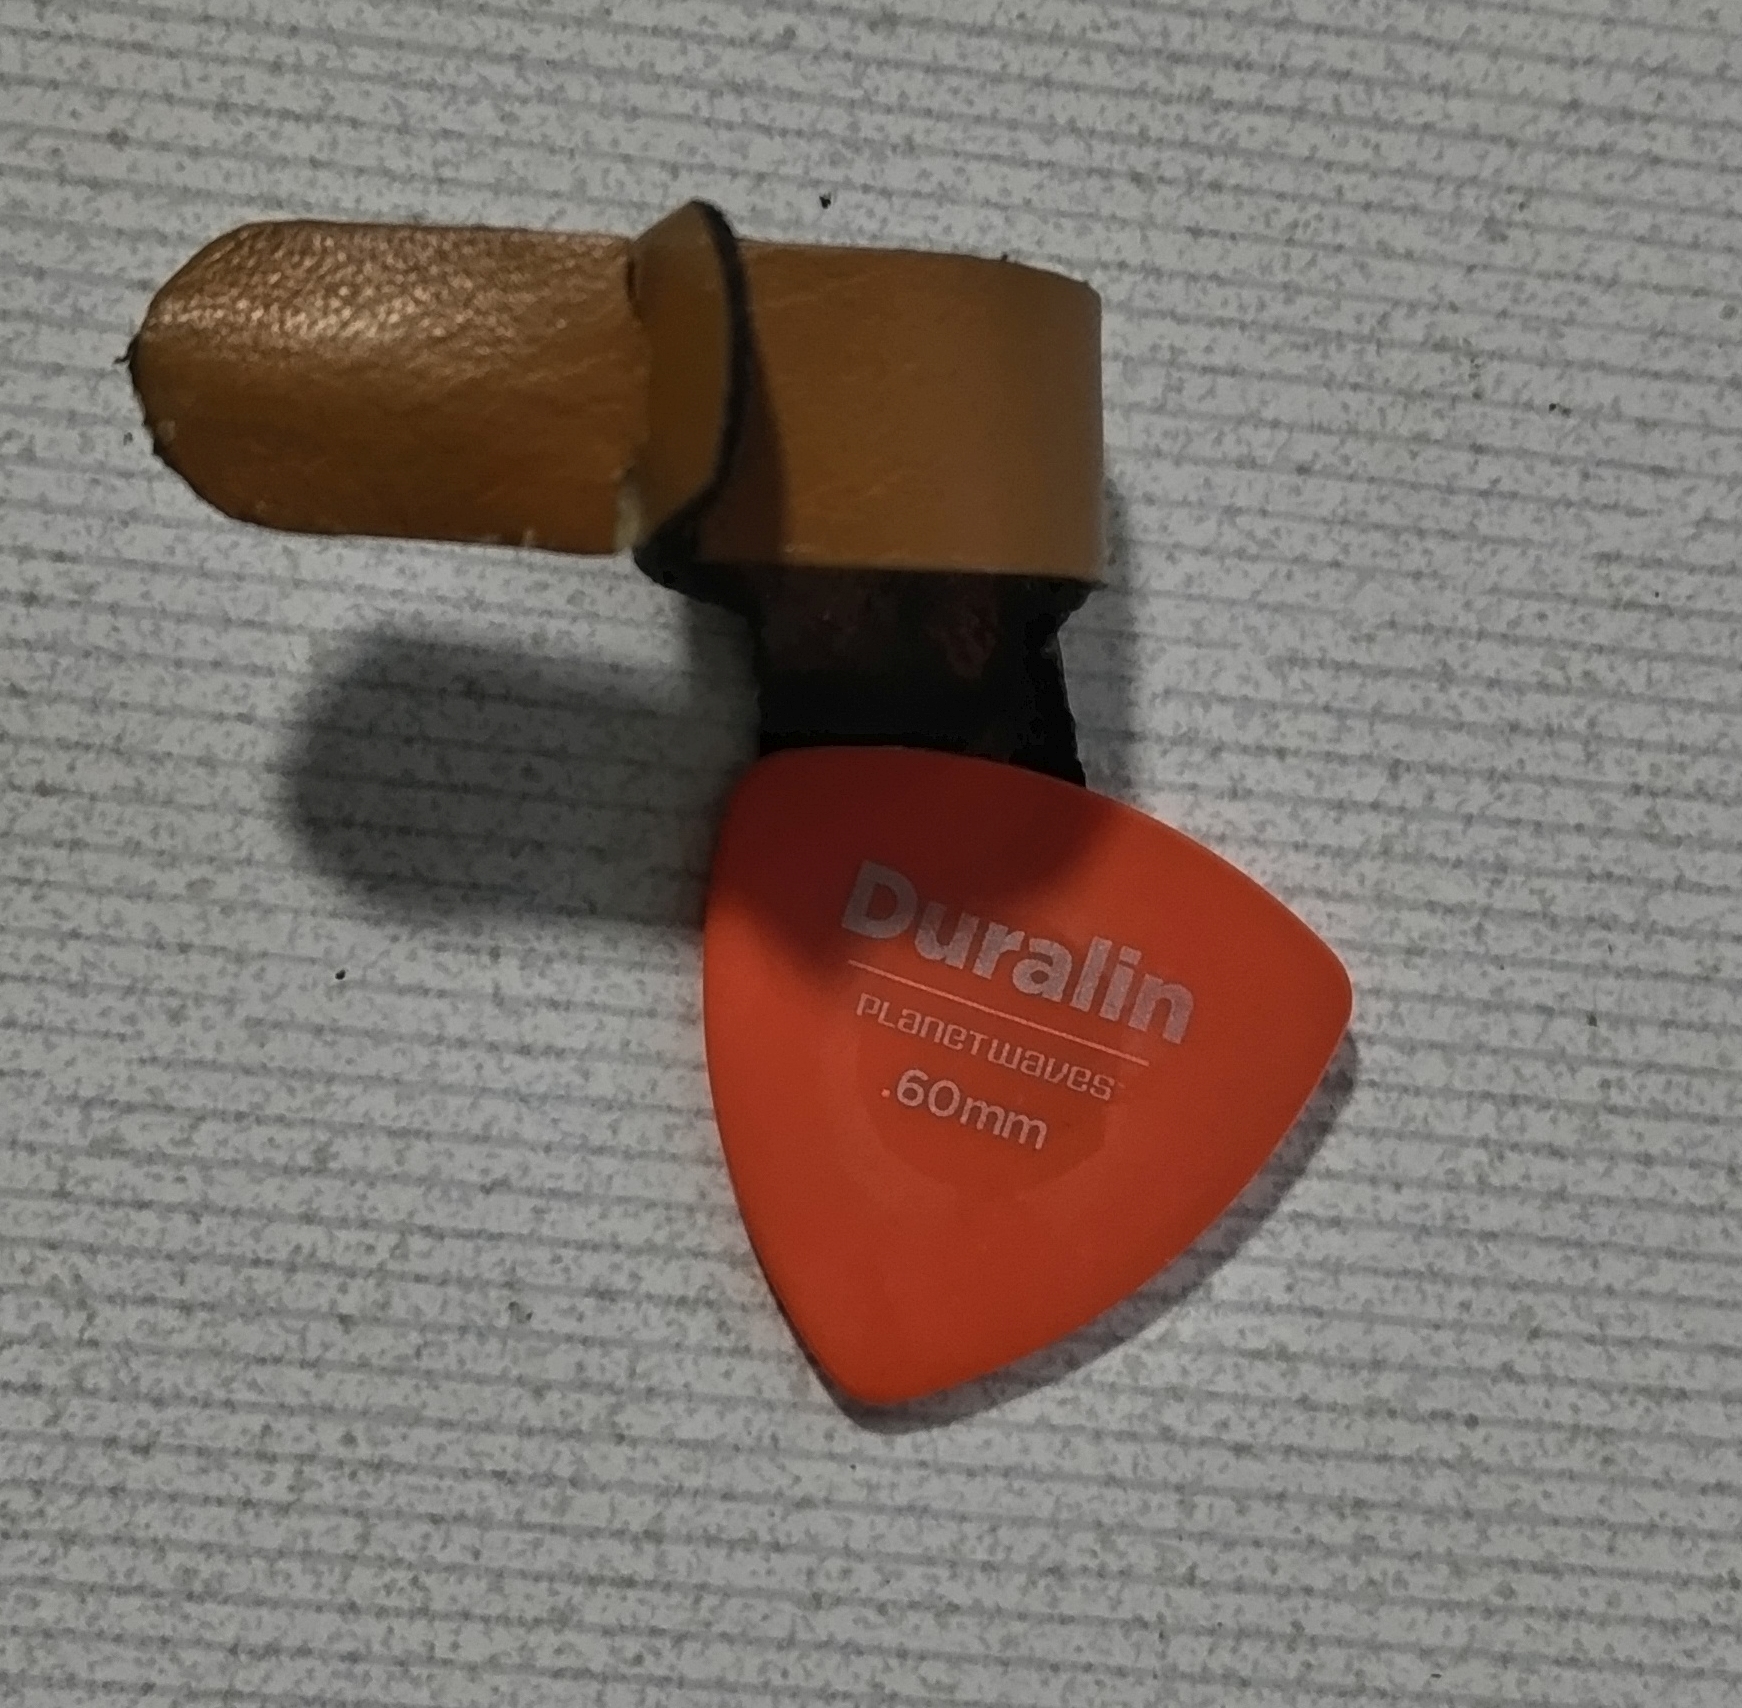
ギターピックの落下防止 その2
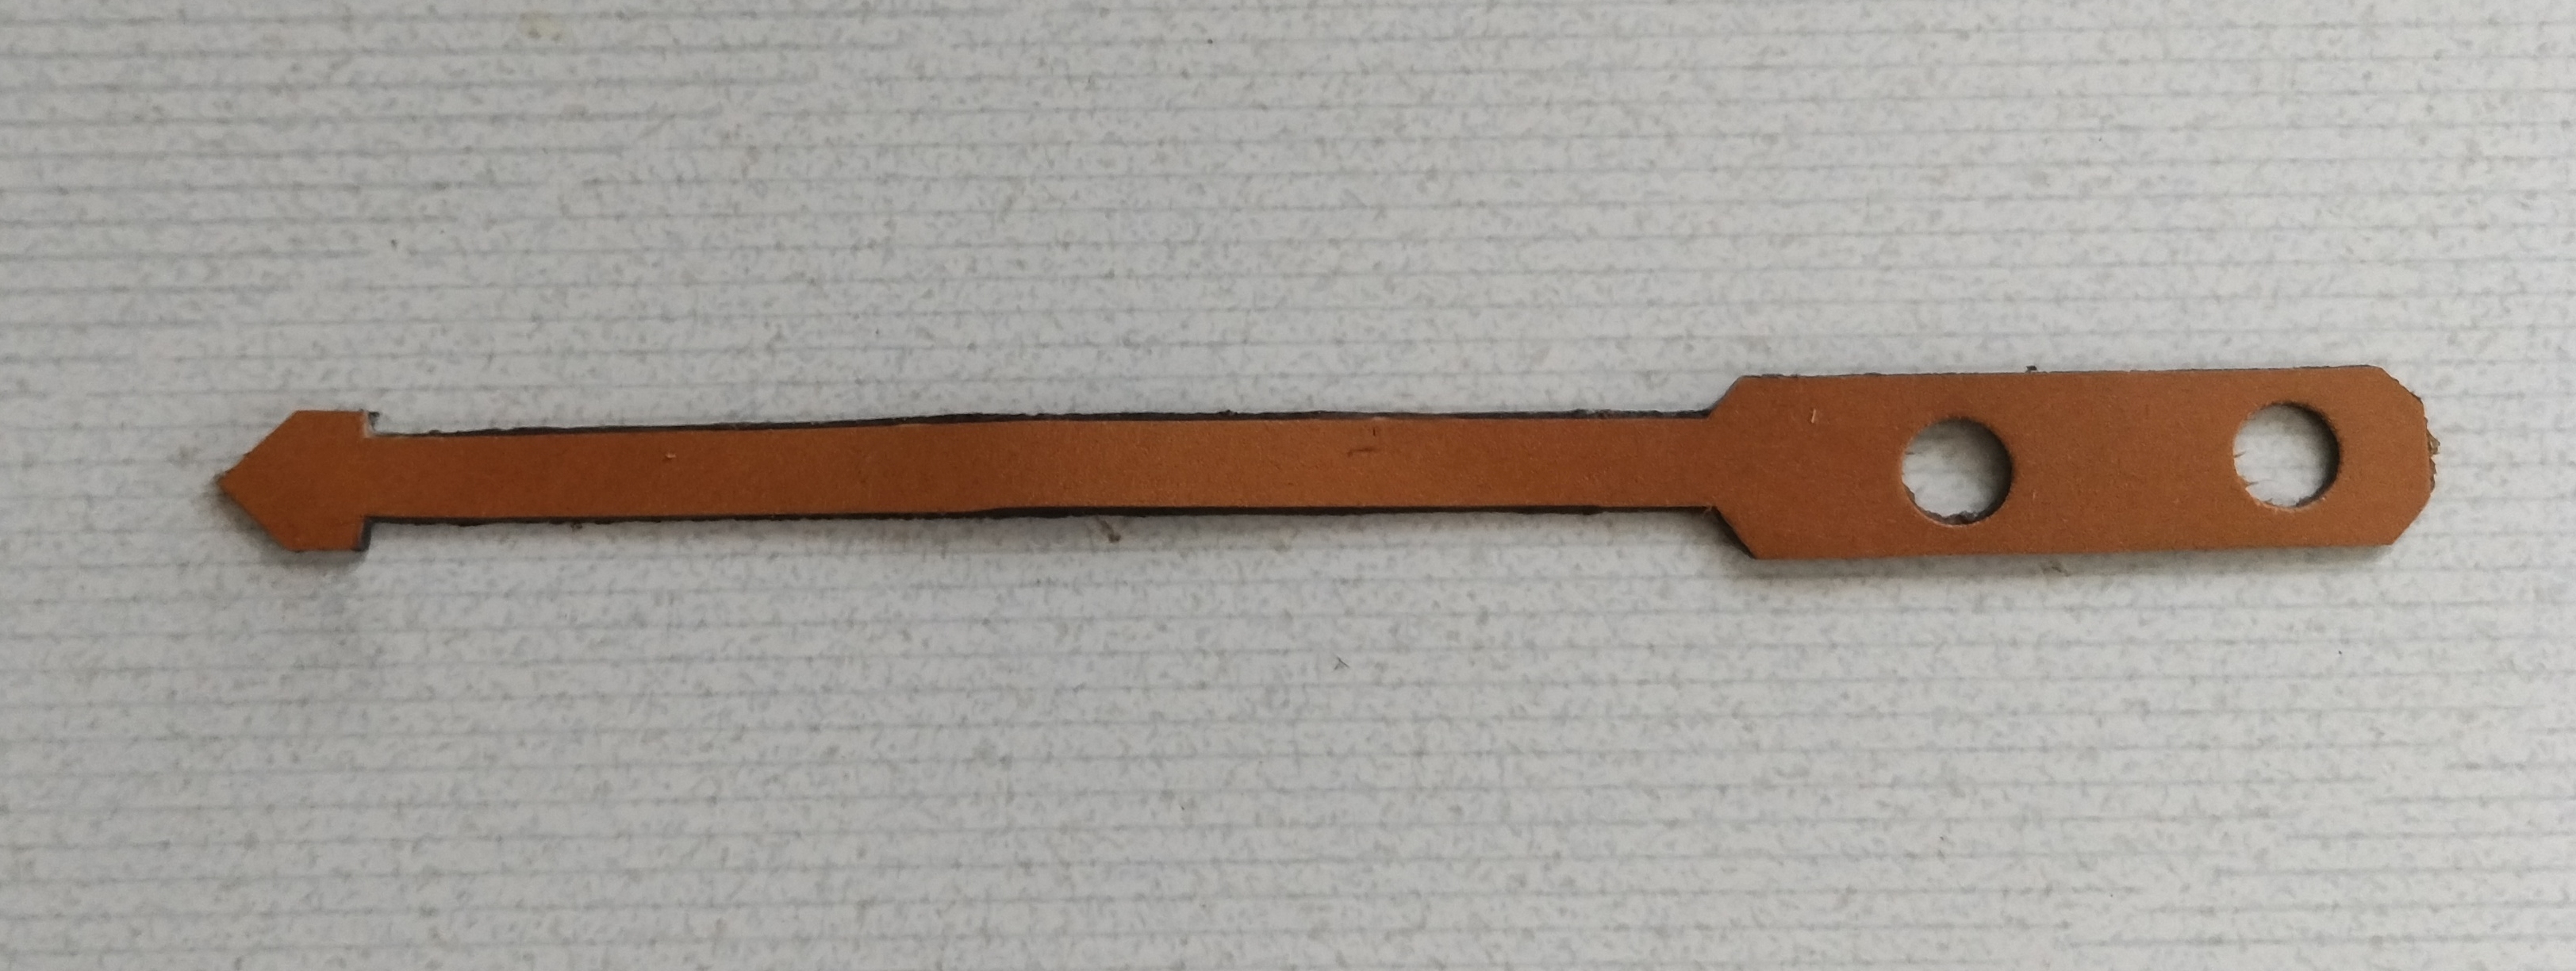
ピック落下防止のピックホルダーですが、いくつか問題点がありました。(1)指の太さの調整ができない(2)ピックを両面テープで止めているので、角度が調整しにくい。ということで、改良しました。こんな形状にしました。寸法は、以下のようになります。ふたつの穴に反対側の端を通して、指に入れるリングにします。ピックにあけた穴に、先端を通します。指の太さ変化、およびピックの角度調整に対応できました。難点は、ピックに約6mmの穴を開ける必要があることです。
2024.08.09
コメント(0)
-
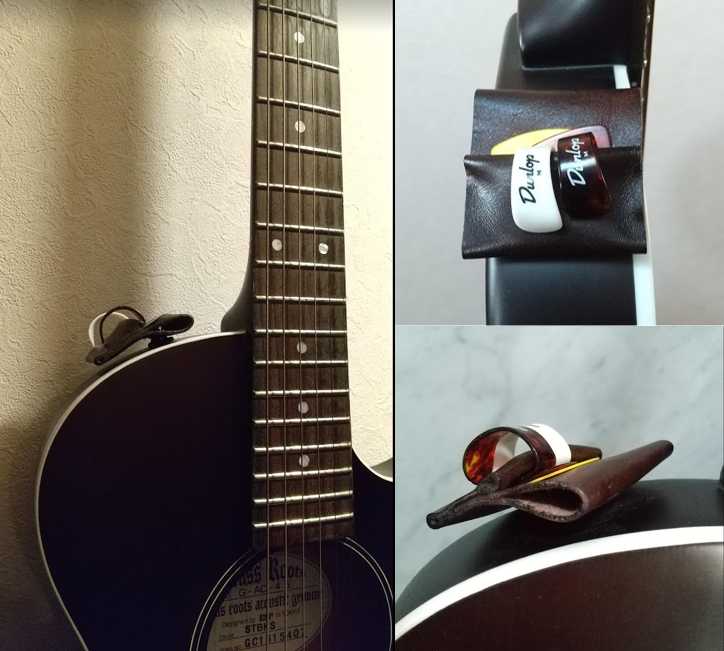
ギターピックの落下防止
ギターのカッティングを教えてもらっているのですが、ストロークにおいて、腕が速く振れません。手首がガチガチになっています。ピックを落さないように強く握るとますますガチガチになって、速く振れなくなります。そこで、ピックの落下防止ホルダーを作ってみました。こんな感じのものです。革の端切れで作りました。なるべくやわらかそうなのを選びました。寸法は、こんな感じです。手の大きさに合わせて、寸法は変えればいいと思います。目安にしてください。型紙を作って、切り抜きました。ピックは両面テープで貼りました。穴にもう片方の端を通してリング状にして使います。これだとピックは絶対に落ちません。作るのが面倒なときは、革の端切れに穴を開けるだけでも大丈夫です。こんな感じで両面テープで固定できます。ちょっとカッコ悪いですけど、一人での練習であれば問題ありません。ピックが落ちて困っている人は、ぜひ試してみてください。
2024.08.08
コメント(0)
-
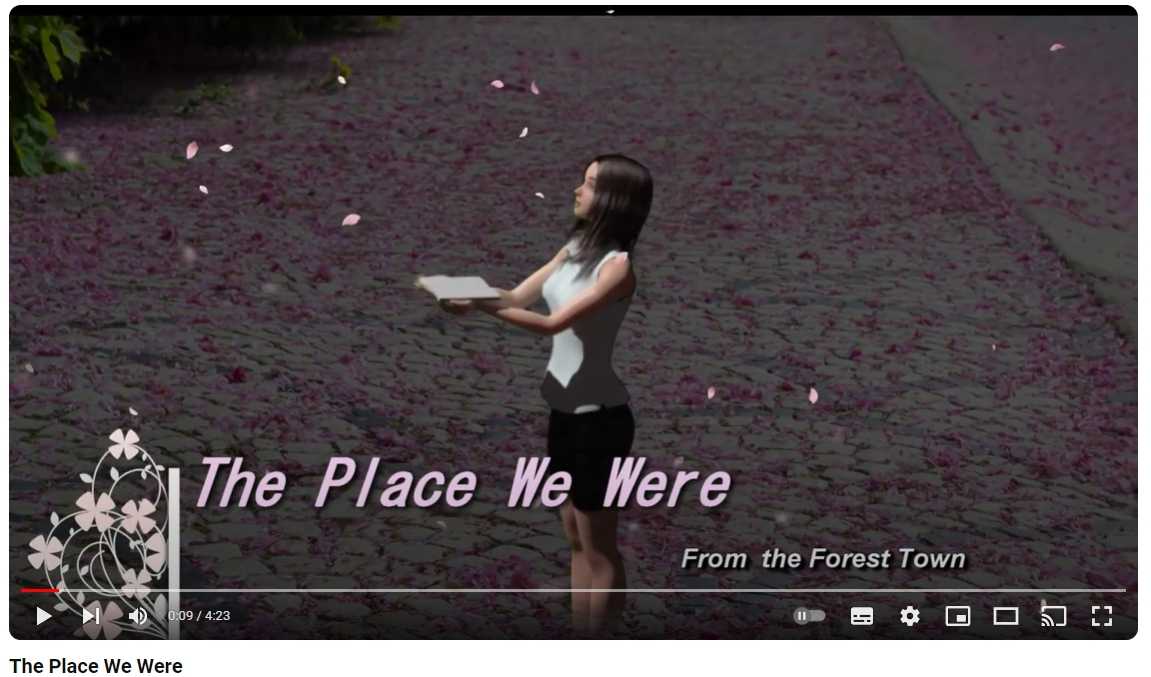
DTM習い始めました
今年から、シアーミュージックでDTM(Desk Top Musicパソコンを使った音楽づくり)を習い始めました。シアーミュージックまったくの素人なので基本を何とか教えてもらわないと前に進めないと思い始めました。今のところ月3回の受講です。DTMの授業だと一コマ45分では少し短い気がしています。 ということで、前に作った曲を題材に編曲しなおすという形で、授業を進めています。もと「にねんよんくみ」を「The Place We Were」という題に変更して作り直しました。 ほとんど先生にやってもらったような感じですが、主な変更点は以下のようになります。(1)ピアノが中心の組み立てになりました先生が、実際に弾いて打ち込んだものをまねて全体に広げました。前は、コードだけを鳴らしていたのですが、全然違う感じになりました。(2)ストリングスをボーカルに沿って追加しましたちょっとうるさい部分もありますが、個性だと思って勘弁してください。(3)チェロは奥行を出すように心がけて入れています(4)チューバでさらに広がりを見せようとしましたが、ちょっとオバーでしょうか(5)コーラスも入れました(6)エンディングはほぼ先生です。半音下げて、終息させる当たりカッコいいです ただ、スマホのユーチューブで聞くとよくわかりません。できれば、イヤホンやヘッドホンで聞いてみてください。なにかアドバイス等があればコメントしてください。ちなみに先生は24歳の若い方です。ギター、ピアノ、DTMを教えています。丁寧に教えていただいています。 ついでですが、動画にも手を加えました。(1)絵はPOSER13で、3Dで作っています。中に出てくる小物や建物は、DesignSpark Mechanical 5.0で作って、POSERで読み込んだものもあります。色塗りとなるテクスチャーは主にクリスタで描きました。(2)動画自体は、PowerDirector 365を用いています(3)PhotoDirector 365のAIもだいぶ活用させていただきました よかったら動画を見てください。The Place We Were
2024.03.22
コメント(0)
-
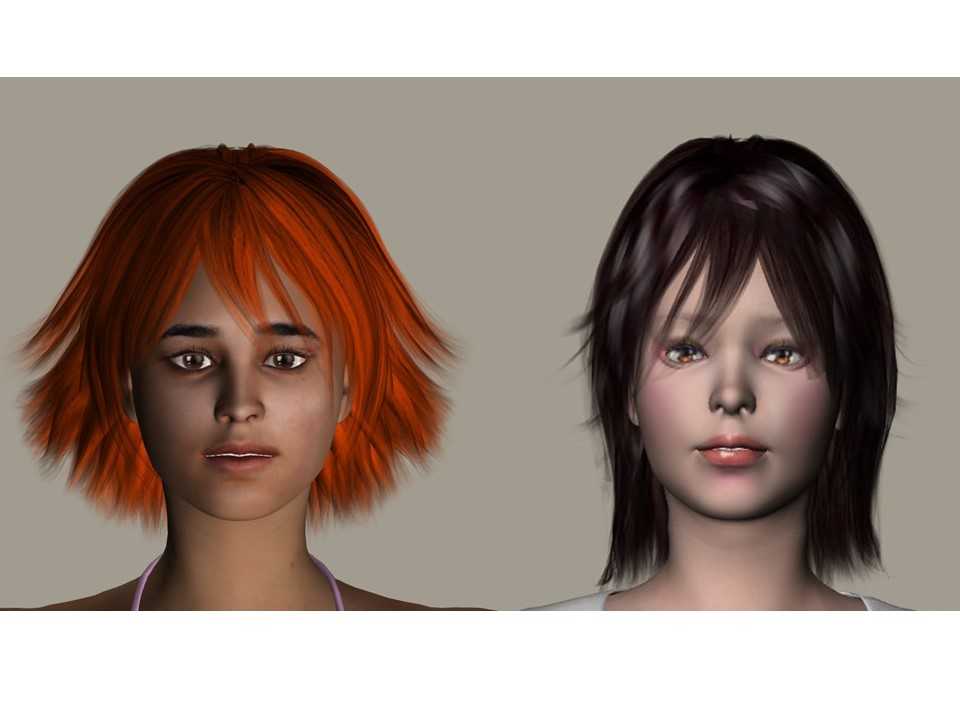
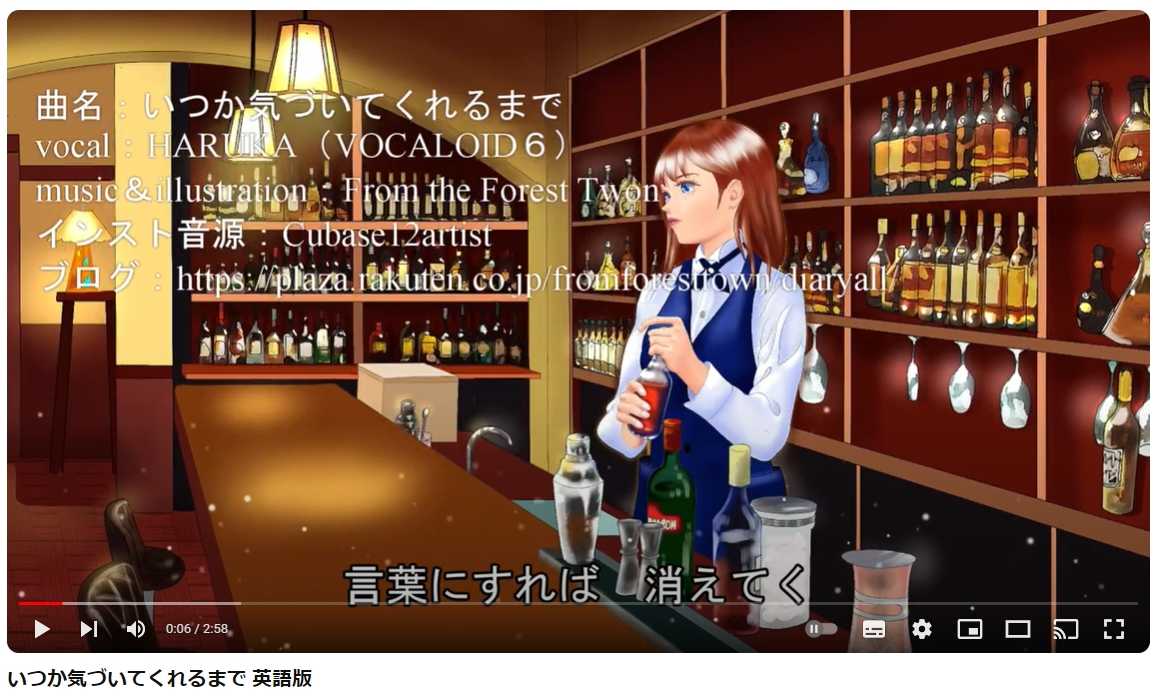
いつか気づいてくれるまで完全英語版
月曜日に風邪をひいて治りが遅いので昨日近所のお医者さんにいったら肺炎ですと言われました。コロナで人と接する機会が減ったことと、コロナワクチンで免疫力が異常になっているせいか分かりませんが、肺炎になってしまいました。息がゼイゼイして、呼吸が苦しかったのですが、薬を飲んだおかげで何とか楽になりました。みなさんも十分に気を付けてくださいね。さて、「いつか気づいてくれるまで」の英語版が半分だったので完成させました。今回は、動画に力を入れてみました。使ったソフトはPOSER13です。日本でのユーザーが少なく、使い方のYOUTUBEも英語で分かりにくいソフトです。ミュージックビデオを作るのに絵を描いていたらとても時間が足りないので、アニメーションの描けるソフトを使ってみたかったのです。ただ、POSER付属のキャラクターはあまりかわいくありません。下の図の左側がPOSER付属のポーリンというキャラクターです。ということで、右のように作り直しました。作り方は結構厄介でした。形状に関してやったことは、こんな感じです。(1)POSERのポーリンの頭をobjファイルでエクスポートします。(2)objファイルをブレンダーでインポートして、顔の形を変形させます。(3)ブレンダーからobjファイルでエクスポートします。このときプロパティーをビューポートからレンダーに変更しないとposer側でモーフターゲットとしてでobjファイルを読み込むことができません。(4)POSERで読み込んだobjファイルを頭部のモーフターゲットして、顔の形状を変えることができます。(5)髪の毛は、同様にブレンダーにエクスポートし、objファイルとしてそのまま使えます。POSERでは、音声ファイルを用いて口パクができます。ただ、今回作成したキャラクターの最終版では口パクしてくれませんでした。なので、口パクしない動画も入っています。色塗りに関しては、こんな感じです。(1)POSER側で、キャラクターに使われているイメージマップを探します。(2)イメージマップをクリップスタジオで読み込んで編集しjpg保存します。唇をプルプルに見えるようにしたり、瞳をキラキラさせたりして描いてみました。動画で見てください。
2023.11.11
コメント(0)
-
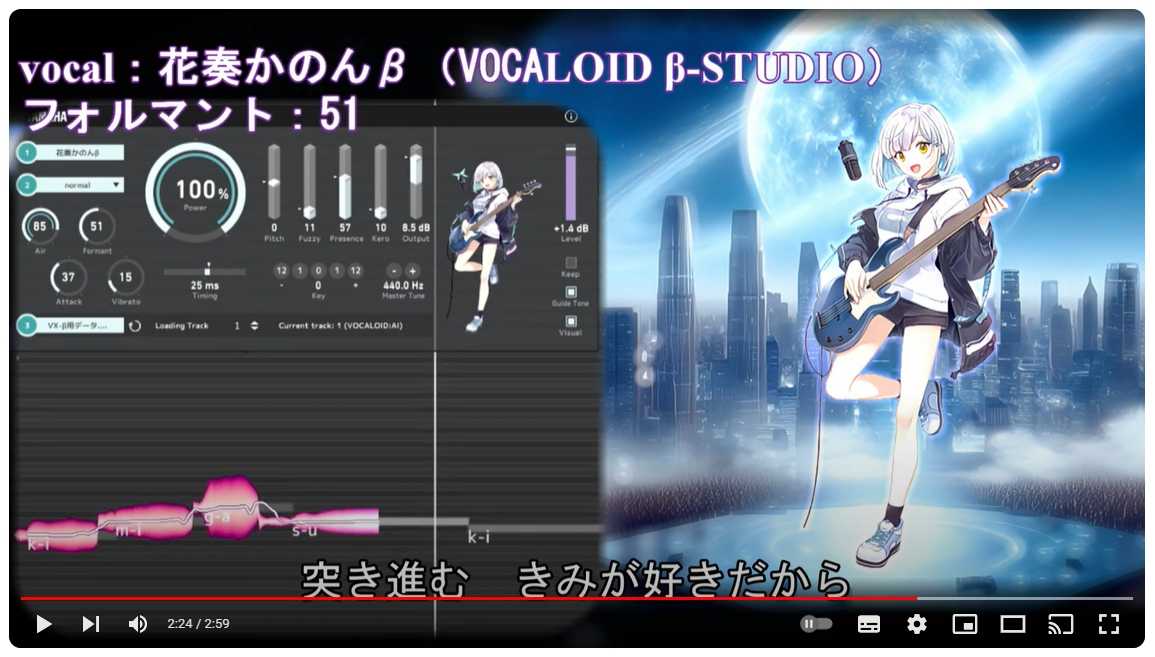
VOCALOID β-STUDIOを使ってみました
VOCALOID β-STUDIO は、ヤマハが期間限定で設立した『研究スタジオ』です。歌声合成の実験場ということでしょうか。そこから、CubaseなどのDAWソフト上で使えるVSTとして、VX-βがリリースされました。申し込んだ結果、めでたく当選できたので使ってみました。初期のVX-βでは、9種類のボイスバンクが使えます。ボイスバンク 声の特徴(得意言語)1. prtv_0 湧き立つ勇気と元気をくれるハツラツシンガーボイス。(日本語)2. prtv_1 ときに優しく、ときにキュートに心と身体を包み込む魅惑のストリートシンガーボイス。(日本語)3. prtv_2 ハイトーンにまでミドルエイジの渋みがきらめくスタジオシンガーボイス。(日本語)4. prtv_3 美しく透き通った歌声からパワフルなロングトーンまで歌い上げる正統派シンガーボイス。(英語)5. 我然β 飽くなき自由を求めるオールドロックシンガーボイス。(日本語)6. nagiβ 落ち着きと透明感のある男性ボイス。(日本語)7. multiβ-N 複数のシンガーをスタイル毎に切り替えることのできる特別ボイス。(日本語)8. ゲキヤクβ 強気で素朴な少女声。(日本語)9. カゼヒキβ 中性的な掠れた声。(日本語)VX-β の新バージョン (Ver. 1.1) では以下のボイスバンクが追加されました。1. 花奏かのんβ2. 杏戸ゆげβ3. Ciちゃんβ4. 春日部つむぎβVX-β 新バージョン (Ver. 1.1) のボイスバンクを使ってみました。いろいろなボイスバンクで遊べて面白いです。設定のフォルマントを動かすと、男声にも女声にできます。でも、VOCALOID6「HARUKA」の声がやっぱり好きです。VX-βのボイスバンクを使いこなすには、ボイスバンクにあった曲を作る必要がありそうです。
2023.10.11
コメント(0)
-
英語の歌詞
昨日から、甥っ子とその子供たちが来てたいへんにぎやかです。きょうだいが多いので、みんなたくましく育っています。さて、英語の歌詞をつけてみたくてトライしました。前回紹介した「いつか気づいてくれるまで」を英訳してみました。AIや翻訳サイトを駆使して訳した後、VOCALOID6に流し込みます。予想していた通り、全然合わないので、それほど大きく意味が外れない範囲でそれっぽくなるようにどんどん歌詞を変えるという作業を行いました。<日本語>言葉にすれば消えてく 黙っても届かない 心の中に溢れる 思い君に伝えたくて いつになっても平行線でも 信じて前に進んで輝いている君が好きだからいつになってもすれちがい 思いは伝えきれないけど いつか気づいてくれたなら<英語>Word said was floating in the air. And faded away.And I say nothing. You never realize.Lots of thoughts within my heart overflowing.I wanna get these feelings to you right now.Two of us are still on a parallel line now.But believe in you.And keep on going forward.Cause your ways are so shining.And I love you more and more. Love!How long time passes by, I’m still missing you. Though I can't fully get my feelings to you now.I am only waiting here. Until you realize.結構大変な作業だったので、一番でめげました。
2023.08.22
コメント(0)
-
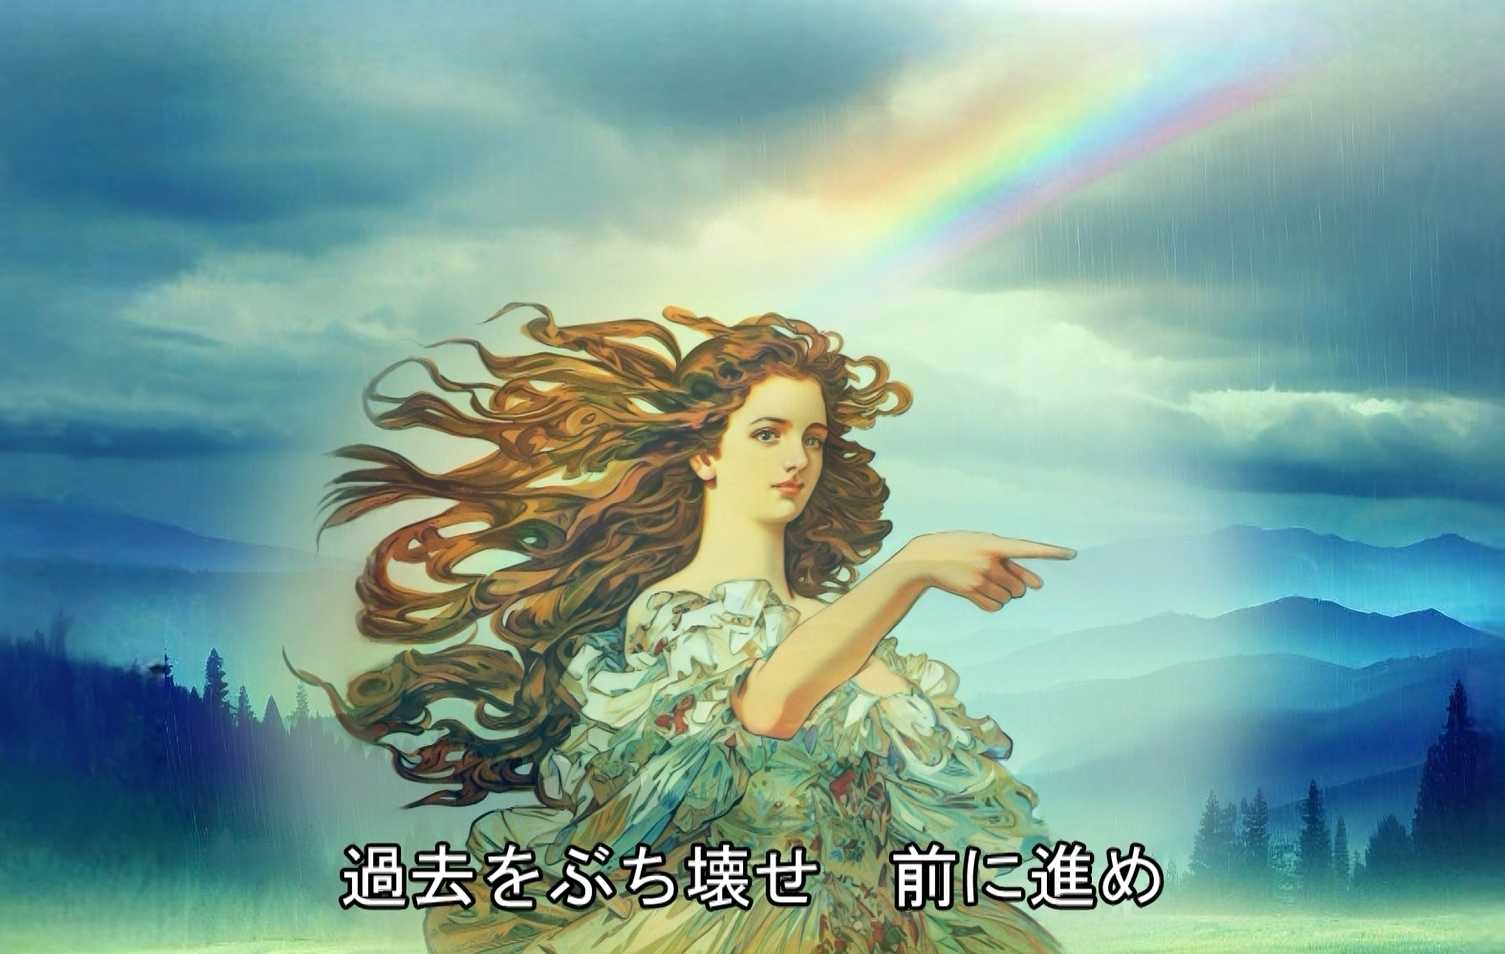
前に進め
何か新しいことをしようとすると、必ず抵抗勢力が現れて妨害されることは多々あると思います。会社にいる頃は、新しいことを行う部署だったので、いろいろな抵抗を感じてきました。今考えると、抵抗勢力がそんなに悪いかというとそうでもなく、(確かに悪い奴はある一定の割合で存在すると思いますが)それぞれの立場や部署の使命に従って正義を通しているだけの場合がほとんどと思います。それでももっと先を見て、新しいことを進めるのが新しいことを行う部署の役割なので頑張ってきました。なので、いろいろな場面で、新しいことに挑戦している方々の応援歌を作ってみました。よかったら見てください。
2023.06.29
コメント(0)
-
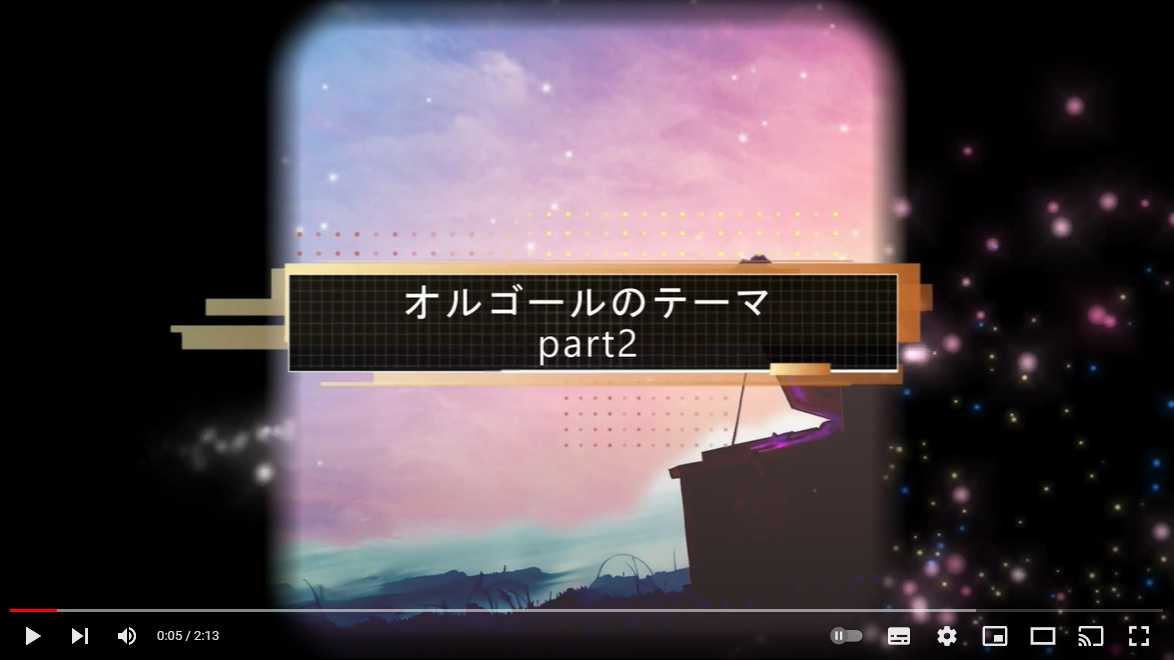
オルゴールのテーマ Part Ⅱ
家が坂道の多いところにあるので、電動自転車を買ってしまいました。お店の人にサドルと電池パックの盗難が多いので、ナンバーでロックできるカギを進められて取り付けたのですが、ナンバーが小さすぎて見えません。前の普通のカギのワイヤーのロックに変えました。情けない話です。前に作ったオルゴールのテーマをリニューアルしてみました。まず、ボーカルはVOCALOID6のHARUKAに変更しました。どうもVOCALOID5や6の男性の声はあまり好みではありません。伴奏もCUBASEで変更しました。背景に関しては、こんな処理をしました。(1)自分で描いた絵をD-IDのサイトで、口パクを付けてもらいました。前回はいい感じで口パクできたのですが、今回はちょっと口が曲がって、かわいく見えません。残念です。(2)その他の情景は、歌詞そのものを英訳して、Edgeのイメージクリエーター(AI)で描いてもらいました。出てきた絵はピッタリではないので、イメージに近いものが出るまで、キーワードを追加して修正していきます。(3)できた絵は、CyberLink PhotoDirector で人物と背景を分離します。それをクリップスタジオで別レイヤーにし、フォトショップ形式にます。もちろん、クリップスタジオでも分離はできますが、人物の消しゴムツールや背景削除のAIのある PhotoDirectorの方が楽です。(4)それをMOHOで読み込んで、人物や背景をうごかします。何とか背景が立体的に動いているように見えるとおもいます。よく見てくださいね。完全にAIやソフトに頼って作りました。
2023.04.26
コメント(0)
-
にねんよんくみ 修正版
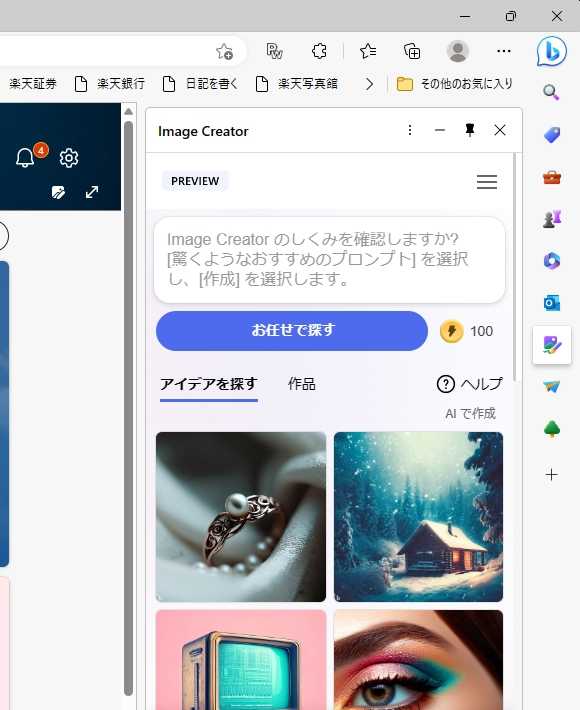
最近よくAIの話題が出てきたので活用してみることにしました。いろいろと絵を描いたり、音楽を作ったり、動画を作ったり一人でやるのは大変ということが分かりました。(1)背景などの一部をAIに描いてもらいました。使ったのは、NMKD Stable Diffusion GUI です。インストールの方法は、調べればたくさん出てきます。私の場合、ビデオボードが貧弱なので、画素数も少なく遅い出力となります。ビデオボードはインテルですが、なぜかAMD用のファイルをダウンロードしたら何とか動きました。こちらは、イメージ入力できるので、背景をもっと細かく描いてもらったりできます。また、Edge でもAI画像生成ができます。文章を英語で入れる必要があります。抽象的な歌詞の内容を入れて、近い画像を見つけることができます。右端の鉛筆っぽいボタンを押すと使えます。(2)人物に歌わせた動画を作ってもらいました。D-ID Creative Reality™ Studio で作ってもらいました。グーグルアカウントで登録して、14日間お試しで使えます。動かす画像の人物は正面から描いたものでないとうまくいきません。D-ID Creative Reality™ Studio (3)編曲 ChatGPTに聞いてみました。私:曲に伴奏をつけてもらえますかChatGPT:申し訳ありませんが、私は人工知能のチャットボットであり、曲に伴奏をつけることはできません。ただし、音楽制作や作曲のアドバイスを求めることがあればお手伝いできるかもしれません。何か質問やご相談があればお知らせください。ということだったので、自分でやることにしました。ということで、ちょっと修正したものをユーチューブにアップしました。
2023.04.17
コメント(0)
-
にねんよんくみ その1
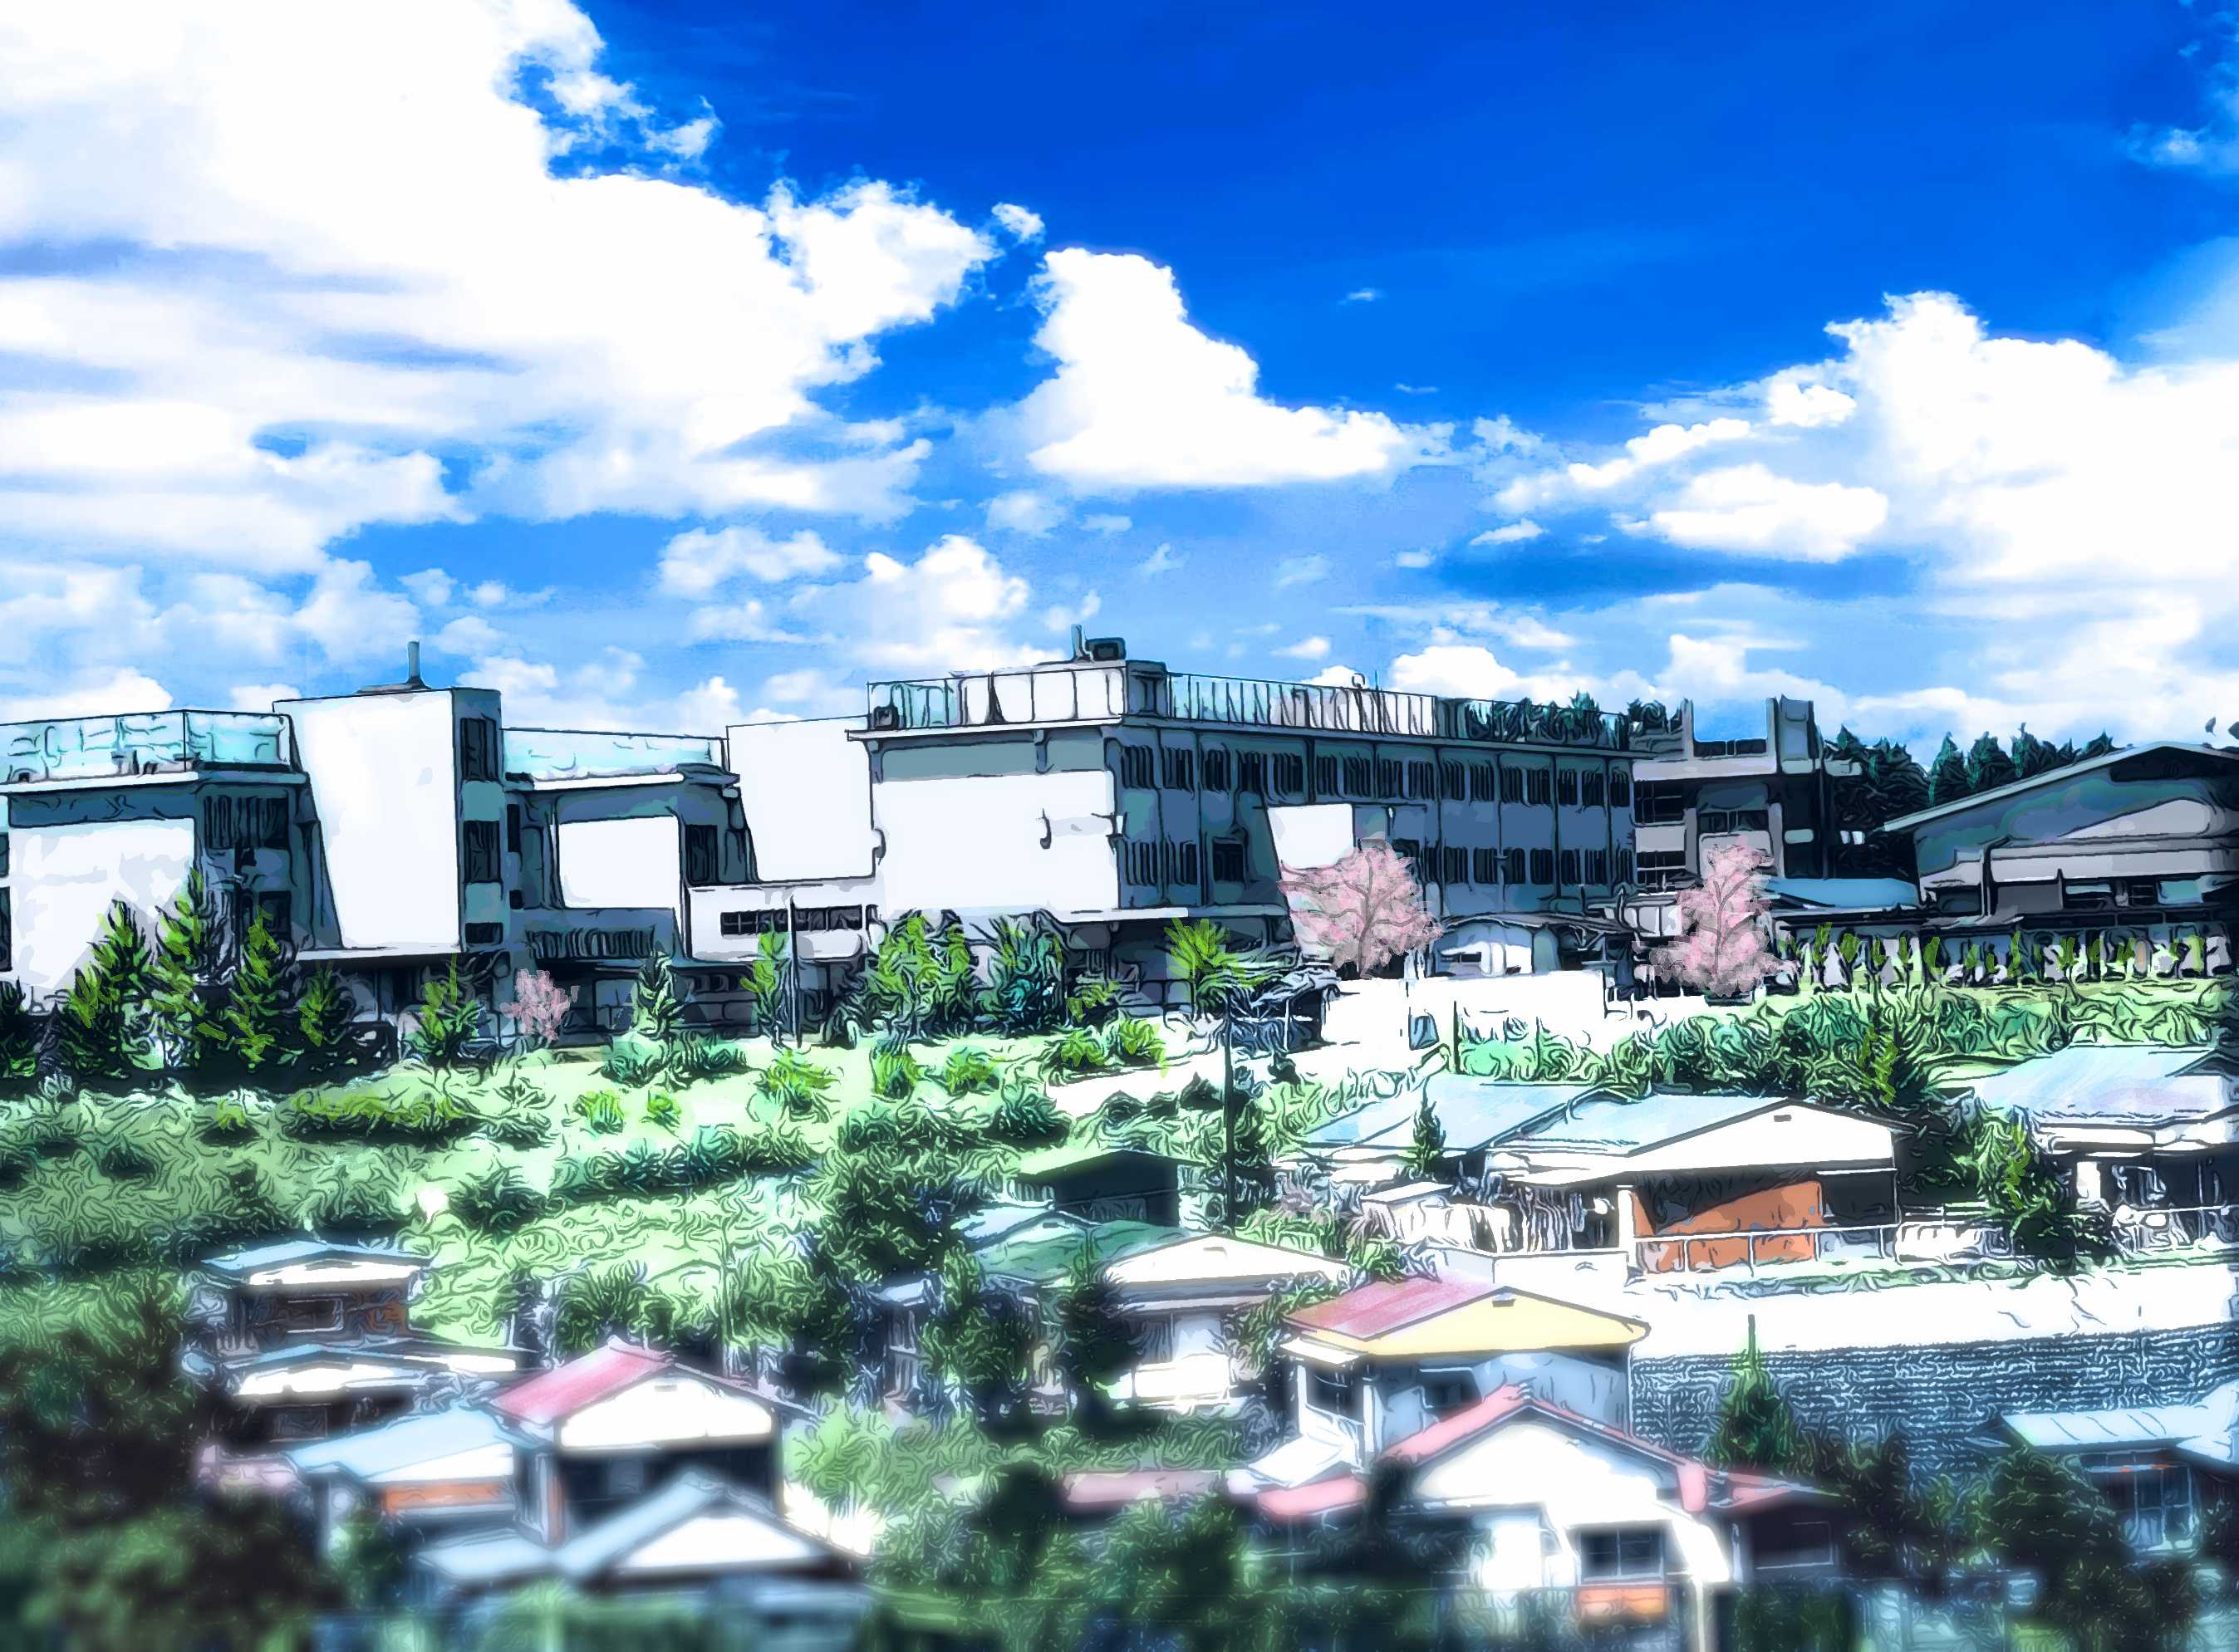
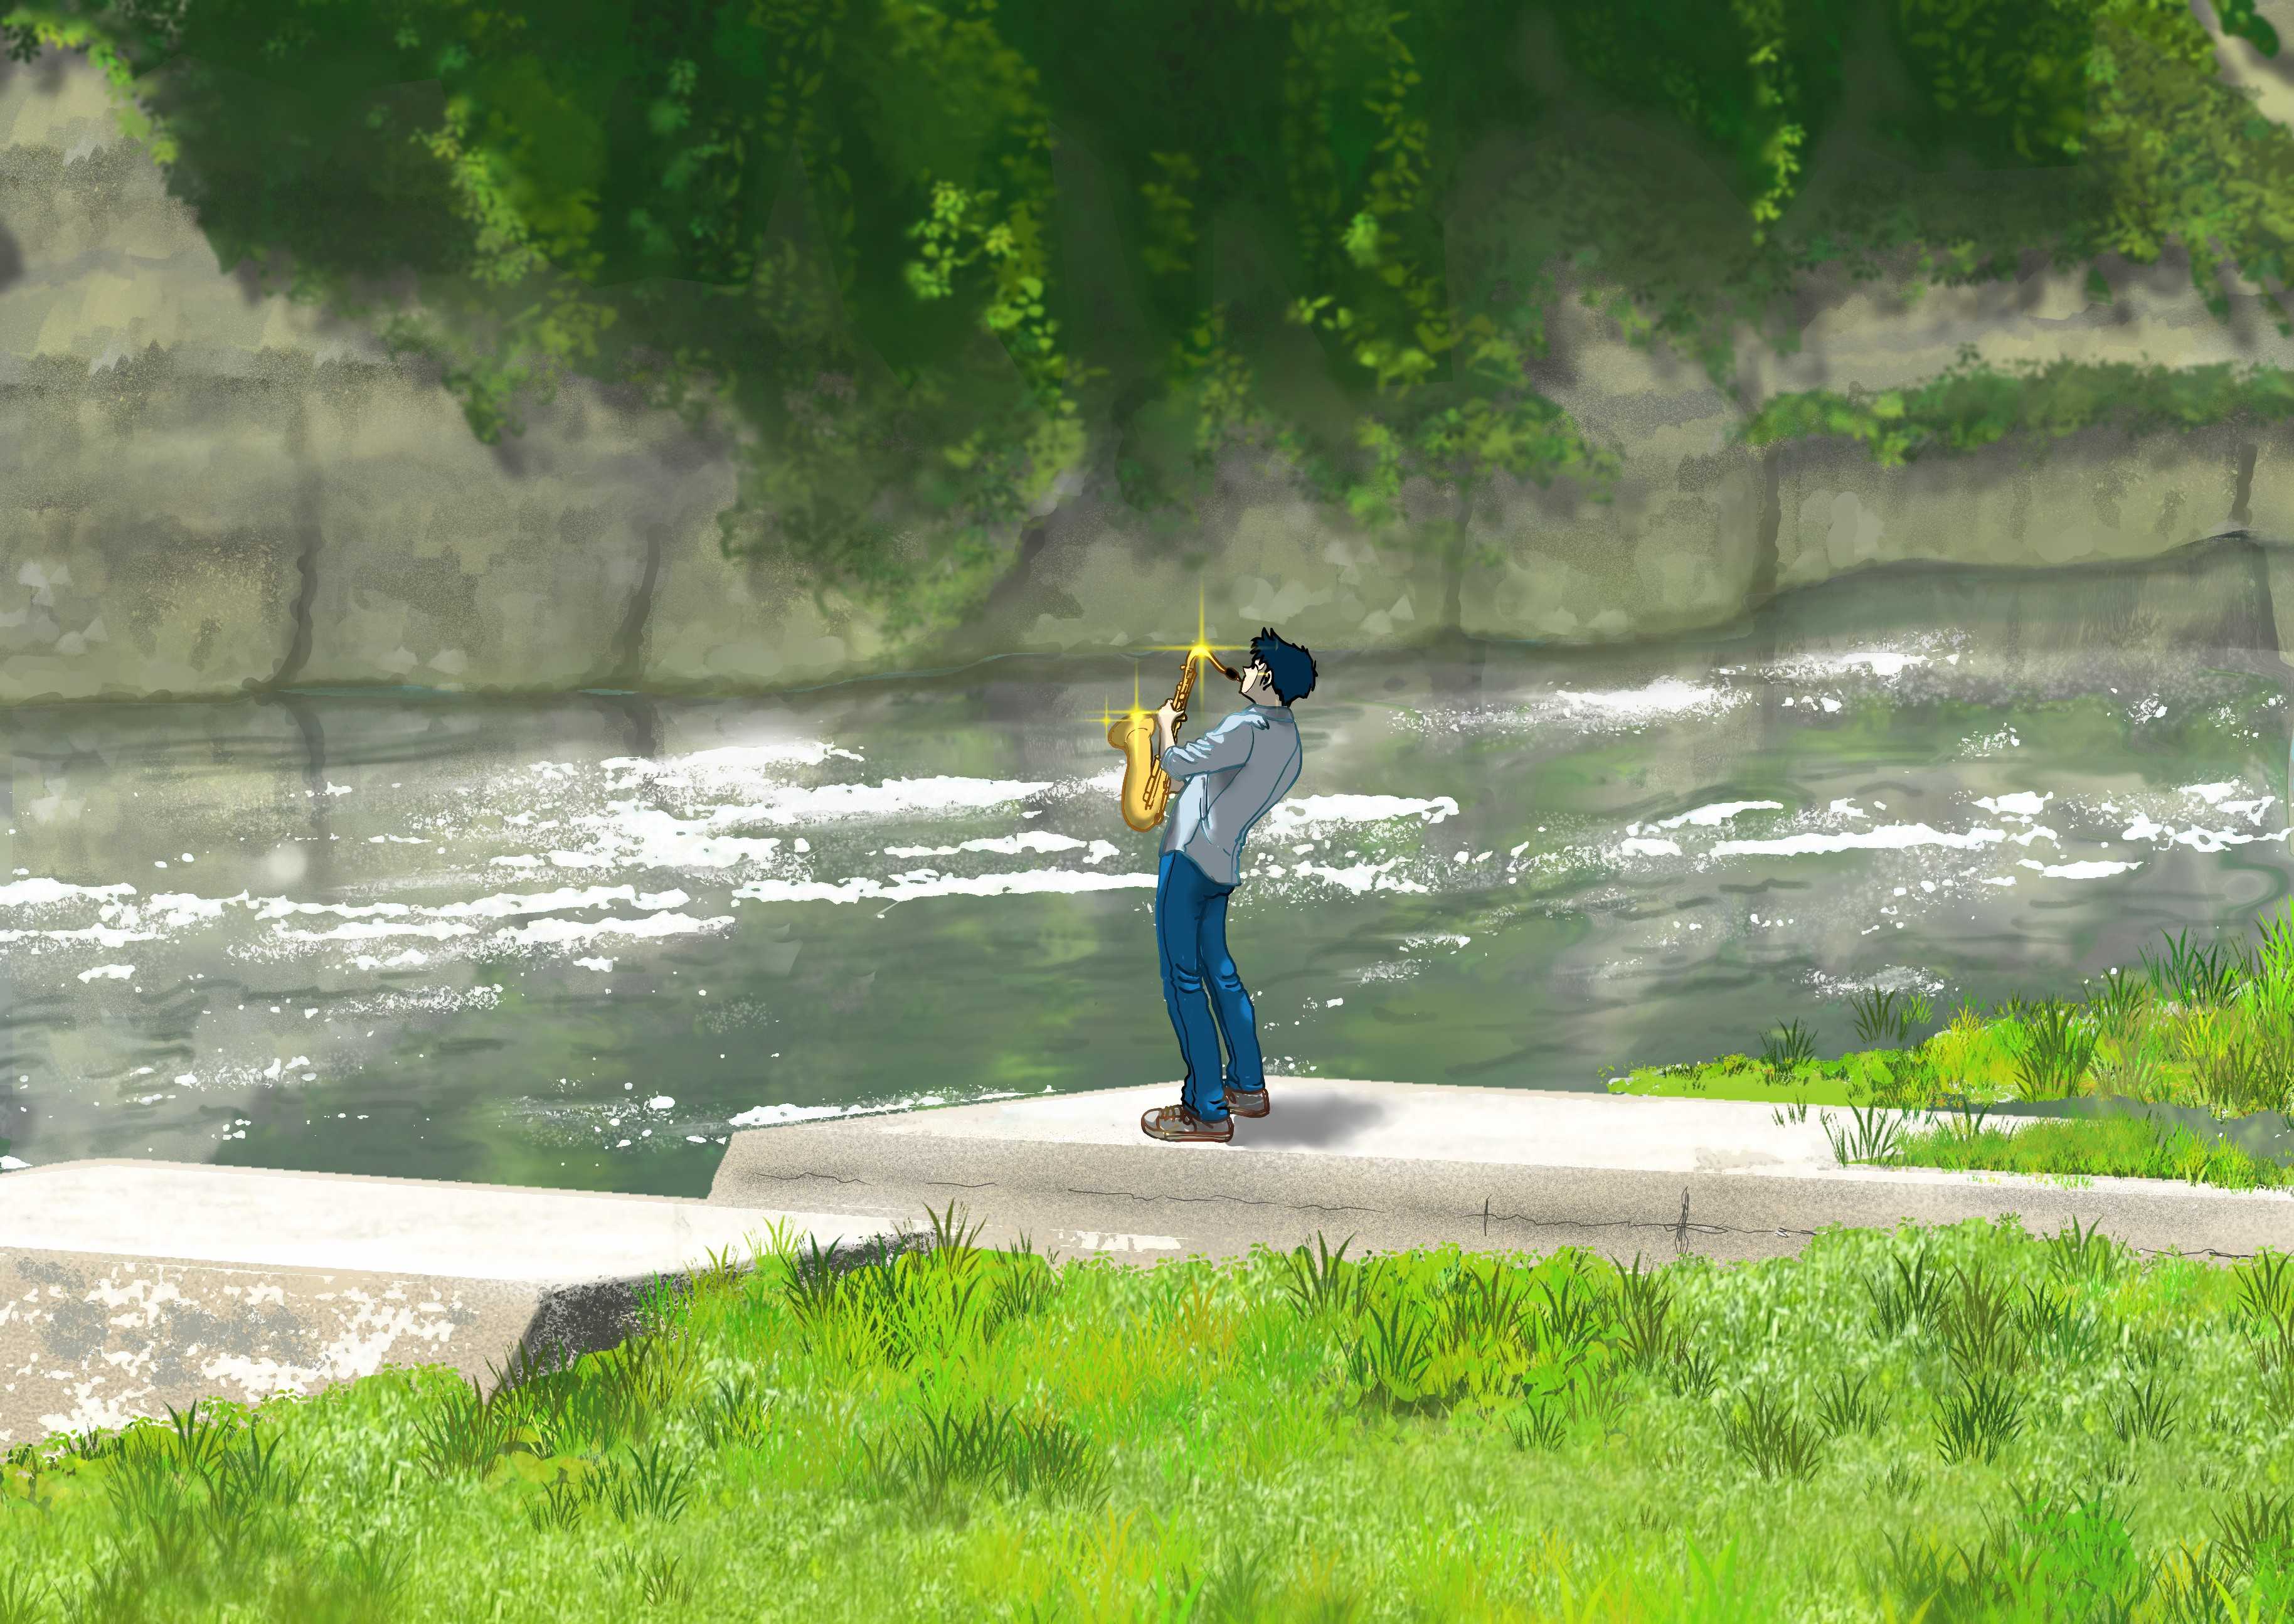
淡い青春初期をテーマにミュージックビデオを作ってみました。意外と手間のかかる作業で、時間を要しました。手順としては、以下のようになります。(1)先ずは構想です。ミュージックビデオを作ってみたかったので、ざっくり構成を絵コンテのように描きます。次に作曲です。(2)歌詞を考えて書きます。(3)ギターでコードを付けます。この時のメロディーはかなり適当です。楽譜が書けないので適当です。ちなみにコードはCのダイヤトニックです。キーの変更はカポタストがあるので、気にしません。次にDAWに打ち込みます。使ったソフトは CUBASE12Artist です。UR-22のおまけCUBASEだとループレコーディングができなかったので、仕方なく買いました。(3)コードパットを使って、ギターで付けたコードを打ち込みます。(4)単純なドラムパターンを入れます(5)4小節分くらいコードとドラムを再生しながら、MIDで接続したキーボードを使って、メローをそれっぽく弾きます。ここで、設定したCのダイヤトニックが活きてきます。メロディーは白鍵盤だけ弾けばいいのです。楽譜が読めず、ピアノが弾けなくてもそれっぽくメロディーができます。またまた活きてくるのがループレコーディングです。4小節分繰り返し流して、それに合わせてメロディーを何回か弾きます。(6)ループレコーディングした中からいいところだけ切り取って4小節分のメロディーを作ります。次に、エディターを見ながら音の高さと長さを微調整します。そしてVOCALOIDに移ります。(7)CUBASEで作ったメロディーのMIDデータをインポートします。(8)最初にVOCALOID5で、インポートしたMIDデータに歌わせたのですが、しっくりきません。お試し版のVOCALOID6にしたら、なんと歌がうまいこと。さすがAI仕様。ということで、仕方なくバージョンアップしました。ちなみにVOCALOIDは、CUBASEのVSTとして開きます。VOCALOIDでは、簡単にハモリができます。3度ずらして、黒鍵盤に乗っかってしまったキーがあれば白鍵盤にずらします。これもCのダイアトニックにした効果です。ちょっと微調して、人間ぽくもしました。CUBASEに戻って、(9)楽器を入れていきます。ピアノ、ギター、ベース、ドラム、バイオリン、サックスを入れました。使い方がよくわからないので、特殊効果入れていません。間奏は、ブルージャイアントの影響で、テナーサックスを入れてみました。主人公の大が広瀬川で吹いているイメージ(絵のことです)を入れてみました。演奏は音源なので、まるで迫力がないと思います。CUBASE と VOCALOIDを行ったり来たりして仕上げて、オーディオミックスダウンしてMP3のファイルにします。音楽は一応完成です。その2で画像の状況を説明したいと思います。
2023.04.03
コメント(0)
-
『BLUE GIANT』と定進堂
『BLUE GIANT』とういう映画が本日公開されます。『BLUE GIANT』ジャズのアニメで、舞台は仙台と東京だそうです。作家の担当者の出身が仙台であったため、最初の舞台が仙台となったとウィキペディアに書いてありました。ブックライブで、原作を見たところなんと、作品中に「定進堂」が出てくるではありませんか。定進堂は、私の通っていた高校の近くのパン屋さんです。定進堂には、高校の時、一日に2回はいっていました。だいたい、二時間目が終わったら早弁をするので、昼間に腹をすかして、定進堂にパンを食べに行きました。ハムカツパンはちょっと高かったので、チョコのコーティングされたパンを食べていた気がします。部活が終わると、部活のメンバーと共に定進堂に行って、コカ・コーラより当時量が多かった瓶入りのペプシコーラを飲んで、チョコなしバナナアイスを食べていました。アイスはチョコをコーティングしたチョコバナナアイスと、コーティングしていないバナナアイスがありました。金がなかったので、チョコのないバナナアイスを食べていました。当時の定進堂のおやじさんは、ちょっと荒井注さんの雰囲気があった気がします。広瀬川の絵を描いてみました。
2023.02.17
コメント(0)
-
オルゴールのテーマⅡ
先ほど、アップしたオルゴールのテーマの音楽を違うDAWで作ってみました。DAWはCUBASE Artistを使いました。へたくそなアコースティックギターの音も入っています。ちょっと、昭和っぽい感じがすると思います。
2022.09.28
コメント(0)
-
オルゴールのテーマ
高校の時、友達のKH君から、”バンドやるべ、曲、作ってけろ”と歌詞を渡されました。二人組で、オルゴールというデュオで、ということだったと思います。当時は、自信もなく、作っては見たものの渡せずそのまま、成り行きで卒業となってしまいました。2番の歌詞もあったかもしれませんが、今となっては見つかりません。ずっと、こころに引っかかっていました。HK君とも連絡を取っていません。とりあえず、覚えていたところをDAWとボカロで、形にしてみることにしました。DAWは、「MUSIC MAKER 2023 PREMIUM」を使いました。たいへん便利なもので、イントロ、Aメロ、Bメロ、サビ、アウトロの構成で、楽器を選んで、作曲ボタンを押すと、勝手に曲を作ってくれます。その状態で、VOCALOID5に打ち込んだ曲をインポートし、作曲した曲の長さとコードを変更していくとそれなりの形になります。盛り上げる楽器を加えていけば、なんとなくな仕上がりとなります。背景の絵に関しては、いつものようにクリップスタジオを使いました。出来上がったユーチューブ動画のリンクを貼り付けました。ドラムや楽器のタイミングが、うまくいっていません。今後、修行したいと思います。
2022.09.28
コメント(0)
-
作曲の練習 その2
昨日、紹介したのですが、ちょっとベースがうるさい気がしたので、ちょっと落して、絵を追加しました。絵も一日で描いたので、結構手抜きで申し訳ありません。人物のバランスが悪いですね。
2022.09.22
コメント(0)
-
作曲の練習
だいぶご無沙汰してしまいました。絵の勉強と作曲の勉強をしていて、ブログの更新ができませんでした。ボカロビギナーズ!ボカロでDTM入門 第二版 (NextPublishing)という本を読んで、ちょっと作曲がしたくなりました。 ちょうど、絵の勉強をしているので、絵はパルミーの講座で習った手法で、クリップスタジオのソフトで描いて、それに曲を付けてみようと思いました。 絵も音楽もど素人です。特に音楽に関しては、音階とリズムの感覚がまったくわからず苦労しています。 それで、やったことは、本に書いてあったので、オーディオインターフェースを買って、おまけのDAWのCUBASE AIで作曲の勉強をはじめました。 オーディオインターフェースは、下のものを買いました。Steinberg スタインバーグ 2x2 USB2.0 24bit/192kHz オーディオインターフェース UR22mkII 使い方は、ユーチューブ動画にいっぱいあるので助かります。ただ、動画あるからすぐできるかというとそうでもありません。めんどくさいです。 歌うのは最終的には自分でやってみたいのですが、本に従って、ボカロにしました。 VOCALOID5を買いました。 さて、実際に何を作曲するかが問題となります。 「ボカロビギナーズ!ボカロでDTM入門 第二版」のなかでは、物語的歌詞の書き方としてイソップ寓話をもとに考えていくという内容があります。 そこで、物語を参考に歌詞を作る練習をすることにしました。 ちょうどテレビの「六本木クラス」がやっており、登場人物の葵さんの心境を歌にしてみました。 DTMをはじめて、一か月ちょっとなので、ものすごくへたくそです。MIDの入力は、息子が置いていいたYAMAHAの電子ピアノに繋いでいます。いろんな楽器をVSTで入れたいと思っていますが、まだまだです。
2022.09.21
コメント(0)
-
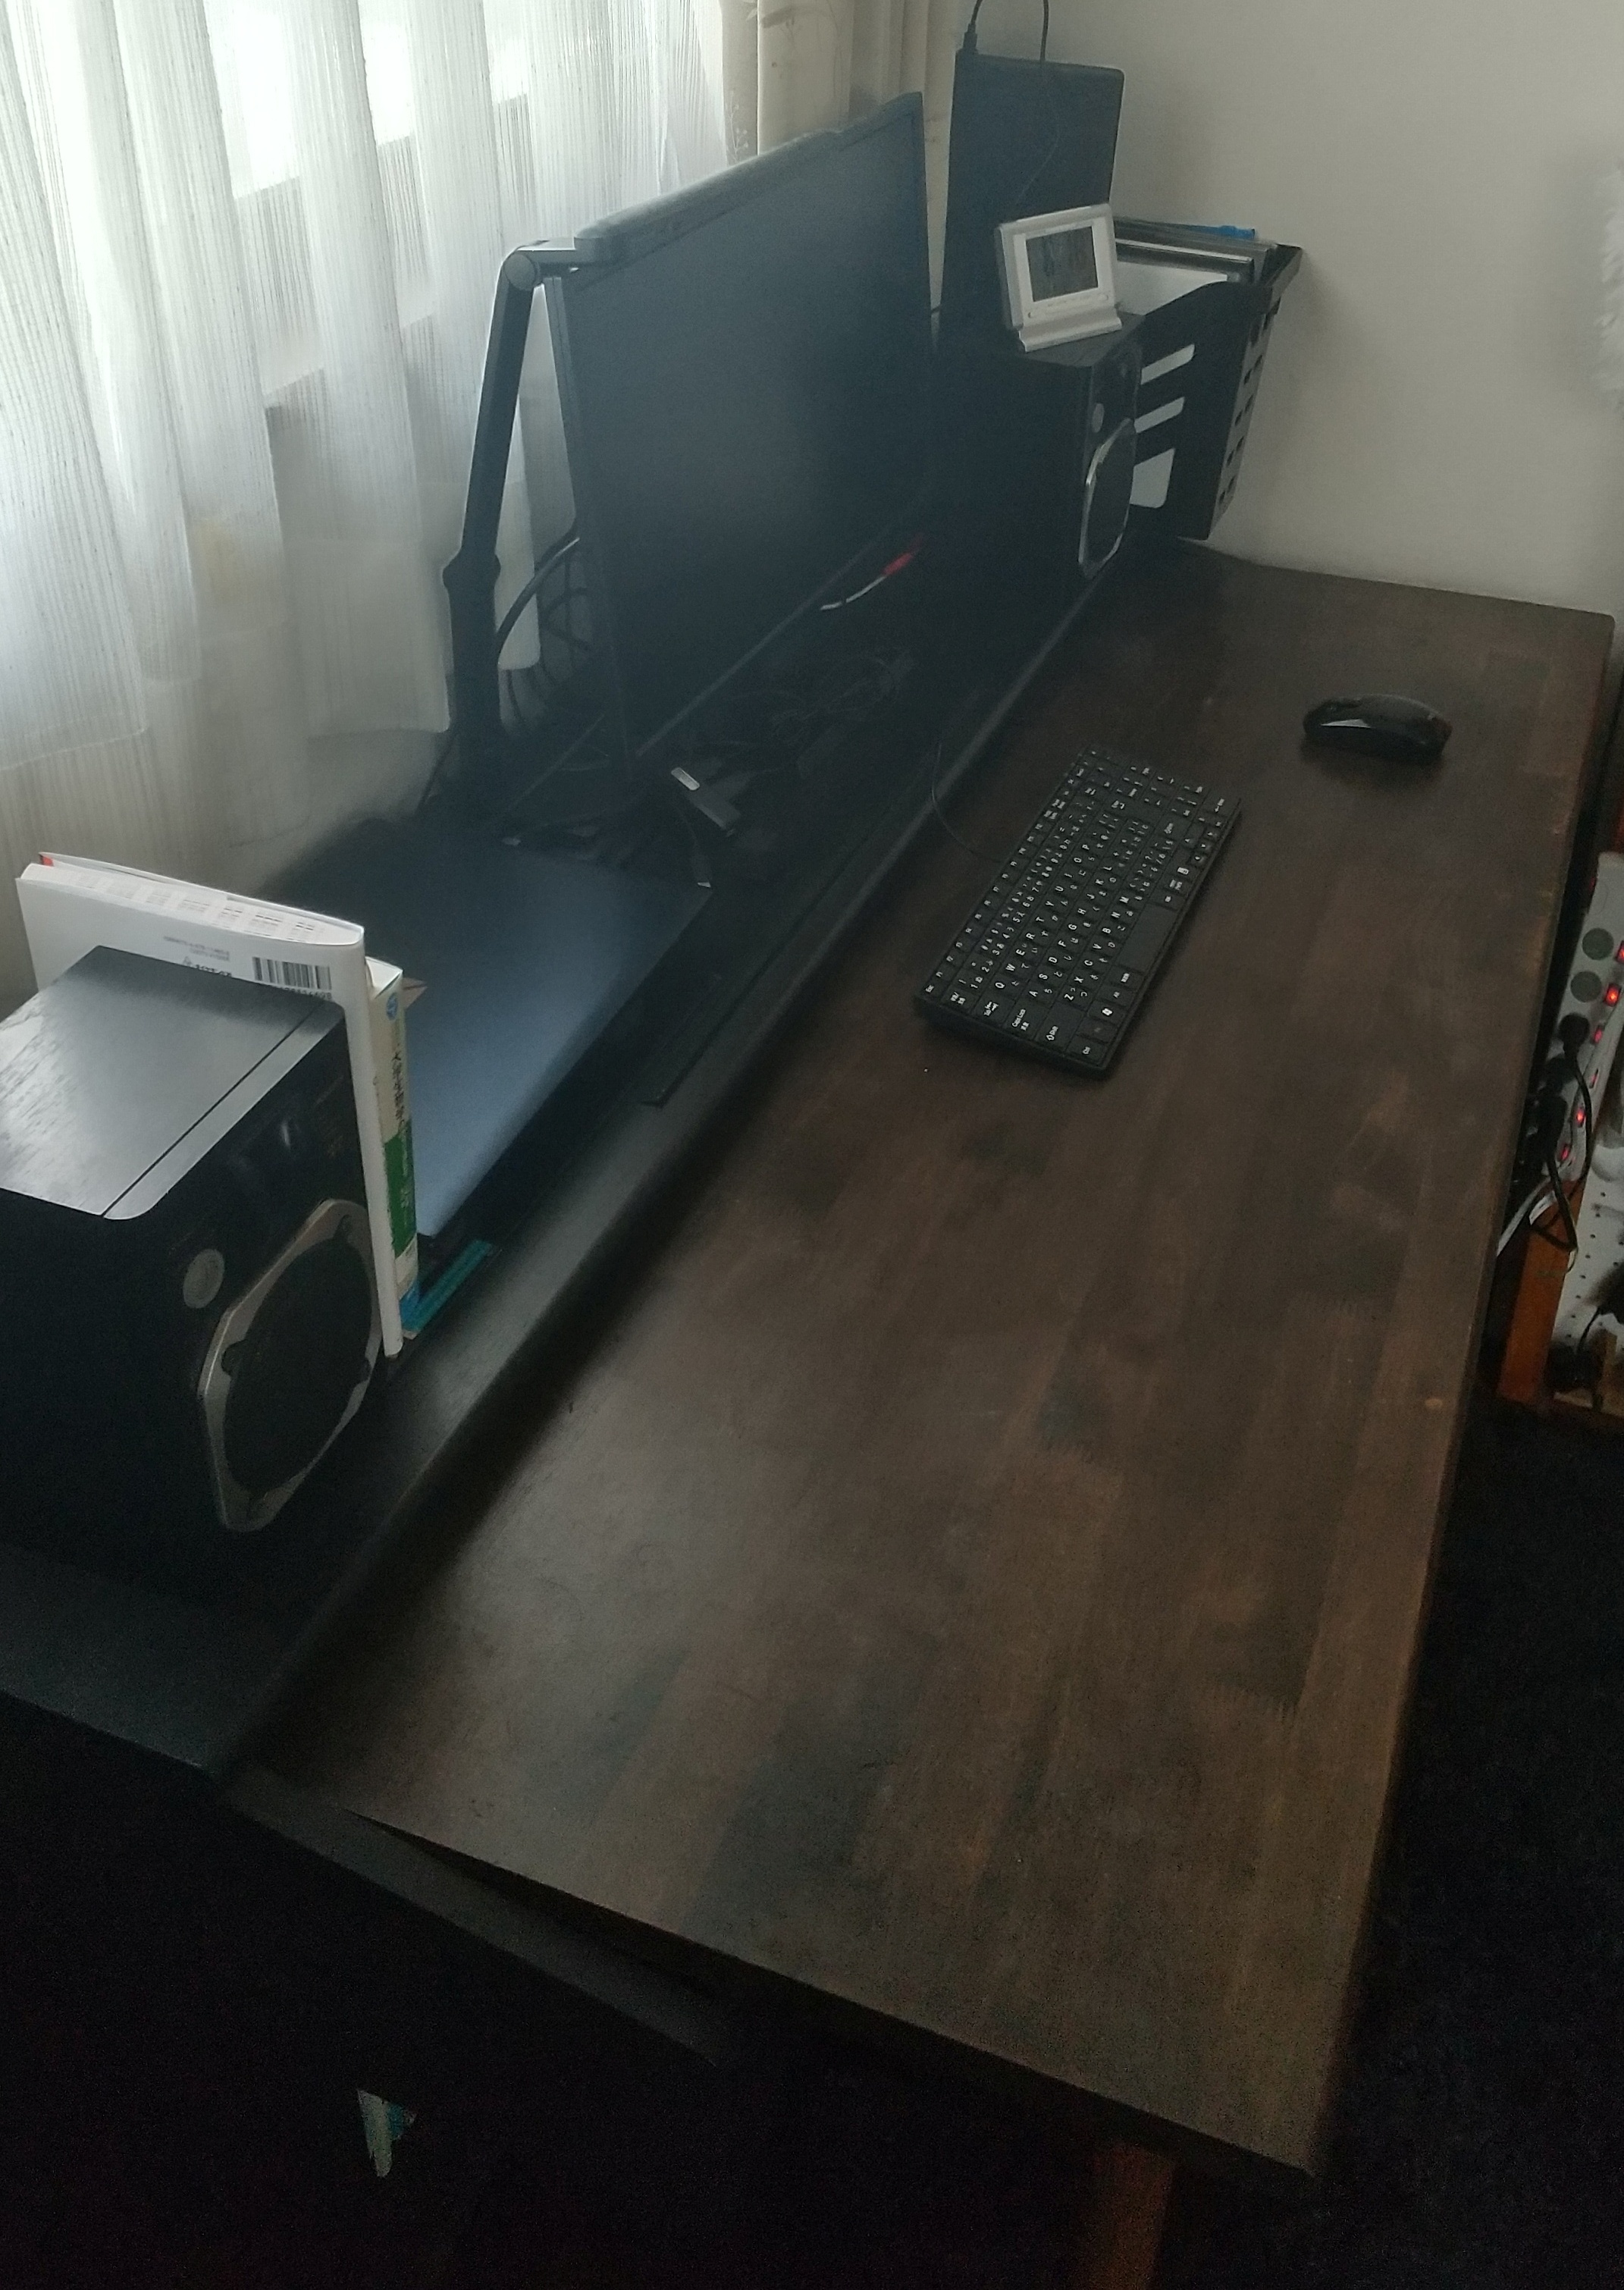
ピアノの活用
息子が巣立ってから、ヤマハの電子ピアノは私の机に改造されてしまいました。といってもすぐにピアノに戻せます。天板を作って、ピアノのキーのところにはめ込んだだけです。天板の下には、足を付けました。手すり用のバーと留め具なので、結構丈夫で、机としての強度は問題ありません。ただ、最近、ピアノを使わないのはもったいないなと思い始めました。この前、こんな本を見つけて購入しました。わりとピアノが面白くなってきました。なので、毎回天板を外すのが面倒です。でも、パソコンはほぼ毎日使います。そこで、ちょっと考えてみました。3Dプリンターで作ったのがこちらです。ピアノの蓋に挟むだけのものです。キーボードもマウスも落ちないテーブルになりました。ちょっと狭いですが。書類を広げて作業するときは、天板を取り付けます。使わないときは、紐を付けたのでぶら下げておきます。
2022.02.04
コメント(0)
-
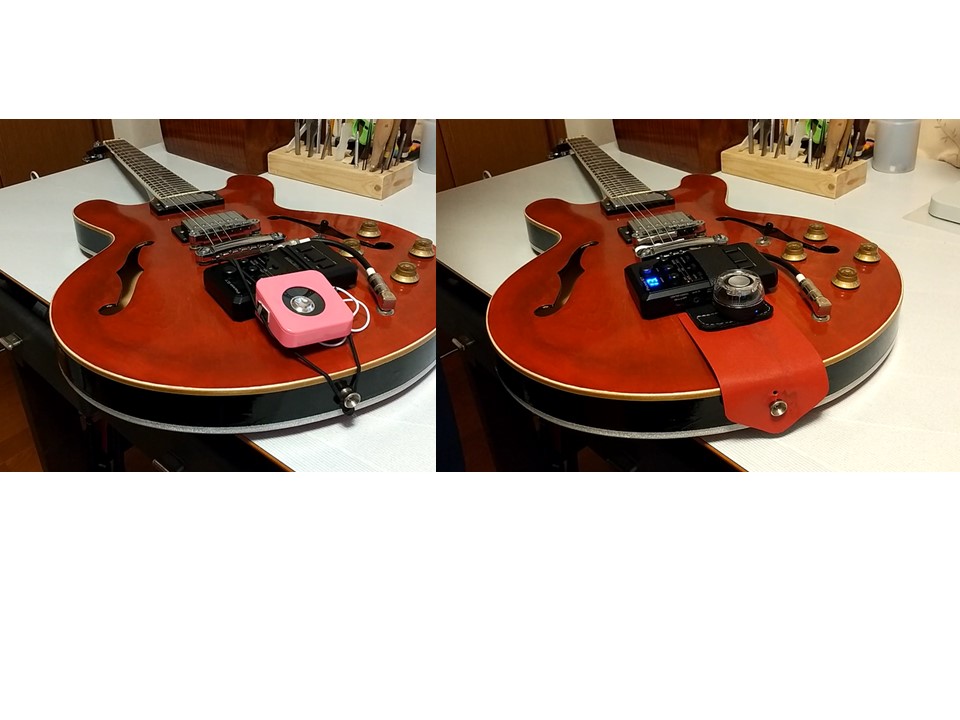
【BOSS/Pocket GT】その3 動画紹介
前回、【BOSS/Pocket GT】の取り付けをゴムひものを使った安易な方法で紹介してしまいました。https://plaza.rakuten.co.jp/fromforesttown/diary/202106160000/今回は、革でちょっと気合を入れて作ってみました。といっても大したものではありません。ギターのテールピースとストラップピンの間に革のベースをつけて、そこに【BOSS/Pocket GT】を取り付けることにしました。ベースとなる革のパーツは二つで、マジックテープで緩みなく取り付けられるようにしました。テールピース側のパーツは、テールピースの下にくぐらせて、留め具(ストッパー)で固定します。取り付け後は、こんな感じです。ギターのケーブルを差し込むことで安定します。スピーカーコードを差し込むとさらに安定します。前回より、だいぶカッコよくなったと思います。スピーカーもアンプ付きを付けたので、音も大きくできます。テールピース側の留め具は、螺鈿風に仕上げました。作り方は、こんな感じです。セリアのUVレジンとUVランプが活躍しました。ちょっと、おしゃれです。ちなみに、留め具の形は、ギターをイメージしました。ユーチューブ動画でも紹介しました。
2021.12.20
コメント(0)
-
ギターナイロン弦のボールエンドを自分でつける方法
ナイロン弦のギターのD線が切れて、前に買っていた弦を付けようと思ったのですが、なんと、ボールエンドではありませんでした。そういえば、買ったとき、ずいぶん安かったような気がします。仕方ないので、自分でボールエンドを取り付けてみました。ナイロン弦の先端の金属ワイヤーをほどいて、ナイロンの糸の束を出します。1cmくらいのところを、ほどいた金属ワイヤーで束ねて、ライターで溶かします。燃えない程度に溶かすのがいいと思います。先端を溶かしたナイロンの糸の束の中央に、ナイロン弦の反対側を差し込んで、引っ張ります。引っ張ってできた輪が小さくなったら、ボールエンドを入れてさらに、ナイロン弦を引っ張ります。ボールエンドは、切れた弦からの再利用です。ちょっとナイロンの糸の束の部分が長かったようです。金属ワイヤーは、ボールエンドの円周に数回回して、ナイロン弦の根元に巻き付けます。弦が伸びて、音が狂わないよう、何回か、金属ワイヤーの巻き付けを繰り返すのがいいと思います。何回か練習して、よくなってきたので、取り付けました。本当は、全部の弦を張り替える予定でしたが、めんどくさいかったので、今日は、一本だけにしました。めんどくさいので、ボールエンド付きのナイロン弦を買うことをお勧めします。間違って買ってしまった場合は、試してみてください。
2021.09.26
コメント(0)
-
【BOSS/Pocket GT】その2 動画紹介
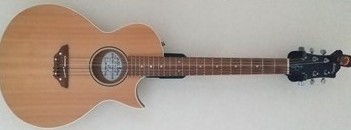
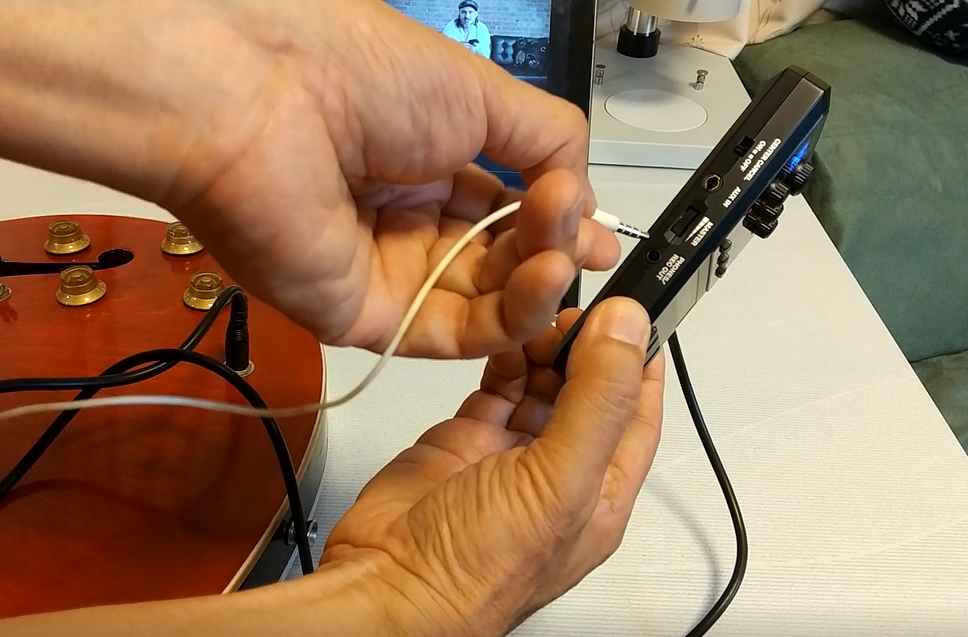
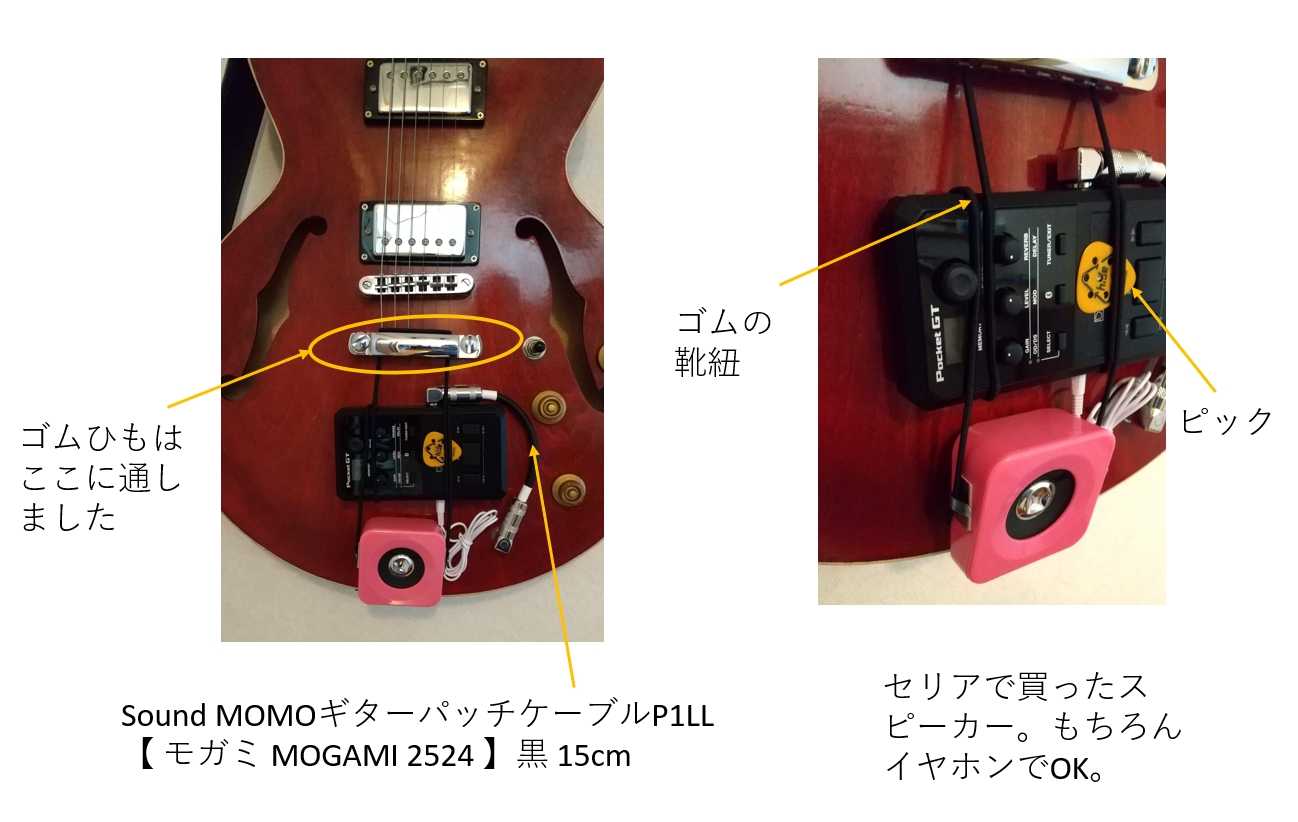
お世話になっております。本日もご視聴ありがとうございます。 ブログは、今年になってからはじめたので、まったくの初心者です。ブログ先輩方の表現にとても追いつけません。感じることなのですが、どうも読んでいただける方の気持ちになっていませんね。少しずつ改善して行きたいと思いますので、お付き合いください。 さて、 6月の半ばに、BOSS Pocket GTについて書いてみました。 最近動画作成にハマってきたので、動画でも説明させてください。前回説明し忘れたのですが、ギターは、以前「自分で組み立てるギターキット!!」HOSCO ER-KIT-ES 【セミアコタイプ組み立てギターキット】を自分で組み立てたものです。準備は、以下のものです。(1)BOSS Pocket GT [POCKET EFFECTS PROCESSOR] [日々の練習やジャム・セッションをより一層楽しくする画期的なツール!](2)Sound MOMOギターパッチケーブルP1LL 【 モガミ MOGAMI 2524 】黒 15cm(3)Seria生活用品のマルチメディアスピーカー(4)ゴムの靴紐 まず、BOSS Pocket GTを使うとき、コードをつなぐ必要があります。ギターの出力コードイヤホンコードこんな感じで、ごちゃごちゃ!!なので、このコードをなくしました。 ゴムの靴紐で、BOSS Pocket GTを止めます。 スピーカーをつけて、Sound MOMOギターパッチケーブルを差し込みます。これで、出来上がり。コードなしで、すっきり練習ができます。さらに欲張って、Bluetooth トランスミッターと完全ワイヤレスイヤホンで、完全ワイヤレスイヤホン化の試みを行いました。準備は、(5)Bluetooth トランスミッター 光ファイバー端子 レシーバー ELEGIANTオーディオ ブルートゥース 送受信機 Bluetooth5.0(6)ヤマハ 完全ワイヤレスイヤホン TW-E3B Bluetooth 5.0両方とも、Bluetooth5.0だったので、ちょっと期待しました。楽器を演奏するには、音声がやはり遅れます。カラオケも多分だめだと思います。TVや映画であれば、特に遅れは気にならないレベルなのですが、楽器では無理でした。 ということで、結論として、完全ワイヤレスは、セリアのスピーカーで成功完全ワイヤレスイヤホンで失敗でした。おまけに、充電ですが、ギターを壁にぶら下げて、こんな感じで実施してます。 動画はこちらで。
2021.07.05
コメント(0)
-
電子ドラム練習パッド用の台作製
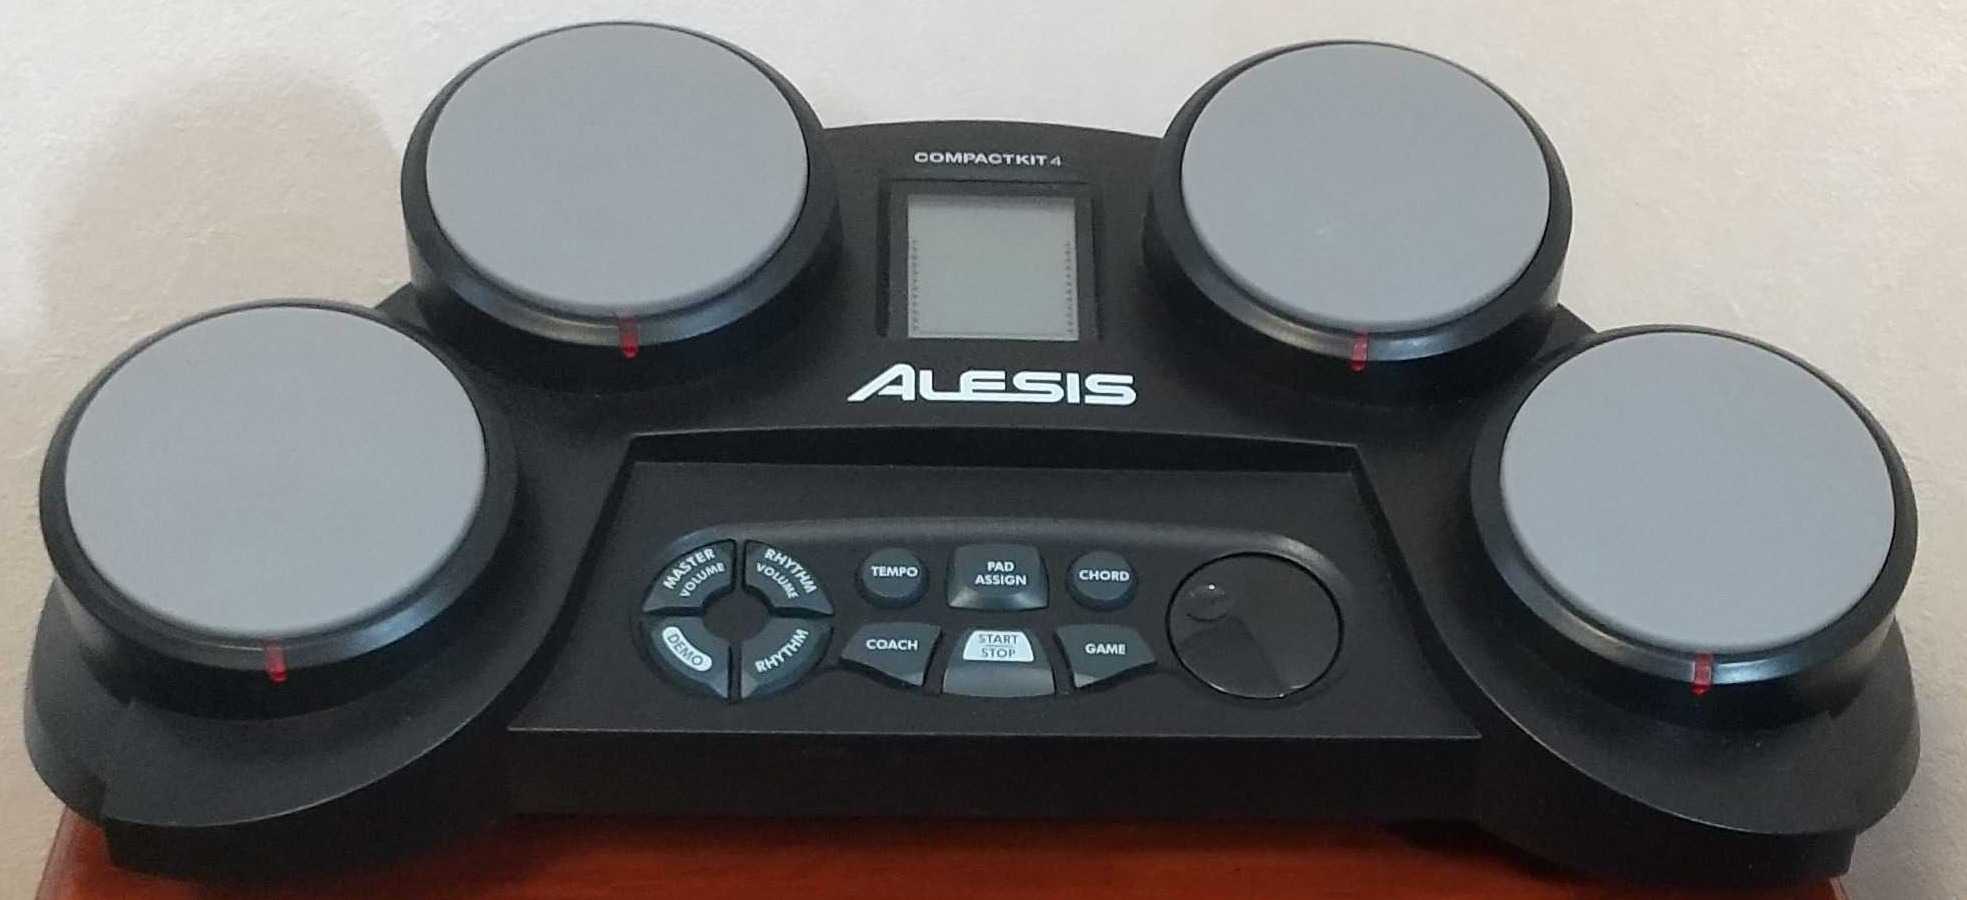
チッビコと遊ぶためにAlesis 電子ドラム練習パッドを買いました。じかに置くのもなんなので、台を自作しました。例によって、設計は、DesignSpark Mechanical 5.0。実際は、裏側に電線などの配線を通す隙間を上下にあけています。また、底面には、ダイソーで買ったキャスターを4つ付けいています。ついでに、持っていたギターアンプVOX MINI5 Rhythm CL リズム機能付きコンパクトアンプ クラシックカラーも入れることにしました。後ろの板の隙間からコードを通して、中にテーブルタップとACアダプター2個入れました。こんな感じに出来上がって、あとはAlesis 電子ドラム練習パッドを載せるだけ。ん・・・・なんと、ギターアンプの操作ができない。一回ごと引き出さないとプラグも差し込めない!また、燻製ボックスで使ったスライドレールか、スペースもないし。そこで考えました。後ろの隙間からベルトの端っこを出して↑先端にストッパーとなる固いスポンジ取り付け次にベルトの片方をもともとあったネジに固定これで、ギターアップを使う時だけ、前に傾けられるようになりました。傾きは、ベルトの長さで、調整可能です。前に引き出すイメージはこんな感じです。断面を横から見た絵をかいてみました。アンプの両脇には、ストラップを止めるピンが二つ付いていたので、取り外して、右側の板にねじ止めしました。ドラムのスティックホルダーになりました。最終的にこんな感じです。左側には楽譜が入ります。 アンプを使うときは引き出せます。
2021.06.22
コメント(0)
-
【BOSS/Pocket GT】
【BOSS/Pocket GT】YouTubeなどの音楽に合わせての練習やセッションに最適な手のひらサイズのプロセッサー というの見つけたの買ってみました。ギターは、へたくそなので練習したいなと思っていますが、買っただけでほぼ満足してしまいました。機能的は面白くて、ちゃんとやれば、ちゃんと練習できそうな気がしています。ちょっと気になったのは、せっかく【BOSS/Pocket GT】が小さいのに、ギターのコード、イヤホンの線がごちゃごちゃ。もっと身軽にできないか考えてみました。そこで買ったのが、(1)Sound MOMOギターパッチケーブルP1LL 【 モガミ MOGAMI 2524 】黒 15cm(2)Seria生活用品のマルチメディアスピーカー(3)ゴムの靴紐です。こんな感じで、ギターに直接取り付けました。ゴムひもで一回転BOSS/Pocket GTを巻き付けています。ゴムひもには、ピックも挟んでおけます。ゴムひもの反対側は、ストラップピンにかけてあります。ギターパッチケーブルは、ギターのプラグの位置にあった長さを選択すればいいと思います。スピーカーのコーンの真ん中はつぶしてしまいました。棒の先に両面テープをつけて引っ張って後で治しました。
2021.06.16
コメント(0)
-
ギターのピックフォルダーを作りました。
ギターのピックって、どこにおいてますか。ちょとと使いたいとき、なかったり、困ることはありませんか。先日、ストラップピンに付けるピックホルダーを作りました。持っていた皮の端切れで作りました。構造は、こんな感じです。一枚の皮に、穴をあけて、ストラップピンをいれるため、切り込みを入れました。それを、上の図の真ん中のように折りたたんで、両サイドに接着剤を塗って、糸で縫い合わせました。皮の端部はオーガニック・ナチュラル蜜蝋を、先端をへら状にたたいて伸ばしたはんだごてで、溶かして塗りました。サムピックも普通のピックも入ります。ギターの下にも取り付け可能です。
2021.06.15
コメント(0)
全22件 (22件中 1-22件目)
1