

[革人形 leather doll] カテゴリの記事
全2309件 (2309件中 251-300件目)
< 1 2 3 4 5 6 7 8 9 10 11 ... 47 >
-
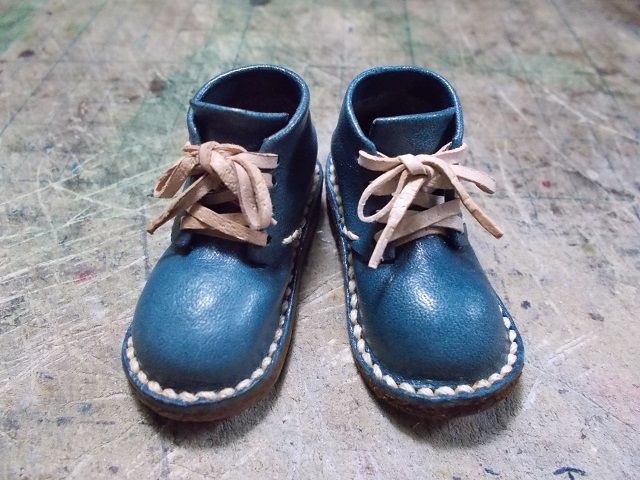
サイの親子の革人形を作る その227 出来上がり
靴ひもを付けて、以前作った右側と合わせました。サイのお父さんの浮輪に取り付けました。
2019.09.23
コメント(0)
-
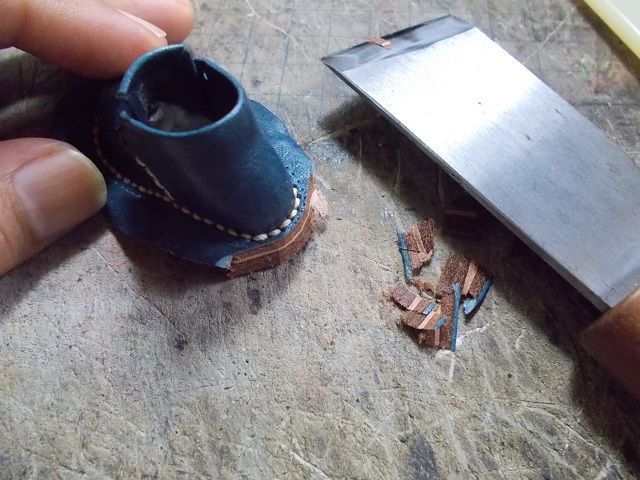
サイの親子の革人形を作る その226
靴の周りの余分な革を革包丁で、カットしていきます。カットした部分をサンドペーパーで仕上げます。
2019.09.22
コメント(0)
-
サイの親子の革人形を作る その225
靴底を接着し、周りを手縫いしていきます。周りを縫いました。
2019.09.21
コメント(0)
-
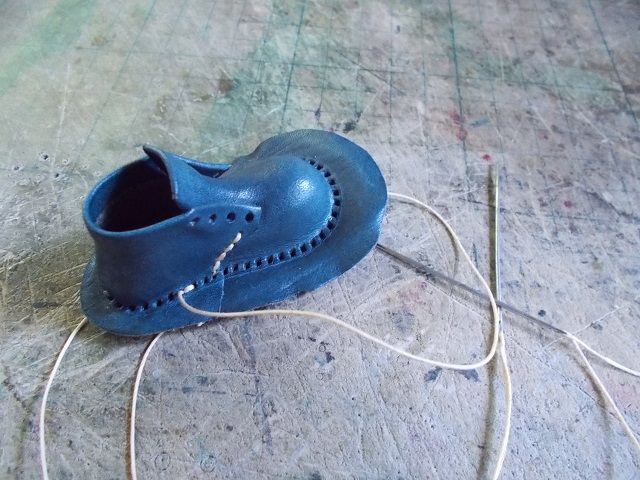
サイの親子の革人形を作る その224
靴の側面と周りに手縫い穴を開けました。左右の側面を縫いました。
2019.09.20
コメント(0)
-
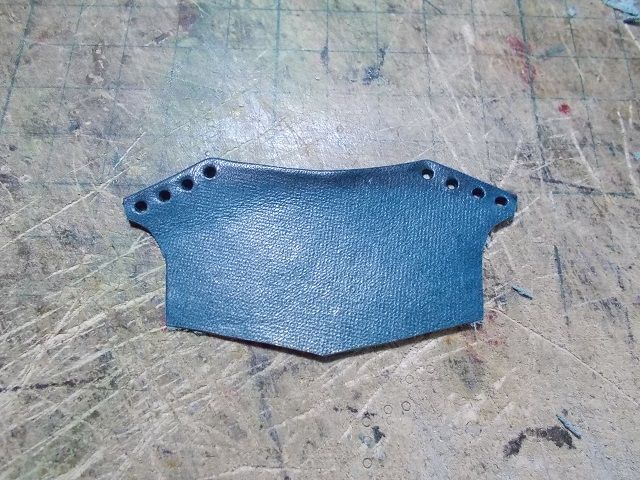
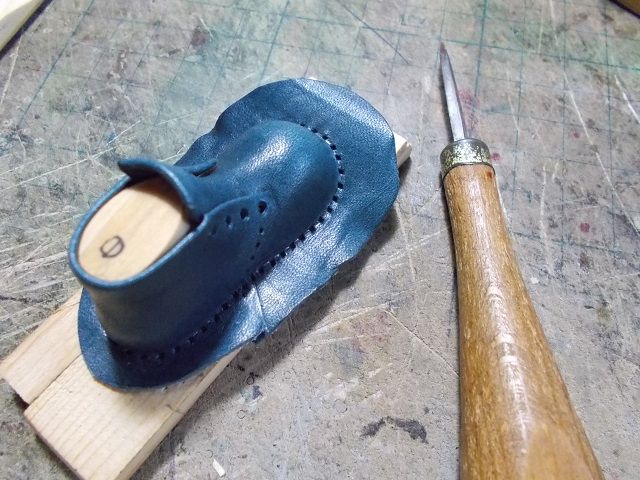
サイの親子の革人形を作る その223
革を剥いた部分を折り返して接着しました。革を湿らせてから木型に入れ絞り出します。靴のパーツ2つを合わせて絞り出しました。まだ接着してないので、この段階で革の重なり具合などを確認します。重なった部分に接着剤を付けてから、もう一度木型に入れて乾燥させます。
2019.09.19
コメント(0)
-
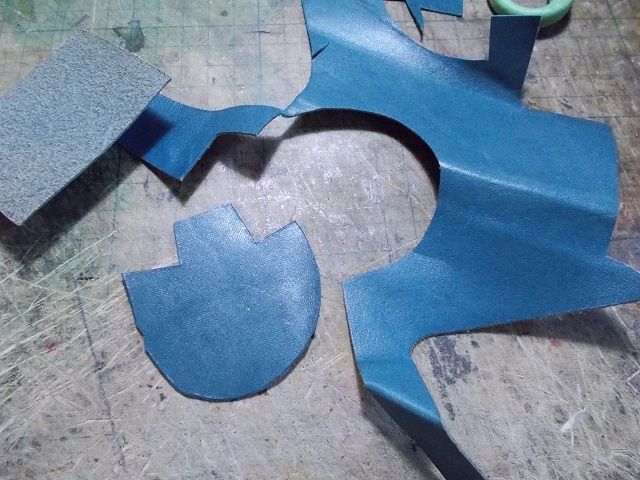
サイの親子の革人形を作る その222
出来上がった木型でミニチュアブーツを作ります。革を切り出します。革の縁を革包丁で剥いて薄くします。このパーツも剥いていきます。
2019.09.18
コメント(0)
-

サイの親子の革人形を作る その221 靴木型
左側の木型が出来ました。
2019.09.17
コメント(0)
-
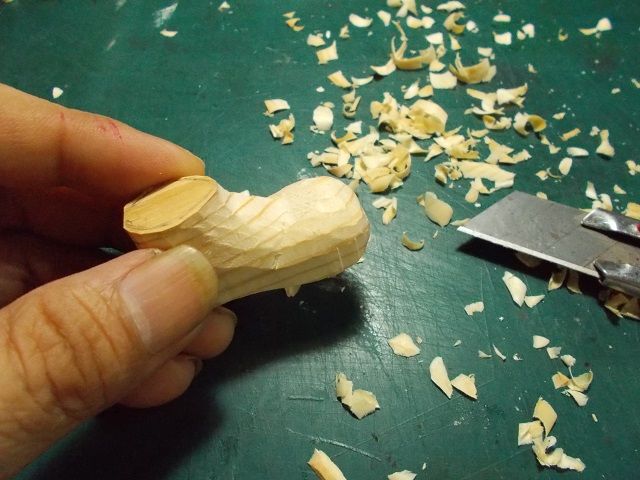
サイの親子の革人形を作る その220
靴木型を削っていきます。時々、右側の木型と並べて、大きさを確認しながら削ります。
2019.09.16
コメント(0)
-
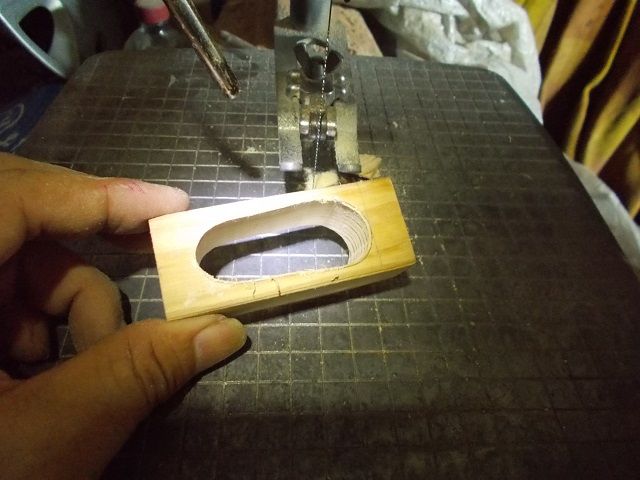
サイの親子の革人形を作る その219
以前作ったミニチュアブーツの左側を作ります。角材を電動糸鋸で切り抜きました。角材から切り抜いた部材から靴の形に切り抜き貸した。
2019.09.15
コメント(0)
-
サイの親子の革人形を作る その218
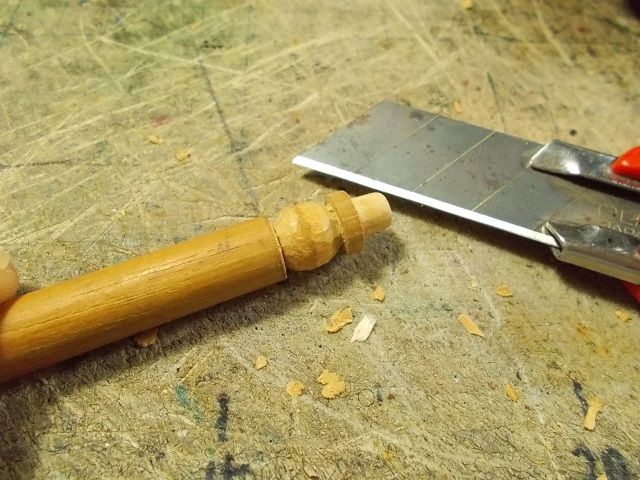
丸棒のまま削って水筒の栓を作ります。削った後でサンドペーパーで仕上げ、切り離します。栓が出来ました。栓に鎖を付けベルトとつなぎました。
2019.09.14
コメント(0)
-
サイの親子の革人形を作る その217
革ベルトが重なった部分をカシメで補強しました。丸棒を削って、栓を作ります。
2019.09.13
コメント(0)
-
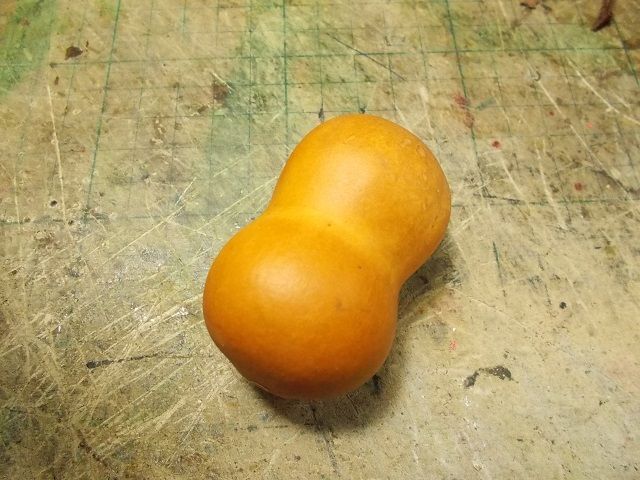
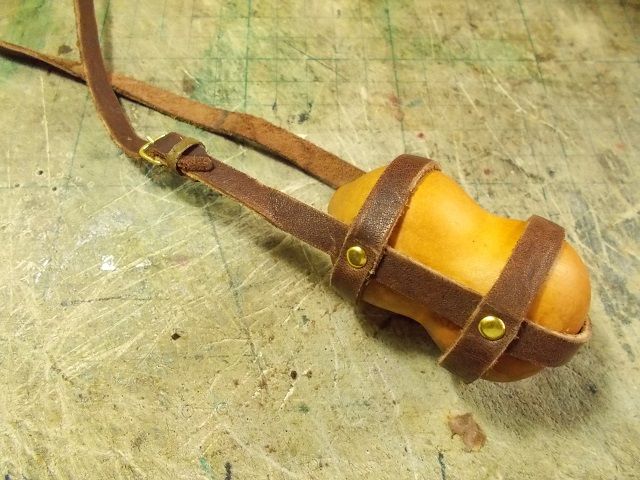
サイの親子の革人形を作る その216 水筒
今回からミニヒョウタンを使って水筒を作ります。革のベルトを切り出し、真鍮のバックルを付けました。
2019.09.12
コメント(0)
-
サイの親子の革人形を作る その215
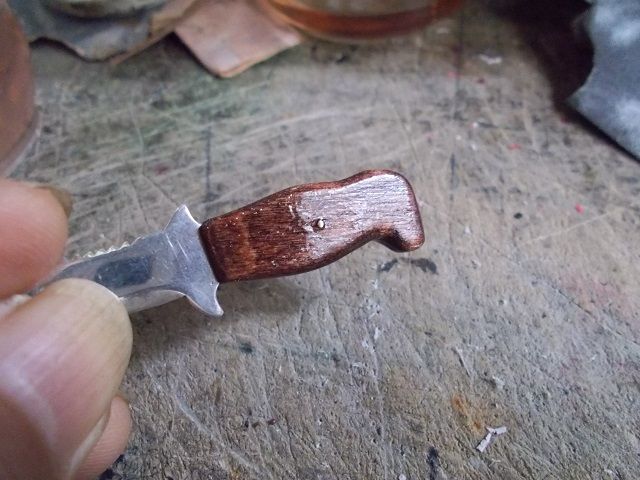
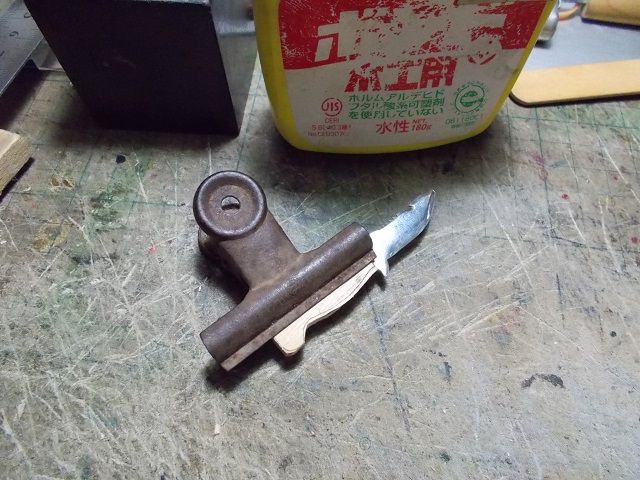
ナイフの柄にラッカーを筆塗りしました。乾いたら重ね塗りします。革の鞘に下染め後、アンティックダイを筆塗りして拭き取ります。サイのお父さんの足に、ダイバーナイフを付けてみました。
2019.09.11
コメント(0)
-
サイの親子の革人形を作る その212
ナイフの柄同士を木工ボンドで接着しました。接着剤が乾いたのでナイフを抜いて、ヤスリやサンドペーパーをかけます。
2019.09.08
コメント(0)
-

サイの親子の革人形を作る その210
銀粘土のナイフを電気炉で焼成しましたので、粘土から金属になりました。今度は耐水ペーパー500番から、段階的に1500番名で使って研いでいきます。金属磨き剤で磨きました。
2019.09.06
コメント(0)
-
サイの親子の革人形を作る その207
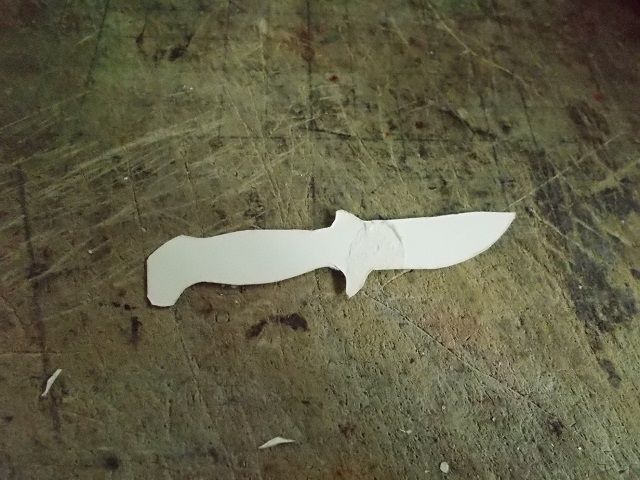
今回から銀粘土を使って サイのお父さんの足に付けるダイバーナイフを作ります。サイのお父さんの足は短いので、刃を短くしてラフスケッチを描きました。
2019.09.03
コメント(0)
-

サイの親子の革人形を作る その206
鍋と取っ手を銅線を短くカットしたピンでカシメました。中華鍋の出来上がり。
2019.09.02
コメント(0)
-

サイの親子の革人形を作る その205 取っ手
中華鍋の取っ手を銅線で作ります。銅線を焼き鈍してから、端をハンマーで叩いて潰しました。ドリルで穴を開けました。鍋本体にも取っ手用の穴を開けます。
2019.09.01
コメント(0)
-
サイの親子の革人形を作る その204
銅板を叩いて膨らみを出していきます。
2019.08.31
コメント(0)
-
サイの親子の革人形を作る その203 中華鍋を作る
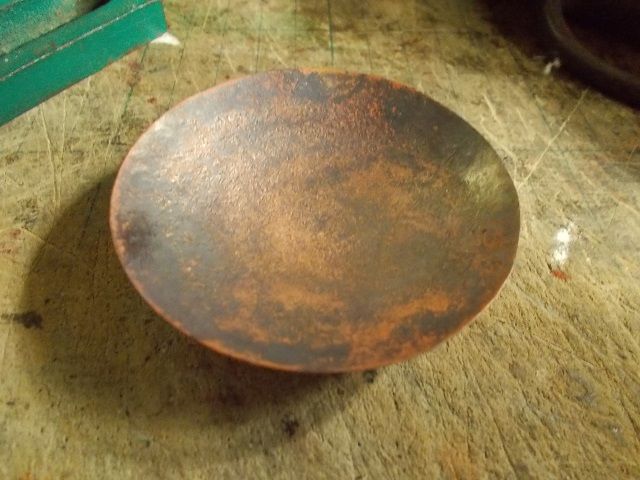
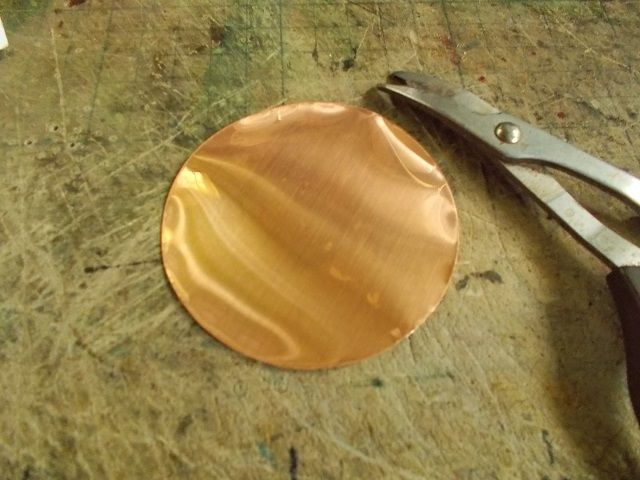
今回からサイのお父さんが持っていく、中華鍋を作ります。銅板を刃先が曲がっている金切り鋏で切り抜きました。銅板を真っ赤になるまで焼いて、金鎚で叩いていきます。少し丸みが出てきました。
2019.08.30
コメント(0)
-
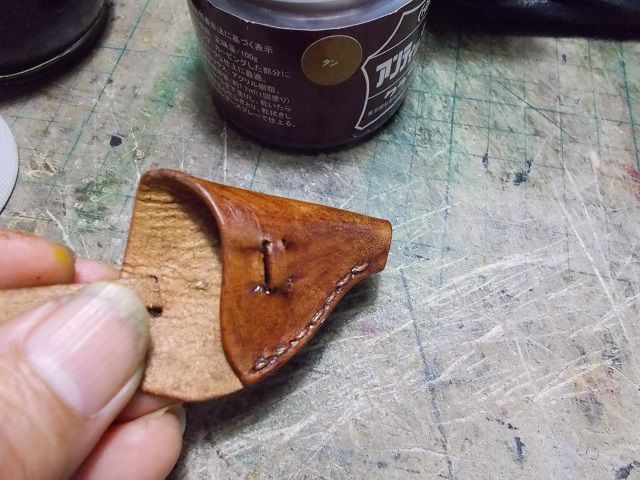
サイの親子の革人形を作る その202
ホルスターを革用染料で下染めして、アンティックダイを筆塗り後、布で余分な色を拭き取ります。ホルスターにバナナを入れて、サイのお父さんに持たせてみました。
2019.08.29
コメント(0)
-
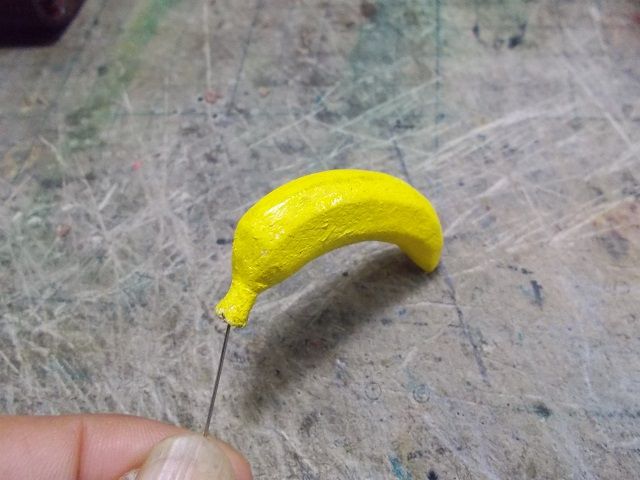
サイの親子の革人形を作る その201
革のバナナに、アクリル絵の具で着色しました。バナナを入れるホルスターを、ヌメ革で作りました。
2019.08.28
コメント(0)
-
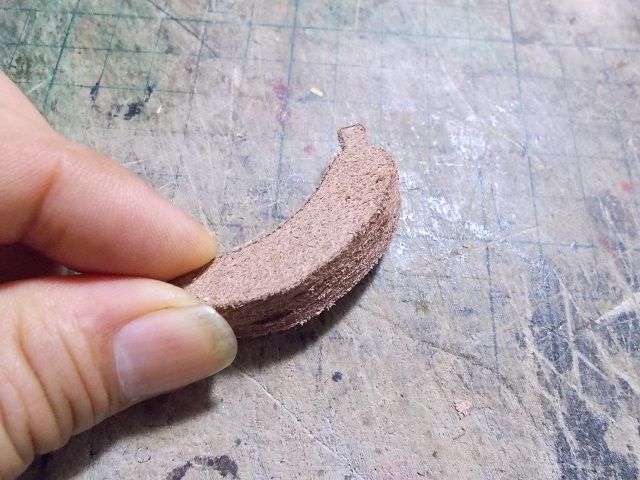
サイの親子の革人形を作る その200
床革を積層して革のバナナを作ります。接着剤が乾いたら、カッターで削っていきます。削り出したバナナを湿らせて、ヘラで磨きました。
2019.08.27
コメント(0)
-
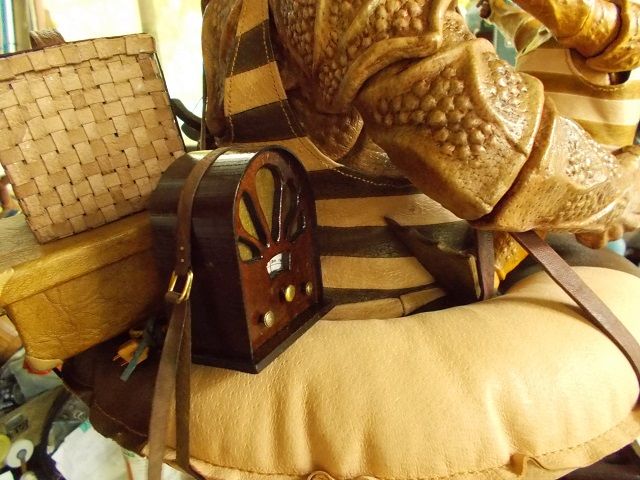
サイの親子の革人形を作る その199
サイのお父さんの浮輪にバスケットやラジオなどを取り付けてみました。こちらは、船員バッグと日時計です。
2019.08.26
コメント(0)
-
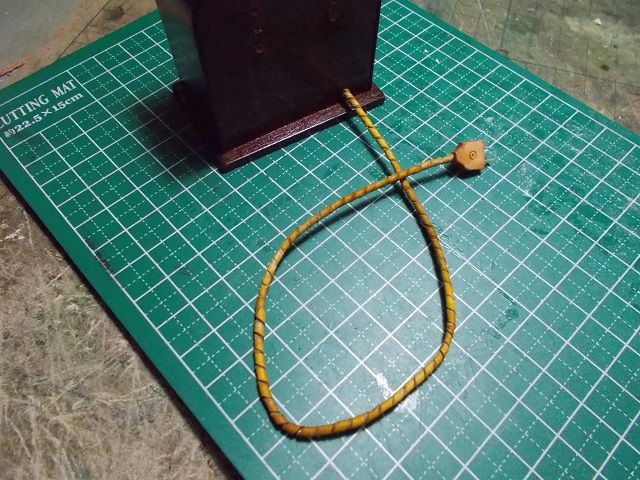
サイの親子の革人形を作る その198 ラジオ出来上がり
ラジオにACコードを取り付けて完成です。
2019.08.25
コメント(0)
-
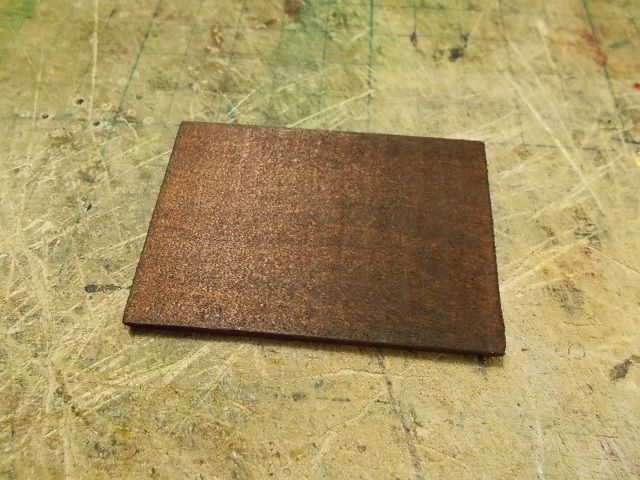
サイの親子の革人形を作る その197
底板にも着色剤を筆塗りしました。底板を接着し、ラジオの裏板に穴を開けました。
2019.08.24
コメント(0)
-
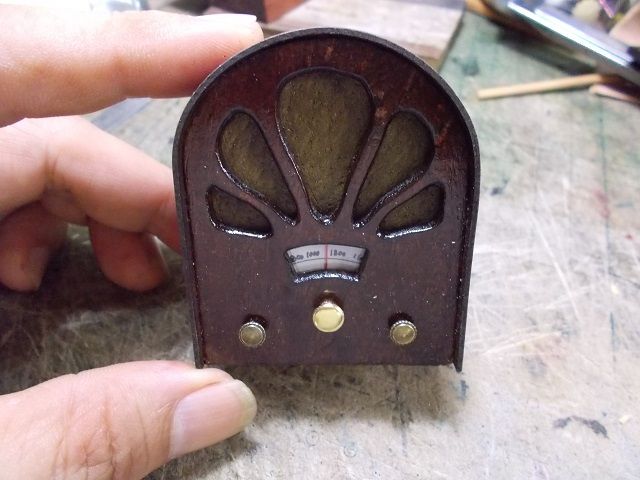
サイの親子の革人形を作る その196
ラッカーを重ね塗りして、ラジオのスイッチなどのダイヤルを付けました。
2019.08.23
コメント(0)
-
サイの親子の革人形を作る その195
乾いて形がついた経木に水性着色剤を筆塗りしてから、もう一度ラジオ本体に留め付けて乾燥させます。経木部分に着色剤を重ね塗りしてから、本体に接着しました。
2019.08.22
コメント(0)
-
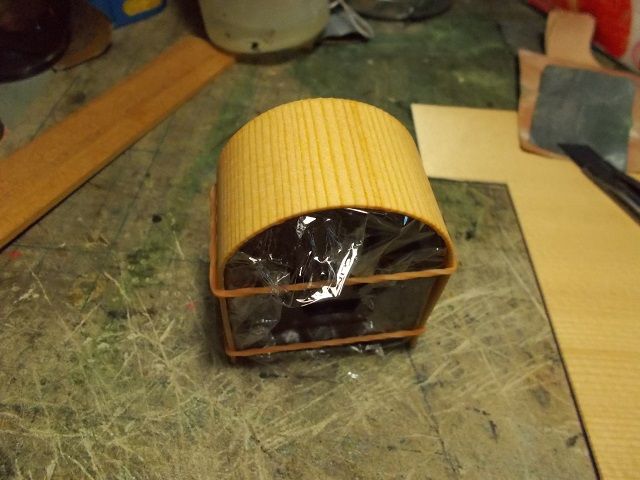
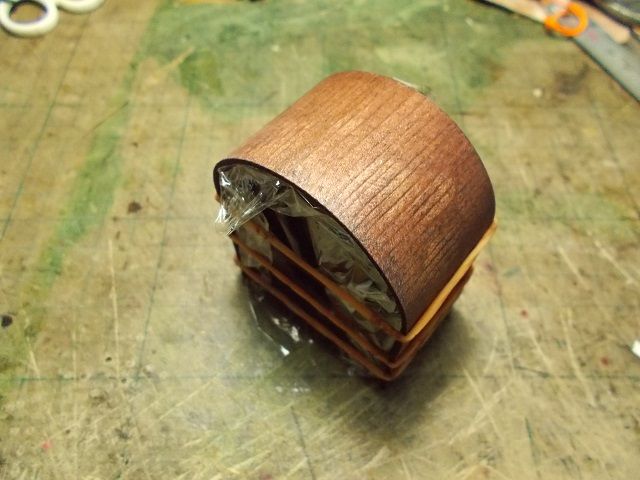
サイの親子の革人形を作る その194
ラジオ本体をラップで包んでから、湿らせた経木を巻き付けてこのまま乾燥させます。
2019.08.21
コメント(0)
-
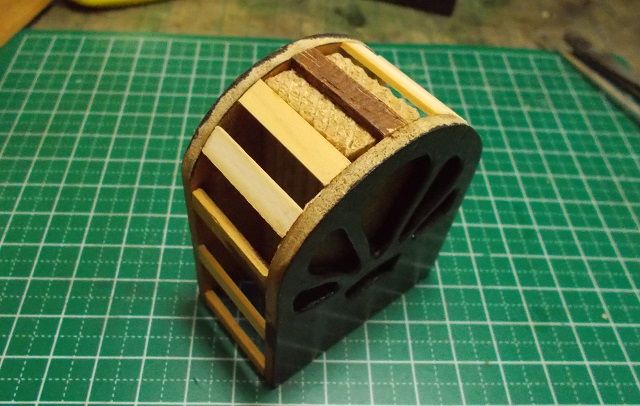
サイの親子の革人形を作る その193
クラッシックラジオの表板と裏板の間に、角材などを接着しました。
2019.08.20
コメント(0)
-
サイの親子の革人形を作る その192
ラジオのパーツにラッカーを筆塗りします。繰り返しラッカーを塗り重ねます。
2019.08.19
コメント(0)
-
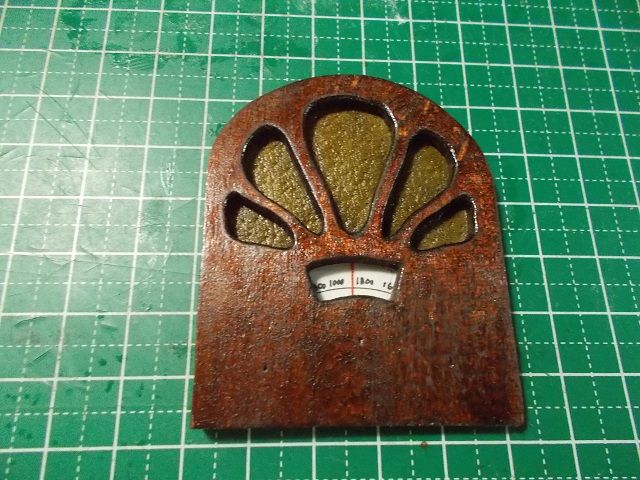
サイの親子の革人形を作る その191
水性着色剤を筆塗りしました。ラジオの表板にチュウニング目盛りを貼り付けました。
2019.08.18
コメント(0)
-
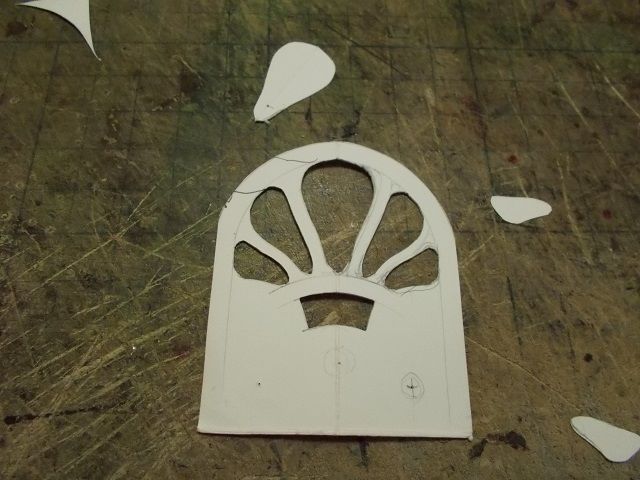
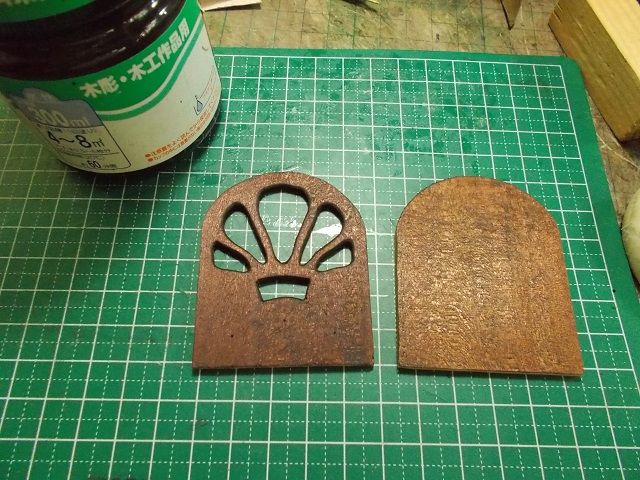
サイの親子の革人形を作る その190 ラジオ
今回からクラッシックラジオをつくります。型紙を切り抜きます。3ミリ厚のアガチス材から糸鋸で切り出しました。切り抜いた部分にサンドペーパーをかけて修正します。
2019.08.17
コメント(0)
-
サイの親子の革人形を作る その189
サンドペーパーをかけて、木目を出します。仕上げにラッカーを筆塗りします。
2019.08.16
コメント(0)
-
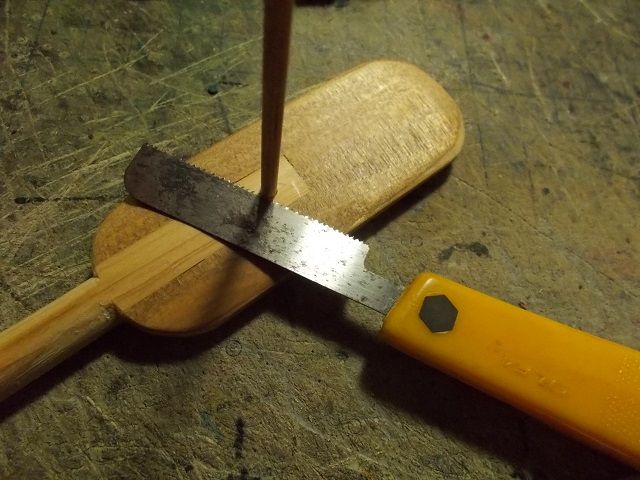
サイの親子の革人形を作る その188
オールのシャフトとブレードの繋ぎ目に竹釘を打ち込んで、余分なところをカットします。水性着色剤を筆塗りします。
2019.08.15
コメント(0)
-
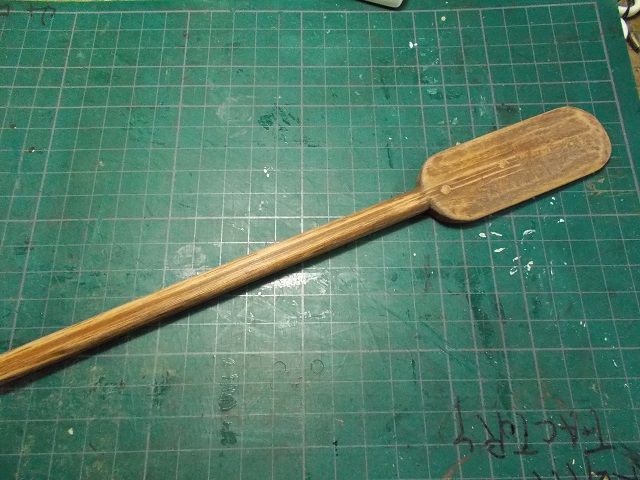
サイの親子の革人形を作る その187
オールのシャフトを丸く削ります。丸く削りサンドペーパーをかけました。
2019.08.14
コメント(0)
-
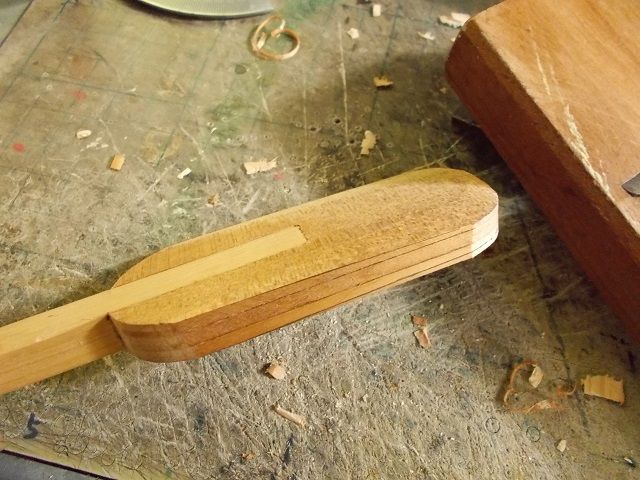
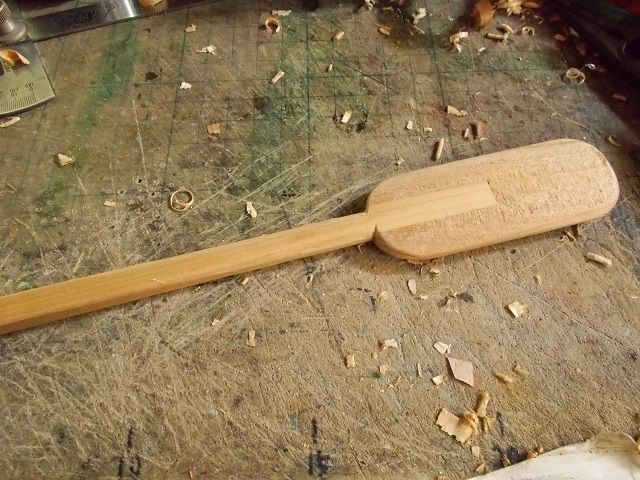
サイの親子の革人形を作る その186
オールのブレード部分にカンナをかけて薄く削ります。
2019.08.13
コメント(0)
-
サイの親子の革人形を作る その185
オールのブレード部分を丸く整形しました。オールのグリップ部を刻んで、凹凸を付けました。グリップを組み立てました。この後、削ってオールらしくしていきます。
2019.08.12
コメント(0)
-
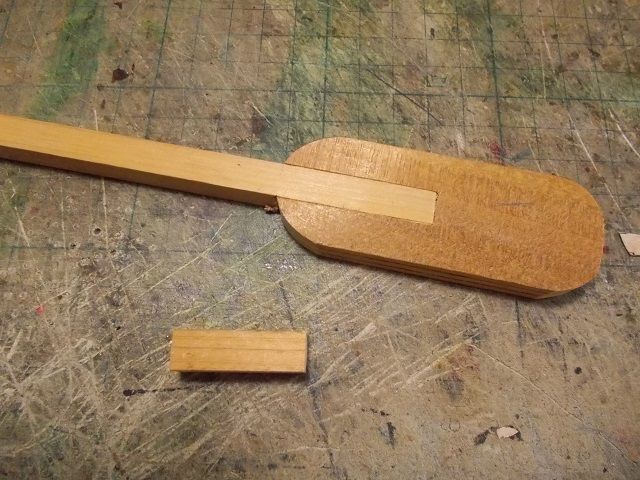
サイの親子の革人形を作る その184
アガチス材と角材を切り欠きました。アガチス材と角材を組み合わせて接着しました。
2019.08.11
コメント(0)
-
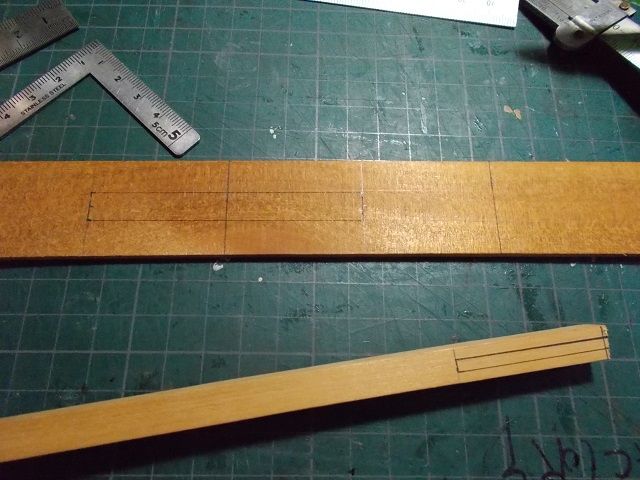
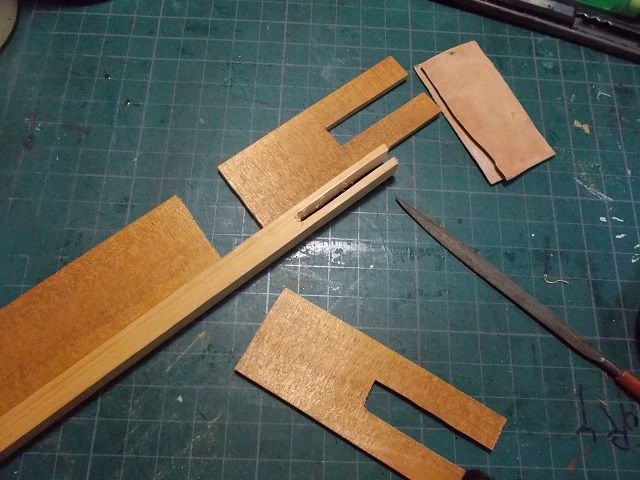
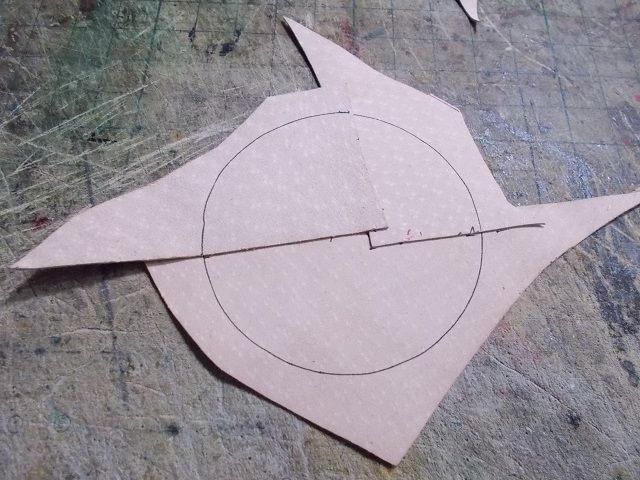
サイの親子の革人形を作る その183 オール
今回からオールを作ります。材料は3ミリ厚のアガチス材と10ミリの角材を使います。角材を3ミリ厚のアガチス材で、はさむように重ね張りします。
2019.08.10
コメント(0)
-
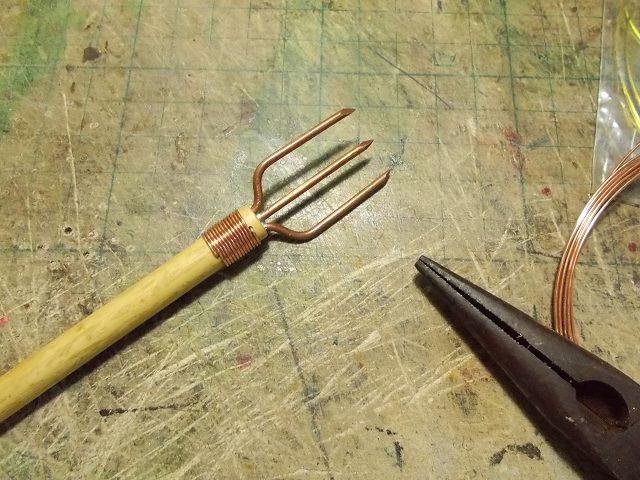
サイの親子の革人形を作る その182
竹に取り付けて銅線を巻き付けました。竹の反対側にゴムに見立てた革を銅線で留め付けました。
2019.08.09
コメント(0)
-
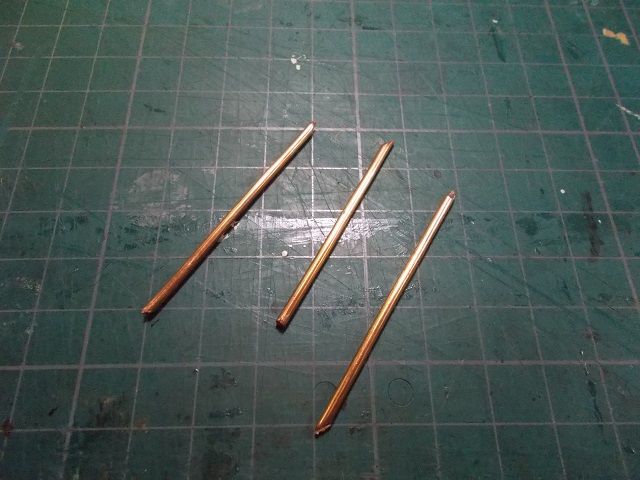
サイの親子の革人形を作る その181 銛
銅線を使って銛を作ります。三本の銅線の先端をヤスリで尖らせます。尖らせた銅線を板に仮固定して、ハンダ付けしました。
2019.08.08
コメント(0)
-
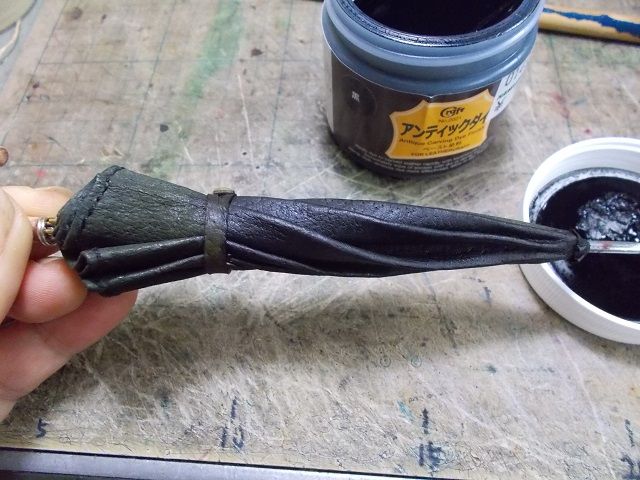
サイの親子の革人形を作る その180 傘の出来上がり
傘生地にアンティックダイを筆ぬりしてから、布で拭き取ります。傘の出来上がりです。
2019.08.07
コメント(0)
-
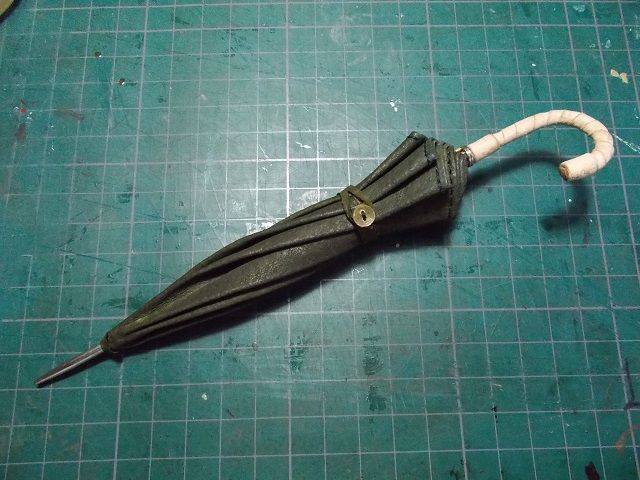
サイの親子の革人形を作る その179
傘に止め紐と生革のボタンを付けました。
2019.08.06
コメント(0)
-
サイの親子の革人形を作る その178
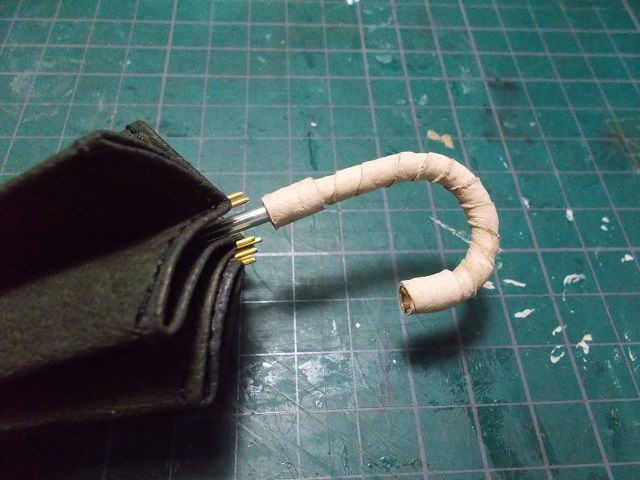
傘生地に金属の中棒を通し、ハンドルに革を巻きました。中棒の先を削り、傘生地の端に菊座を付けました。
2019.08.05
コメント(0)
-
サイの親子の革人形を作る その177
染めた傘生地に真っ直ぐに伸ばした真鍮線を、苦労して取り付けました。
2019.08.04
コメント(0)
-

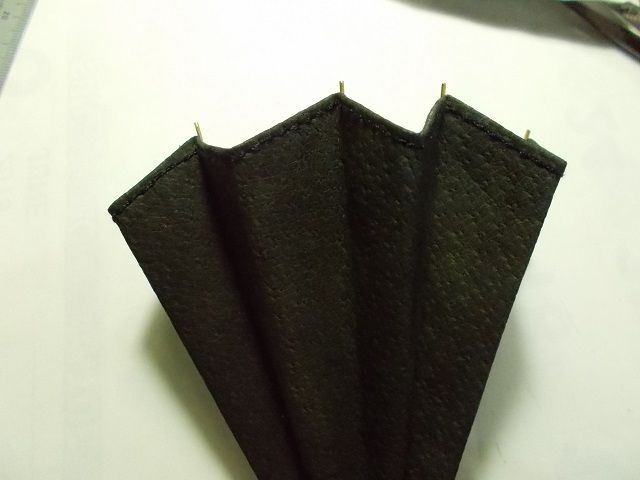
サイの親子の革人形を作る その176
傘生地を豚革から切りだし、縁を折って縫いました。革用染料で染めていきます。
2019.08.03
コメント(0)
-
サイの親子の革人形を作る その175
船員バッグに紐と留め具を付けて出来上がりです。次は笠を作ります。まずは真鍮線を軽く叩いて、傘の骨を作ります。
2019.08.02
コメント(0)
-
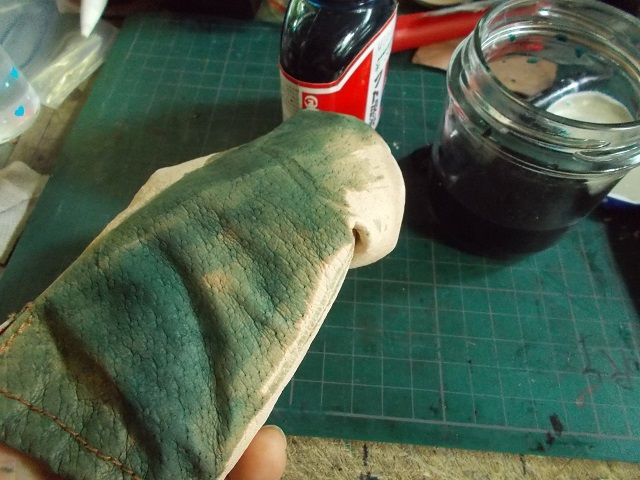
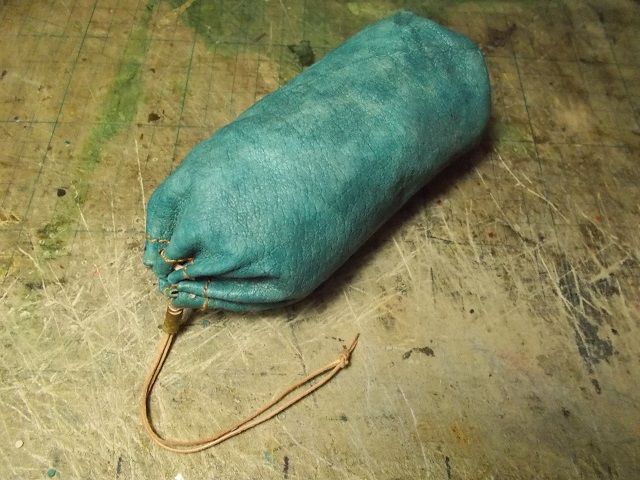
サイの親子の革人形を作る その174
船員バッグを革用染料でそめます。乾いたら重ね染めして好みの色にします。
2019.08.01
コメント(0)
-
サイの親子の革人形を作る その173
底革は革をつないで作ります。革を中表にしてしつけをして、ミシンで縫い、表に返しました。
2019.07.31
コメント(0)
全2309件 (2309件中 251-300件目)
-
-

- ニュース関連 (Journal)
- アメリカ政府、労働者や企業の保護の…
- (2024-09-24 05:00:22)
-
-
-

- ビジネス・起業に関すること。
- 差別化の王道から空の心と戦略を学ぶ
- (2024-09-26 16:22:32)
-
-
-
- 母の日 プレゼント
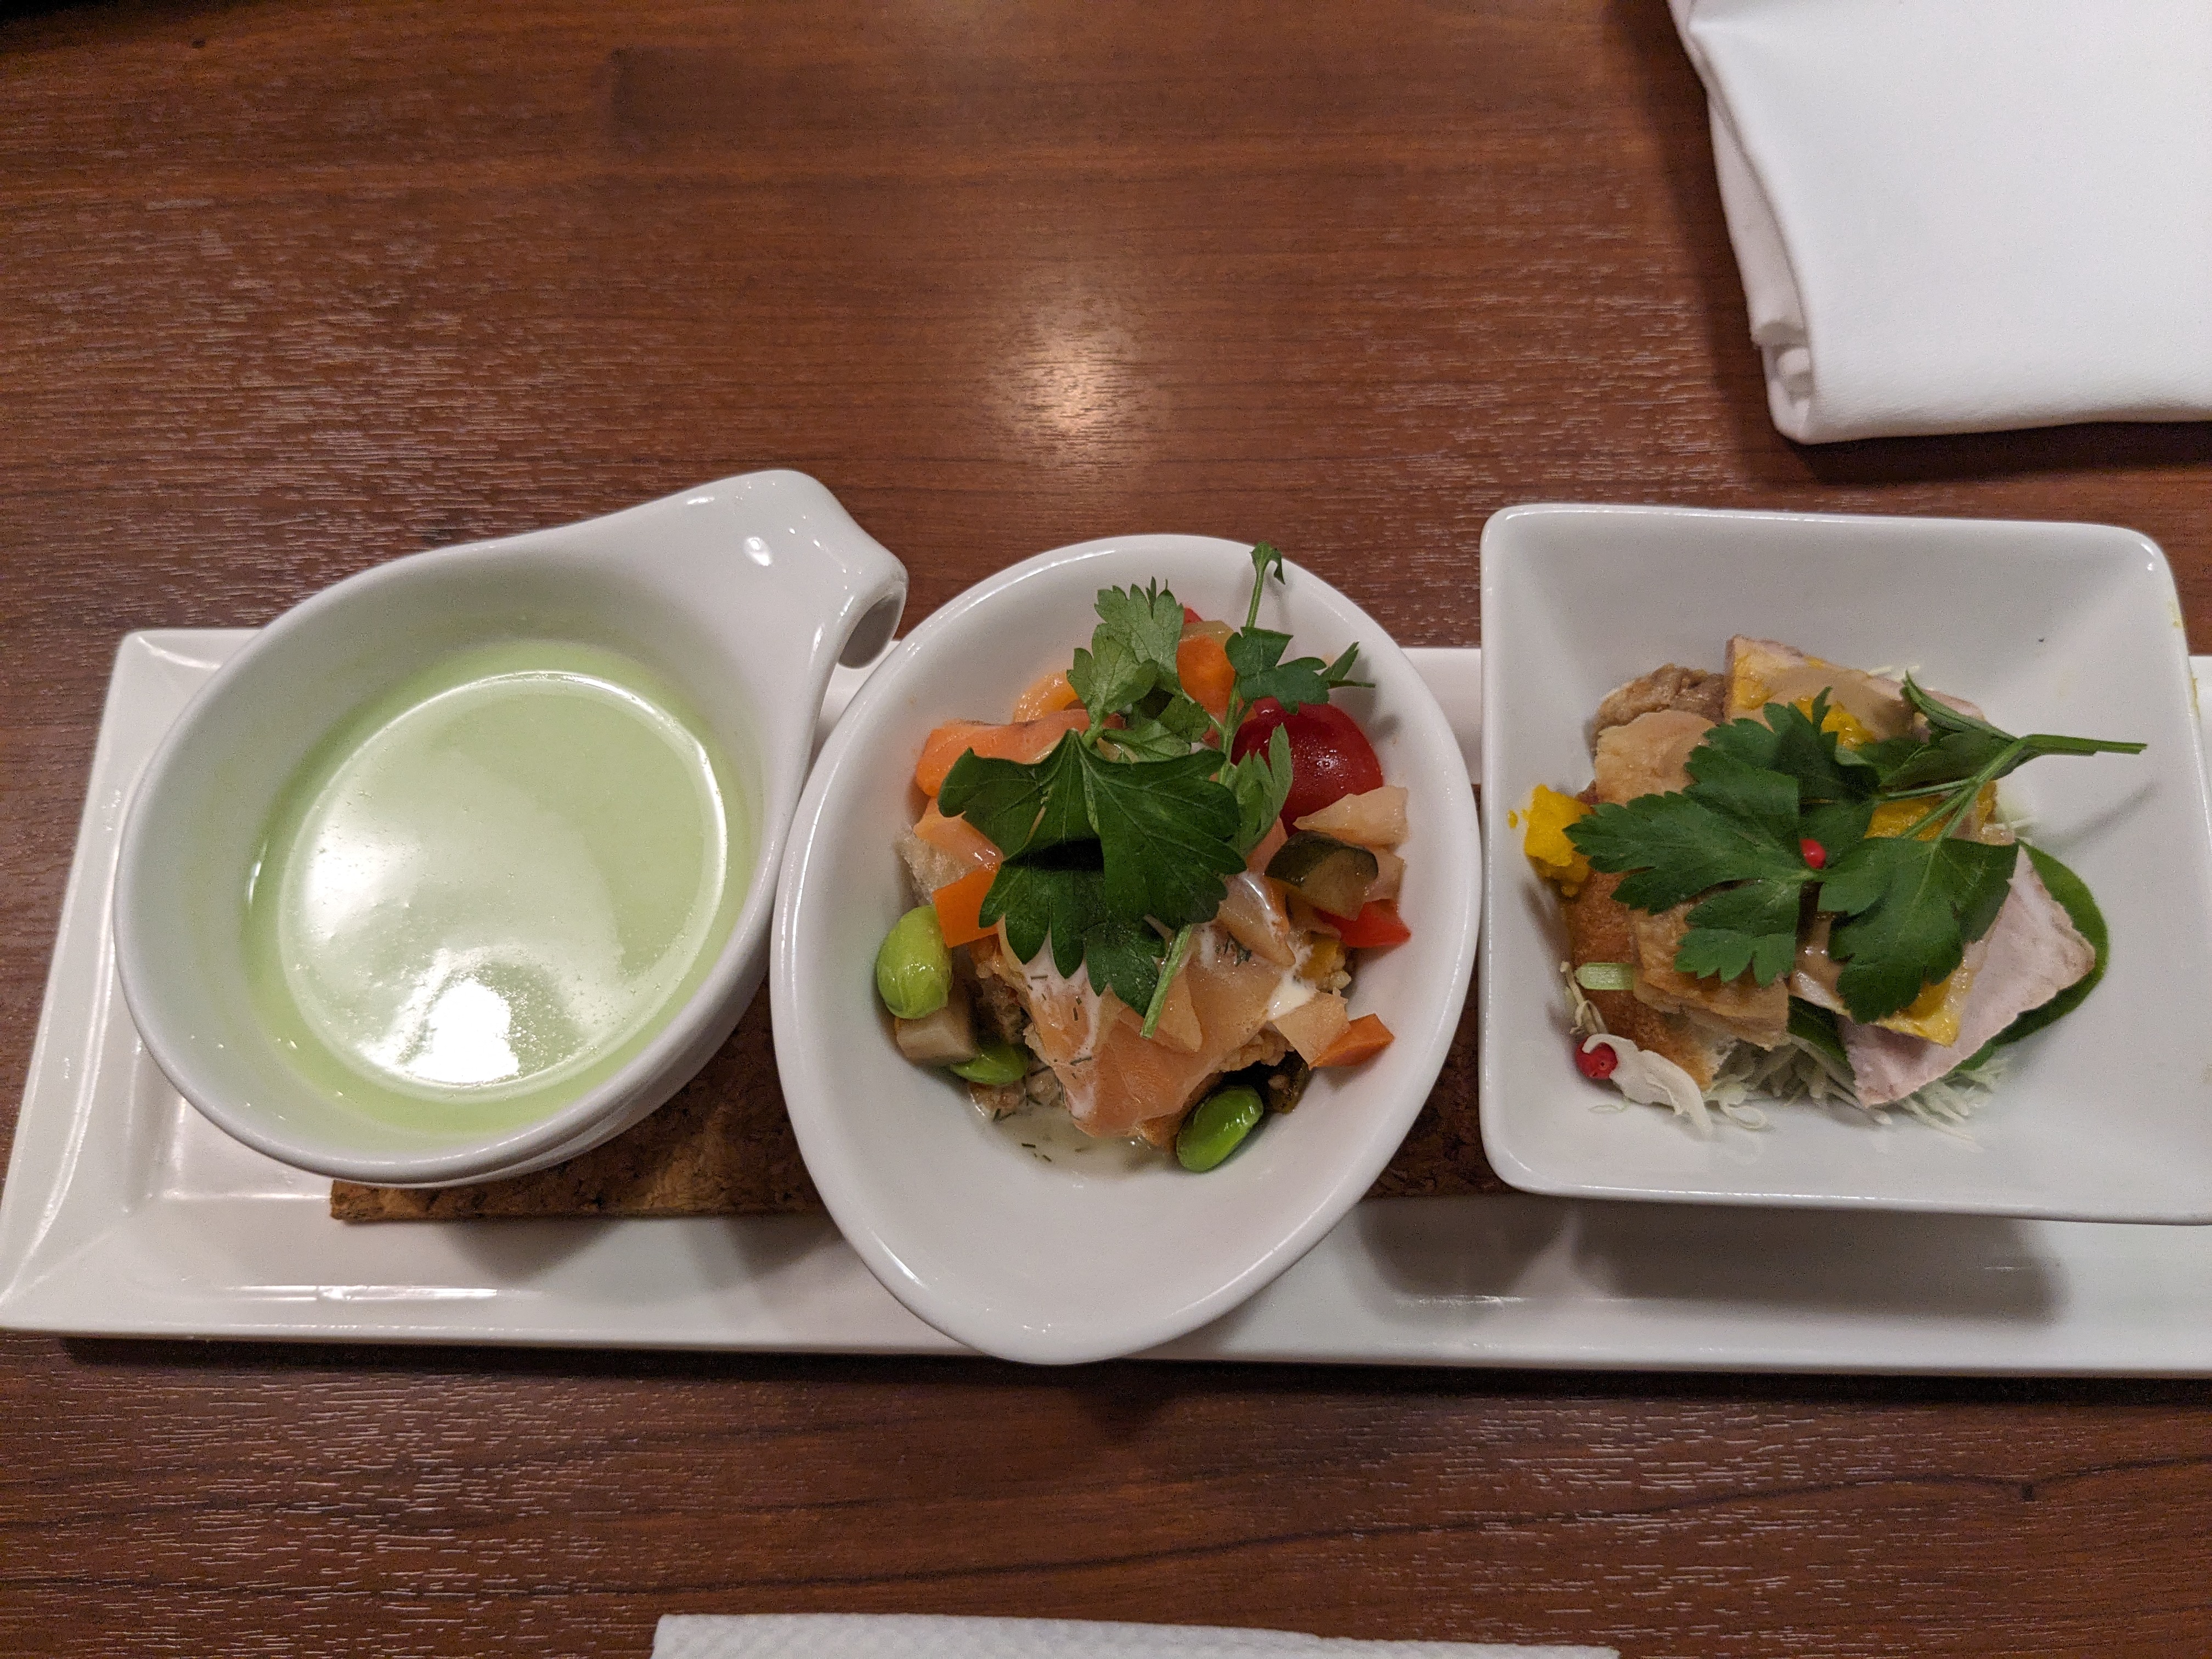
- 母の日ランチ @習志野市奏の杜 ク…
- (2024-09-15 19:27:25)
-


